PowerPoint is a Microsoft Office software used to present data, edit photos, and create simple graphic images. Microsoft PowerPoint is often used in businesses and classrooms. Today, in this post we will show you how to create a Word Cloud in Microsoft PowerPoint.
What is a Word Cloud?
A Word Cloud is a cluster of words portrayed in different sizes. It is also known as a text cloud or tag clouds. The bigger the word is, the more it is important. Word Cloud is used in textual data such as Blog posts, speeches, databases, interviews, and other texts.
How to create a Word Cloud in PowerPoint
First, copy a text from a word document, book, or any text of your choice and paste it into the PowerPoint slide.
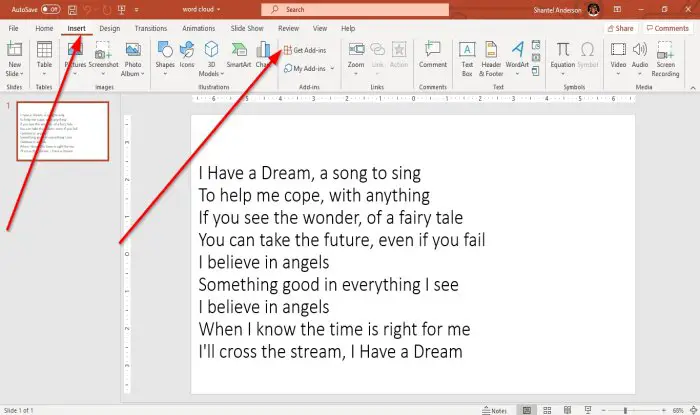
Go to the Insert tab and click Get Add-ins.
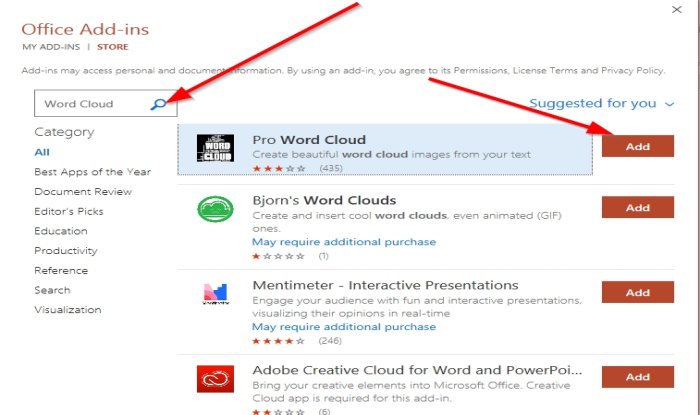
In the Get Add-ins window in the search engine, type Word Cloud. Press enter.
A list of Word Cloud apps will pop up, choose Pro Word Cloud, then click add.
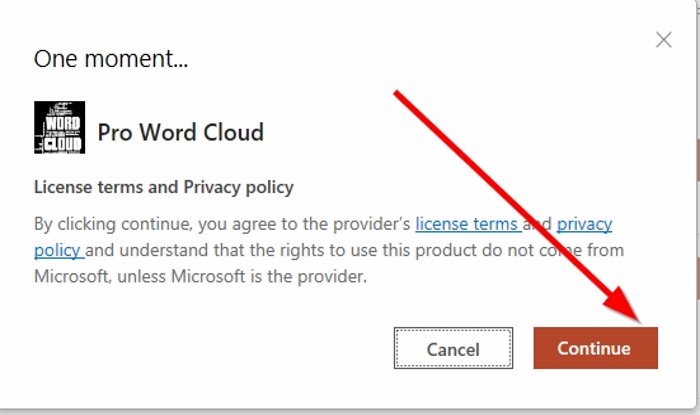
A window will pop up displaying the License Term and Policy, then click Continue.
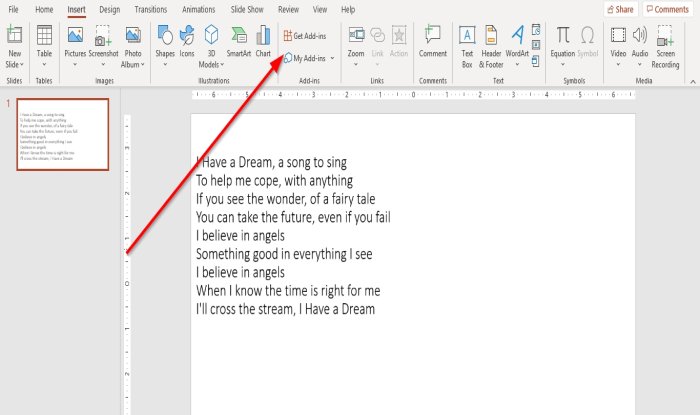
To ensure that the word cloud app is added, click My add-ins on the Insert tab, a window will appear displaying the app you just added.
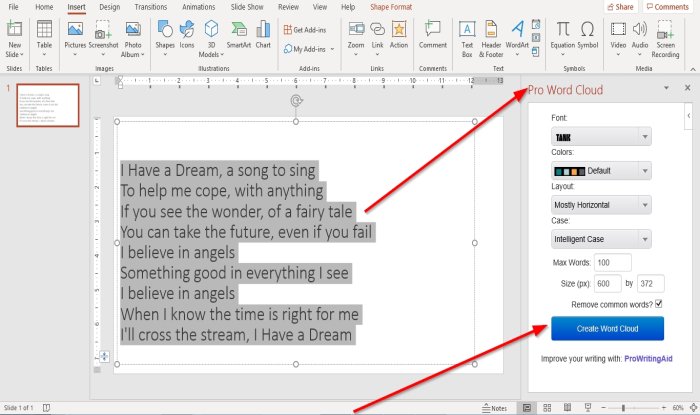
After you click, Continue of the License and term window, a Pro Word Cloud window will appear on the slide’s right.
Click on Create Word Cloud.
- You can choose a Font from the Font category by clicking its drop-down arrow and selecting the text font that you want. We are choosing the Font Tank.
- You can choose Colors for the text for the word cloud by clicking its drop-down arrow, then select your color of choice, or you can let it stay in the Default Color.
- You can also choose a Layout for the Word Cloud by clicking its drop-down arrow and select a Layout, for instance, Horizontal, Vertical, Mostly Horizontal, Mostly Vertical.
- You can choose a Case, for instance, Intelligence Case, Preserve Case, All Upper Case, and All Lower Case.
You will see a Maximum Words display on the bottom of the Pro Word Cloud Window; you can choose the maximum words you want in your cloud. In this article, we type one thousand into its entry box.
You can choose the Size of the cloud.
You can choose to remove Common Words by clicking the check box.
Click Create Word Cloud.
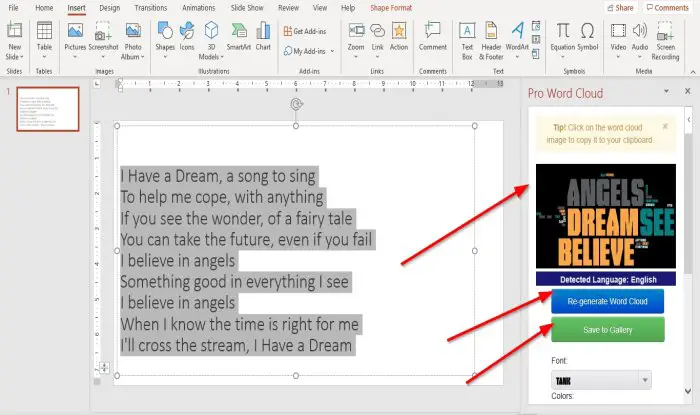
You will then see a display of the Word Cloud on the right; you can choose to Regenerate Word Cloud means to switch to a different display of the Word Cloud.
Whenever you choose to select a new Font, Color, Layout, Case, Maximum Words, and Size, select Regenerate Word Cloud to display the new image.
You can also choose to save your Word Cloud by clicking Save to Gallery.
To add the Word Cloud to your PowerPoint slide, click on it.

A small Internet explorer dialog box will appear, asking, “Do you want to allow this webpage to access your Clipboard?” Click Allow Access.
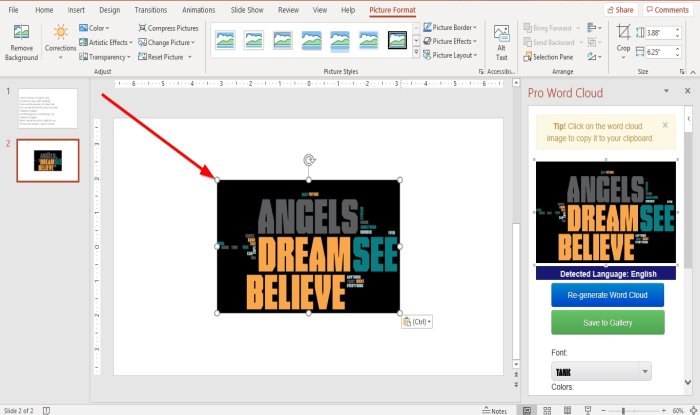
Right-click on the Word Cloud’s image displayed in the Word Cloud window on the right and Copy and Paste it in the slide.
If it is too small for the slide, lengthen the size by clicking on the slide and drag the circles attached to it to increase the size.

Now, we have a Word Cloud.
I hope this is helpful.
If you have questions about this tutorial, please comment below.
TIP: Wordaizer is a free Word Cloud Generator software for Windows PC.