Microsoft Office applications are designed with many unique and user-friendly features. These features not only allow users to get things done but do a lot of things simultaneously. For example, you can create a professional envelope using the Microsoft Word application.
Create & print a single envelope in Word
If you are unaware of the process, we will walk you through the steps of creating an envelope using Microsoft Word. Once created, you can either print the envelope with your printer or send it to a commercial printer for printing. The complete procedure can be summarized in two steps.
- Creating an envelope
- Printing an envelope
1] Creating an envelope
Open the Microsoft Word application and choose a blank document.
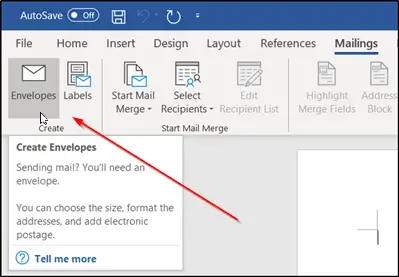
Then, from the Ribbon menu select, ‘Mailings’ tab and choose ‘Envelopes’ visible under ‘Create’ section.
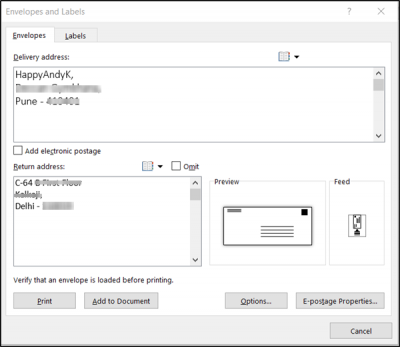
Instantly, the ‘Envelopes and Labels’ window will popup on your computer screen. Here’ you will find two blank spaces. One is labeled as ‘Delivery Address’ and other as ‘Return Address‘. You will need to enter the recipient’s address in the former and yours in the latter.
When done, hit the ‘Options’ tab. Here, just adjacent to ‘Envelope Size’ space you will find a drop-down arrow. Hit the arrow and select the desired size for your envelope.
If required, you can customize the font for the delivery or return address. For this, click the ‘Font’ button under the respective item. You’ll see a new window that presents your standard font options.
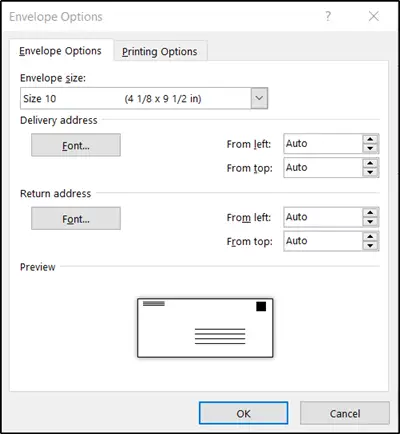
Configure the options as desired and click ‘Ok’.
When directed to the ‘Envelopes and Labels’ window, choose the ‘Add to document’ button.
Instantly, you’ll see a message prompting you to use the return address you entered as the default return address. If all appears well, go ahead and choose ‘Yes’.
In the end, you’ll see a preview of your envelope on the left-hand side of the screen.
Read: How to wrap Text around a Picture in Word
2] Printing the Envelope
Once you have entered a message in the envelope, head back to the ‘Mailings’ tab and click ‘Envelope’.
Like earlier, you will again be taken to the ‘Envelopes and Labels’ window.
At the bottom of the window, you’ll find a ‘Print’ button.
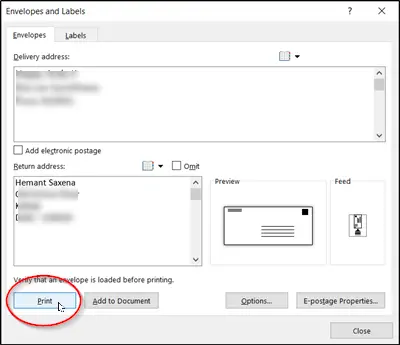
Just hit that button to get your job done!
I hope you can get it working properly.
Read: How to change the tick in a check box in Word
How do I set my printer to print Envelopes?
The first thing you need to ensure is that you know the envelope size you will load into the printer and adjust the printer tray accordingly. Next, you must set up a print command for the same printer size. Look for an option called Page Setup or Printer Settings. Once you have seen the preview, and set the correct orientation, test a print and check if everything works as expected.
How do you create an envelope for a letter in Word?
To create an envelope for a letter in Microsoft Word, go to the Mailings tab and click Envelopes. Enter the delivery address and, optionally, your return address. Choose the envelope size and orientation, and adjust the margins if needed. Then, type your letter as usual and click Print to print the letter and envelope. That’s it! With just a few clicks, you can create and print envelopes for your letters in Microsoft Word.
Leave a Reply