If there’s a situation where you and your friend need to collaborate on diagrams in a project simultaneously, what would you do? Naturally, team up and work with him but what if they reside in two separate regions? Then, it can be a difficult task. Fortunately, it doesn’t have to be this way. With Lucidchart, you and your co-workers can create and edit diagrams and markups together in real time to get on the same page with your team members and clients. Let’s see how to create a flowchart in Lucidchart and import it into Microsoft Office Word.
When you have something to communicate visually, Lucidchart offers the tools to do it both intuitively and in style. So, you can work from any device and anywhere you can log in to the web.
Add a Lucidchart diagram to Microsoft Word
Even though Microsoft Word functions as a word processor and not a diagramming program, it still allows users to add shapes and create flowcharts from elsewhere,
If you are simply looking to add few diagrams to your document then, you can create a flowchart Lucidchart and import it in Microsoft Word.
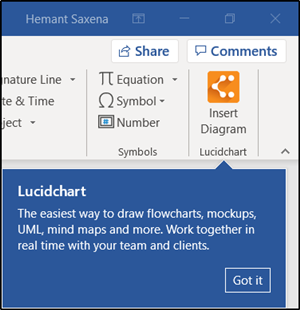
1] Download the Microsoft Office Word Lucidchart Add-On by entering the email address of the account you want to use when acquiring apps on AppSource.
2] If possible, use your work or school account because if you log in with a Microsoft account, apps that require a work or school account will not be available.
3] Now, start creating a flowchart in Lucidchart. First, enter your Google/Microsoft Account details to access the Lucidchart editor.
4] Next, enter the email IDs of co-workers with whom you would like to collaborate your work in real-time.
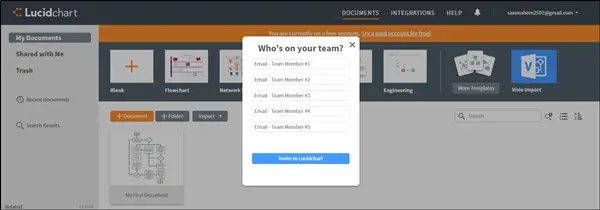
5] Once you’re in the Lucidchart editor, you can choose to start with an existing flowchart template from our template library that you can then proceed to customize, or you can start with a blank canvas and make a flowchart from scratch.
So, click on any shape, drag it onto the editor, and drop it in for placement. You can input whatever info you want, including images, animations, and links.
6] Having entered shapes, connect them. To do so, click on the red-outlined white dot on any shape and drag a line out to connect or point to your desired location or shape.
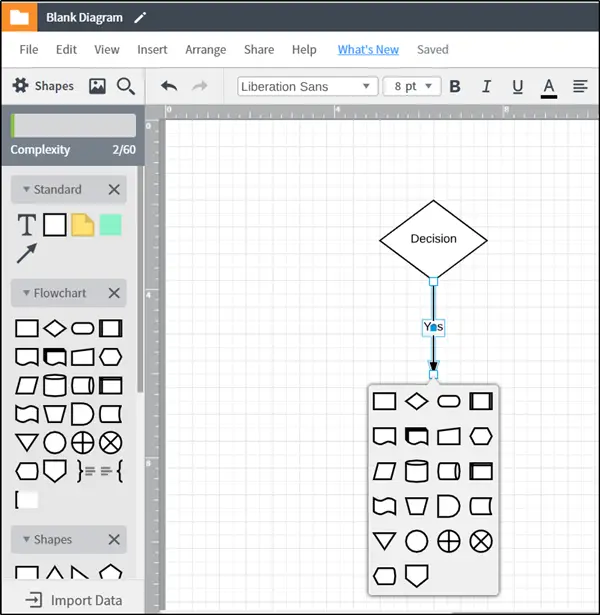
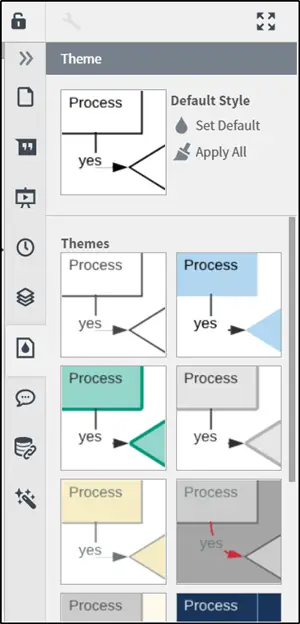
7] When you have completed making your flowchart, you customize it to your liking. For instance, you can edit shapes by increasing or reducing them to the desired size, change their color by selecting a shade from the Fill Color icon, or select a pre-made Theme.
Similarly, you can edit lines by customizing the thickness, line style, and arrow style.
Also, if you aren’t happy with your flowchart diagram or have made a mistake, you won’t have to do much reformatting or start all over. Simply, hit Ctrl+Z in combination to undo the last step. You can also view the entire revision history in the right sidebar under History and restore your current diagram to any previous revision you select. (P.S. The History Feature, however, works only on the paid version. We are currently using the free version.
8] Finally, if you would like to share your with anyone, simply choose the ‘Share’ button located in the upper right-hand corner and enter the email id. Add a comment if required.
The final part of this tutorial is importing a flowchart from Lucidchart into Microsoft Word.
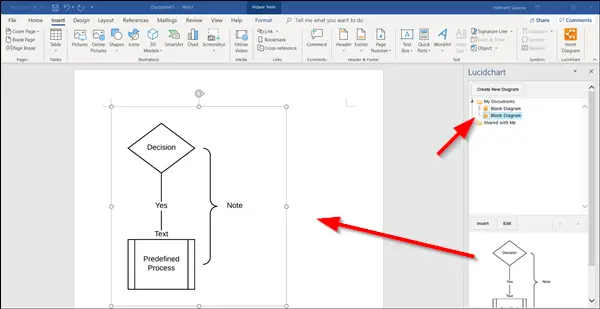
9] Open your Word document, go to your Add-Ins and select Lucidchart within the Insert tab.
10] Select the flowchart you created (from your documents) to insert into your Word document.
Final words – Lucidchart works best with Microsoft Teams. When the Lucidchart document is added as a tab in your team channel—with the embedded editor, anyone in the channel can edit or comment on your document without ever leaving Microsoft Teams. You can also access your Lucidchart documents from a personal tab.
The Free version is meant for single users only. It includes real-time collaboration and Shape libraries for all use cases. You can sign up here on lucidchart.com. You can also download and use Lucidchart Diagrams for Teams from Microsoft.
Read next: Best Free Online Flowchart Maker Tools.
Leave a Reply