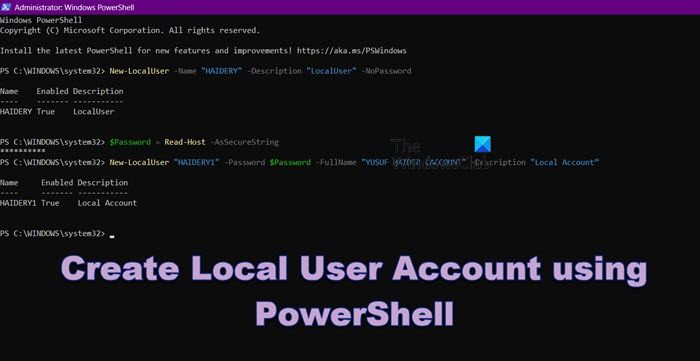
There are various ways to create a new user account in Windows, one of them is by using a PowerShell command. In this post, we will discuss how you can create a local user account using PowerShell in Windows 11/10.

There are mainly two types of user accounts in Windows 11/10 –
- Local User Account
- Microsoft Account connected User Account
It is not possible to create a user account connected with your Microsoft account with the help of Windows PowerShell but it is very easy to create a local user account using PowerShell.
Before getting started, you should know that you can create a user account with or without a password, and the commands are different as they depend on your choice.
Create new Local User Account without password using PowerShell
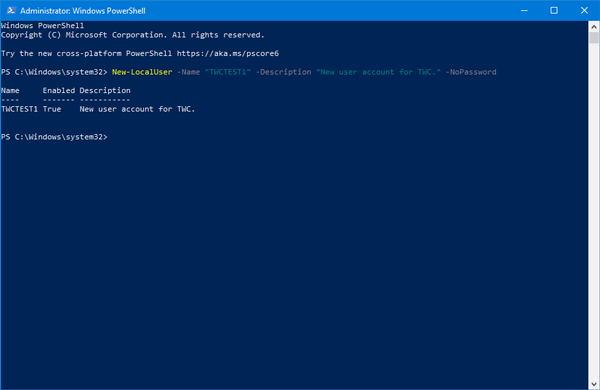
To create a new local user account without any password using Windows PowerShell, open Windows PowerShell with administrator privilege. For that, press Win+X and select Windows PowerShell (Admin) from the list. After that, execute the following command-
New-LocalUser -Name "user-name" -Description "Small description" -NoPassword
Do not forget to replace the user-name with an actual username that you want. Also, replace the Small description text with the matter that you want to show as a description.

After executing the command, as mentioned above, you will be able to set up your account and use it accordingly.
Create a new Local User Account with a password using PowerShell
Open the Windows PowerShell with administrator privilege. For that, you can follow the guide as mentioned earlier, or you can search for “PowerShell” in the Taskbar search box and select the Run as Administrator option on your right-hand side.
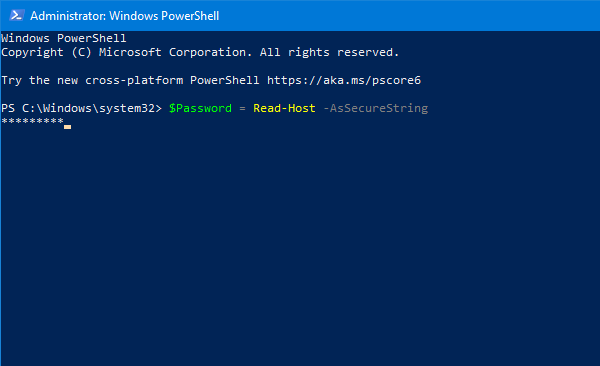
After opening PowerShell, you need to create a password for your user account. To do so, enter this command-
$Password = Read-Host -AsSecureString

Now you need to type the password that you want. Make sure you have set a strong password.
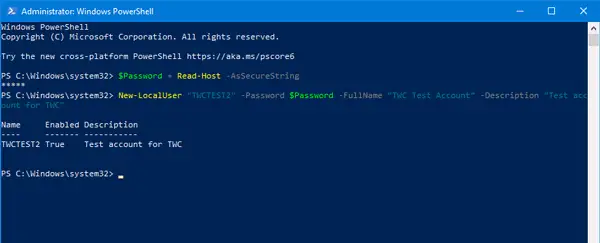
After typing the password and hitting the Enter button, you need to enter this command-
New-LocalUser "TWCTEST2" -Password $Password -FullName "TWC Test Account" -Description "Small description”
Replace TWCTEST2 with your desired username, TWC Test Account with the full name of your user account, and a Small description with brief info about your account.
After entering this command, you can find a screen like this-

That means your account is successfully created and ready to use. However, if you want to assign your account to a group, you can use the following command-
Add-LocalGroupMember -Group "Administrators" -Member "TWCTEST2"
Here are two things that you should know. First, if you’re going to add the new account to your Administrator group, you can keep it as is. Second, you have to replace TWCTEST2 with the username of your new user account.
How to delete User Account using PowerShell
To delete a user account using Windows PowerShell, open the Windows PowerShell with administrator and enter this command-
Remove-LocalUser -Name "user-name"
Do not forget to replace the user-name with the original username that you want to delete from your computer.
That’s it! I hope it will help you.
How to create a local user account using PowerShell?
With the help of PowerShell, you can either create a local user account with or without a password. You just need to use the “New-LocalUser ….” command to create the user. To do so, just go through the aforementioned guide.
Leave a Reply