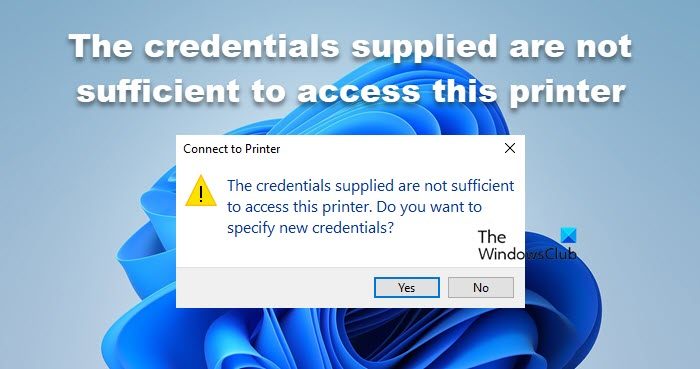
Some Windows users reported that they could not install a printer on a local workstation. They get an error stating that The credentials supplied are not sufficient to access this printer, which means that the username and password provided to access the printer are either incorrect or insufficient. In this article, we will learn how to resolve this issue.

Fix The credentials supplied are not sufficient to access this printer
When printing a document on a network printer or shared printer, this error frequently happens because the login credentials that you are providing are invalid or do not have the right access privileges. Here we have some solutions that you can use to resolve this issue.
- Run the Printer troubleshooter
- Delete the affected printer entries in the Credential Manager
- Edit policy from the Group Policy Editor
- Modify the Registry Editor
Before you begin, make sure you are using the correct credentials.
1] Run the Printer troubleshooter

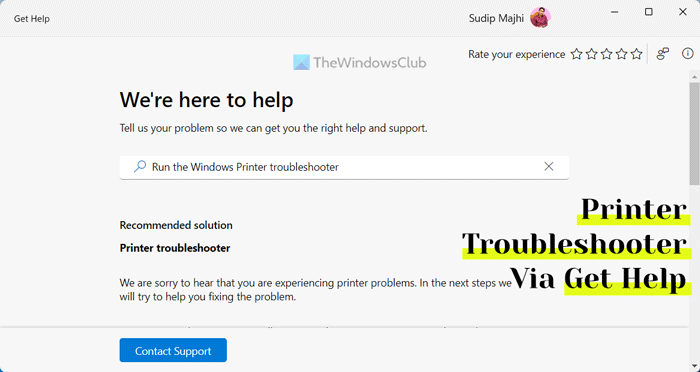
The Printer troubleshooter is Windows’s built-in handy tool for resolving printer-related issues. If the credentials supplied are insufficient to access this printer, you can run the troubleshooter to resolve the issue. We will run the Printer troubleshooter from the Get Help app. Hopefully, the troubleshooter will detect and fix the issue.
2] Delete the affected printer entries in the Credential Manager
Credential Manager stores authentication data for shared and network printers and other connected accounts. To print easily, without continuously entering login information, it accesses the stored usernames and passwords. If the credentials stored are corrupted, one will get the error; hence, we need to delete them.
Follow the instructions to clear the Printer Credentials:
- Press the Windows key and type Control Panel in the search bar.
- Now, click on Credentials Manager.
- Under the Windows Credentials, find the affected printer and expand it. You will see the Remove option there. Click on it to Remove.
- Finally, restart the computer and then try to connect to the printer with the correct credentials.
Hopefully, your issue will be resolved once you set the credentials.
3] Edit a policy from the Group Policy Editor

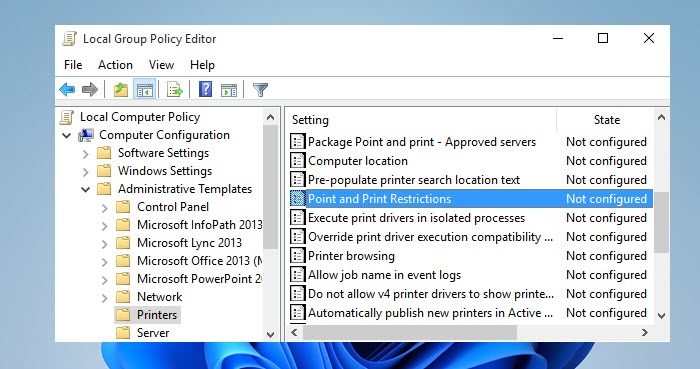
Group Policy is a powerful tool in Windows operating systems that helps organizations manage and control various settings and configurations for their networked computers. It has various policies that control your computer. We will configure the Point and Print Restrictions policy to resolve the issue. Follow the prescribed steps to do the same.
- Press Windows + R to open the Run dialog box.
- Type gpedit.msc to open Local Group Policy Editor.
- Expand Administrative Templates under Computer Configuration, and then select Printers.
- On the right side of the window, double-click on Point and Print Restrictions.
- Select Enable and check Users can only point and print to these servers option.
- Now enter the server name(optional) in the text field.
- Here, select Do not show warning or elevation prompt using the drop-down menu in When installing drivers for a new connection and When updating drivers for existing connection options.
- Finally, click on the Apply and OK button to save the changes and then connect to the printer.
- Now, go to Computer Configuration > Administrative Templates > Driver Installation.
- Open Allow non-administrators to install drivers for these device setup classes. Set the policy to Enabled and select Show under Options.
Hopefully, your issue will be resolved now.
4] Modify the Registry Editor
Registry Editor is a Windows operating system utility that allows users to view and modify the system’s registry, a database containing crucial configuration settings. So, be careful while modifying the registry. If you don’t want to worry too much, take a backup of the registry and make the changes mentioned below.
- Hit the Windows + R key to open the Run dialog box.
- Type regedit and press the Enter button.
- Click on Yes and enter the following path into the address bar or navigate to it from the navigation pane by pasting it there and pressing the Enter button.
HKEY_LOCAL_MACHINE\SYSTEM\CurrentControlSet\Control\Print
- On the right side of the window, double-click on RpcAuthnLevelPrivacyEnabled
- Once you double-click on that, a small window will appear.
- Enter 0 under Value data and click OK to save the changes.
Finally, restart your computer and check if the issue is resolved.
Read: Fix Epson Printer Error 0x10 on Windows computer
How do I allow access to my printer?
If you want to share your printer, open the Control Panel from the Start Menu. Go to Hardware and Sound, and select View devices and printers. Right-click on the affected printer, select its properties, and then choose the Sharing tab. On the Sharing tab, select Share this printer.
Read: Error 0x00000c1, Unable to install Printer on Windows
How to fix 0x00000040?
If the operation could not be completed, first of all, run the Printer troubleshooter from the Get Help app. In case, that is to no avail, check our guide to know how to resolve Printer Error 0x00000040.
Read Next: Printer Error 0x000006BA, Operation could not be completed.
Leave a Reply