If while trying to encrypt the Windows OS Drive and you encounter the error message The data drive specified is not set to automatically unlock for BitLocker – the suggestions provided in this post is intended to help you successfully resolve the issue.
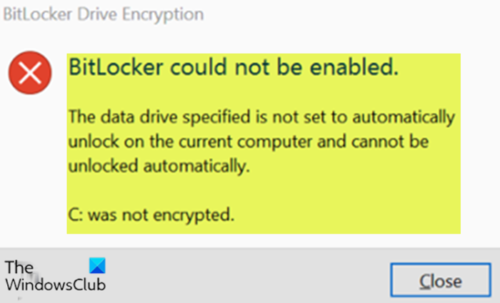
When you encounter this issue, you’ll receive the following full error message;
BitLocker could not be enabled.
The data drive specified is not set to automatically unlock on the current computer and cannot be unlocked automatically.C: was not encrypted.
Once this BitLocker encryption error occurs, the operating system drive (usually C: drive) will not be encrypted.
The data drive specified is not set to automatically unlock on the current computer BitLocker error
If you’re faced with this issue, you can try our recommended solutions below in no particular order and see if that helps to resolve the issue.
- Restart your computer
- Update the TPM firmware
- Set USB Devices to All in BIOS
- Update BIOS
- Reset BIOS to default settings
- Disable BitLocker system check
Let’s take a look at the description of the process involved concerning each of the listed solutions.
1] Restart your computer
First try restarting your Windows computer and then try the encryption again and see if The data drive specified is not set to automatically unlock issue is resolved. If not, try the next solution.
2] Update the TPM firmware
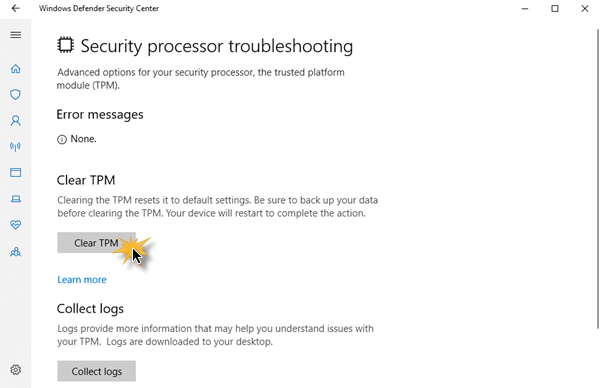
Here, you can try updating the TPM security processor firmware and see if that helps.
3] Set USB Devices to All in BIOS
To set USB Devices to All in BIOS on your Windows 10 computer, do the following:
- Boot into BIOS.
- In BIOS settings, go to Advanced > Peripheral Configuration > USB Host Controller > USB Devices.
- Make sure USB Devices is set to All.
- Exit BIOS.
- Restart your PC normally and see if the BitLocker encryption error is resolved.
4] Update BIOS
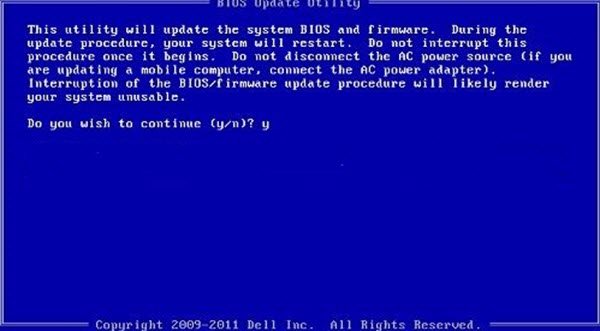
You can try updating the BIOS and firmware on your system.
Using tools from OEMs is the easiest way to do so. All OEM manufacturers have utilities that help you easily update, BIOS, firmware, and drivers. Search for yours and download it from the official site only. This is the safest way to update the BIOS.
- If you own a Dell laptop you can head over to Dell.com, or you could use Dell Update Utility.
- ASUS users can download the MyASUS BIOS update utility from the ASUS support site.
- ACER users can go here. Enter your Serial Number/SNID or search for your product by Model, select BIOS/Firmware, and click the Download link for the file you want to download.
- Lenovo users can use the Lenovo System Update Tool.
- HP users can use the bundled HP Support Assistant.
Once you complete the manual update of the BIOS/firmware on your system, try the BitLocker encryption and see if it completes without errors. Otherwise, try the next solution.
5] Reset BIOS to default settings
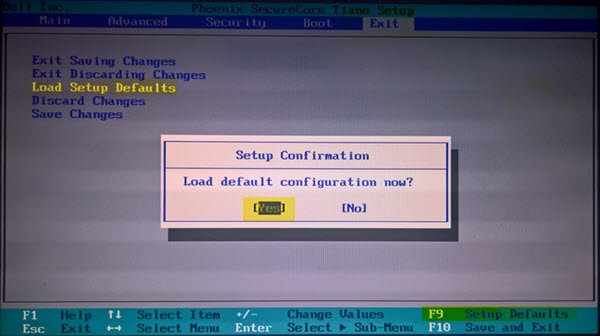
If you have previously made changes to you computer BIOS settings, it may be affecting the BitLocker function. In this case, can reset the BIOS setting to its default values.
6] Disable BitLocker system check
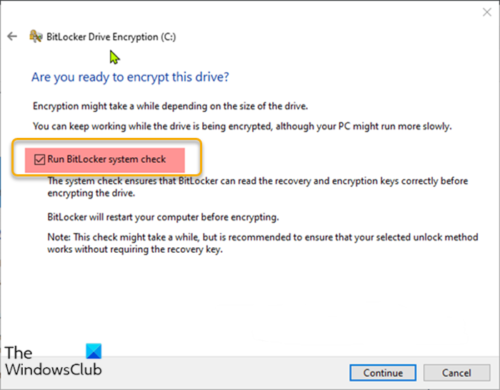
During the operating system drive encryption process, at the final screen of the wizard, the Run BitLocker system check option is checked by default. To resolve this problem, uncheck this option and click Continue button – BitLocker should be able to encrypt your OS drive without any error.
I hope this helps!