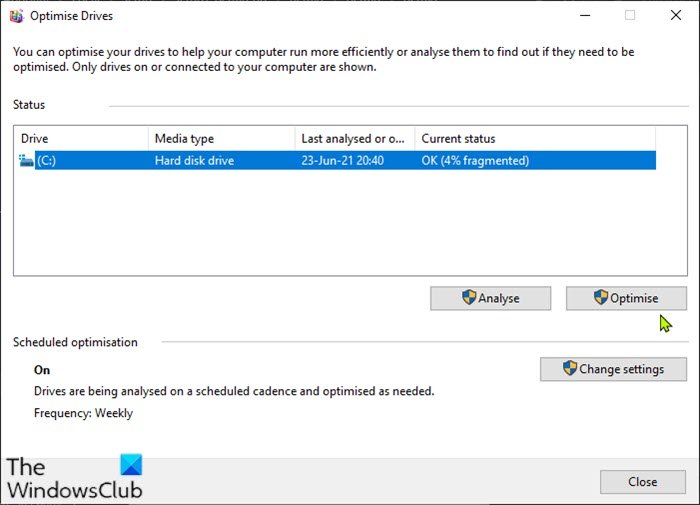
Windows 11 or Windows 10 ships with a Defragmentation tool. This tool is basic and does not offer features that you may need – an example of such a feature is, defragging multiple drives at once. In this post, we will show you how to defragment Hard Drive(s) using batch (.bat) file in Windows 11/10.

Defragment Hard Drive using Batch file
Windows 11/10 runs automatic drive optimizations regularly by default. To defragment a single hard drive or multiple drives on your Windows PC using a Batch file, you first need to create the batch file and then run the .bat file with admin privilege. Here’s how:
- Press Windows key + R to invoke the Run dialog.
- In the Run dialog box, type notepad
- Hit Enter to open Notepad.
- Copy and paste the syntax below into the text editor.
@echo off
defrag.exe c: -f
defrag.exe d: -f
defrag.exe e: -f
defrag.exe f: -f
In this example, we assume you want to defrag 4 drives. You need to edit the list to match the drives that you want to defragment using the batch file. If you want to defrag just one drive, then specify only the drive.
- Save (preferably, to the desktop) the file with a name and append the .bat file extension – eg; DefragDrive.bat and on the Save as type box select All Files.
- Now, to defrag the drive(s), simply run the batch file with admin privilege (right-click the saved file and select Run as Administrator from the context menu).
Alternatively, instead of manually running the batch file, you can schedule the batch file to run automatically on your Windows 10/11 device.
That’s it!
Defragging your computer can both solve and prevent a number of problems. If you don’t regularly defrag your hard drive, your computer may run slowly and/or may take a long time to start up after you turn it on. If a hard drive is too fragmented, ie., File fragmentation is high, then your computer may freeze up or not start at all.
While the default defragger is good enough for most of us, there are some who prefer to use Free Defragmentation Software. You may want to have a look at these too.