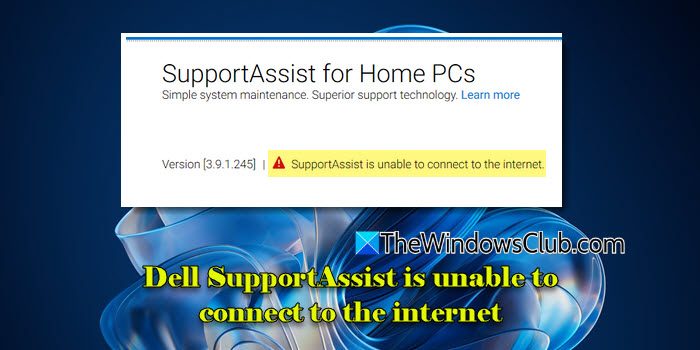
If the Dell SupportAssist is unable to connect to the internet on your Windows 11/10 PC, read this post to learn how to fix the issue. Dell SupportAssist requires an active internet connection to perform several key functions. However, it may sometimes not connect to the internet and display a message that reads:
SupportAssist is unable to connect to the internet.

Network problems, firewall or antivirus blocks, corrupted installations, and server-side issues are common reasons why Dell SupportAssist cannot connect to the Internet. In this post, we will learn how to troubleshoot the issue effectively.
Dell SupportAssist is unable to connect to the internet
To fix Dell SupportAssist if it is unable to connect to the internet on your Windows 11/10 PC try restarting the app and see if it works. If not, use these solutions:
- Use Wi-Fi Instead of Ethernet
- Run Network and Internet troubleshooter
- Uninstall and reinstall SupportAssist using admin rights
Let us see this in detail.
1] Use Wi-Fi Instead of Ethernet
A few users have reported that Dell SupportAssist encounters issues specifically with the Ethernet (LAN) connection on their systems, while it works fine when connected to the internet via Wi-Fi. Try disconnecting your Ethernet (LAN) cable and connecting to the internet using a wireless or Wi-Fi connection.
If you do not have access to a Wi-Fi,
- Update the Ethernet network adapter driver and see if it works.
- Ensure that your firewall or proxy configuration is not blocking Dell SupportAssist when you’re connected to the internet via an Ethernet (LAN) connection. Add Dell SupportAssist to the exception list of your antivirus or firewall and see if it works.

If the issue persists, proceed to the next troubleshooting step.
2] Run Network and Internet troubleshooter
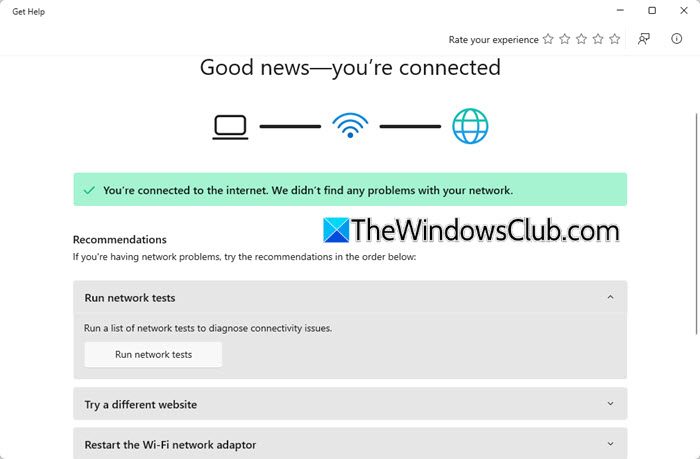
The Get Help Network and Internet Troubleshooter is a built-in diagnostic tool in Windows that helps identify and resolve problems related to network connection or internet access. Try running the troubleshooter and see if it fixes the issue.

Click the Start button and select Settings. In the Settings app, go to System > Troubleshoot > Other troubleshooters. Click Run next to Network and Internet. The troubleshooter will open. Run network tests or perform other troubleshooting steps listed.
3] Uninstall and reinstall SupportAssist using admin rights

If none of the above solutions work, uninstall and reinstall SupportAssist from Dell’s official website.
Press Win + R, type appwiz.cpl, and hit Enter. Control Panel will appear. Locate Dell SupportAssist in the list of Programs and Features, right-click on it, and select Uninstall. After uninstalling, restart your computer to clear any remaining files.
Next, visit the Dell SupportAssist download page and download the latest app version. Right-click the installer, select Run as administrator, and follow the prompts. This ensures the app has access to network settings and all necessary resources.
Once installed, launch SupportAssist using administrator rights and see if it is working.
I hope this helps!
Read: Dell SupportAssist not working; just spins
How do I fix my Dell SupportAssist?
To fix Dell SupportAssist if it is not working on your Windows 11/10 PC, try restarting the app, rebooting your PC, checking your internet connection and firewall settings, and running the app as an administrator. If the issue persists, consider reinstalling the app.
Read: Dell stuck on pre boot system performance check
How do I get my Dell laptop to connect to the internet?
To connect your Dell laptop to a wireless network, select the Network, Sound, or Battery icons on the right side of the taskbar to open quick settings. On the Wi-Fi quick setting, select Manage Wi-Fi connections. Choose the Wi-Fi network you want > Connect > type the password > select Next. For a wired connection, connect one end of the network cable to your router, then plug the other end into your computer’s Ethernet port.
Read Next: An unexpected error occurred in Dell SupportAssist].
Leave a Reply