Today we are going to see some simple troubleshooting steps if you are unable to install DirectX on your Windows 11/10. You may see the error message – DirectX Setup: An internal system error occured.
DirectX is used by applications to create and manage animations, multimedia effects, and images. It is the Application Programming Interface (API) that ensures everything is smooth as butter in your Windows environment. It works with the help of binary runtime libraries with DirectX’s Software Development Kit (SDK).
If you are not from a computer background, these terms might be difficult for you to understand. In short, DirectX is the bundle of instructions that ensures a seamless and interactive user experience.
DirectX installation failed
DirectX Setup: An internal system error occured, Please refer to DXError.log and DirectX.log in your Windows folder to determine the problem.
Most of the time, DirectX throw errors are because of some .NET Framework meddling in between. But, there is more to it; errors may occur due to other reasons too. These reasons vary from time to time and it is always difficult to say which of the reason is behind the error.
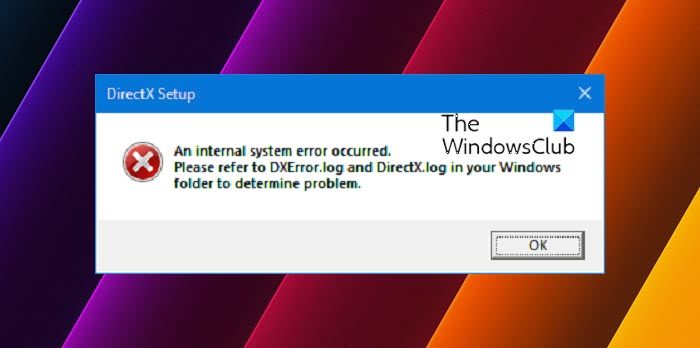
DirectX Setup: An internal system error occured
We will try the following tried and tested methods to solve the error.
- Install the previous version of DirectX if required
- Check for graphic card driver updates
- Download and install Visual C++ Redistributable
- Install .NET Framework using Command Prompt.
Before we start, make sure to try each and every method if the error still exists. Keep in mind that you need to restart your system after the completion of every method.
DirectX not installing
1] Install the previous version of DirectX if required
There are applications out there that still don’t support the latest versions of DirectX. Sometimes you have to manually download the previous versions like DirectX9. Now, to check which version of DirectX is installed on your machine,
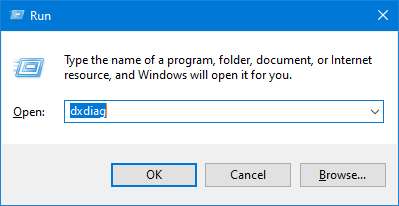
Press Win + R keys. The Run window will open up.
Type dxdiag and press enter. The DirectX Diagnostic Tool will open up.
In System tab look for DirectX version.
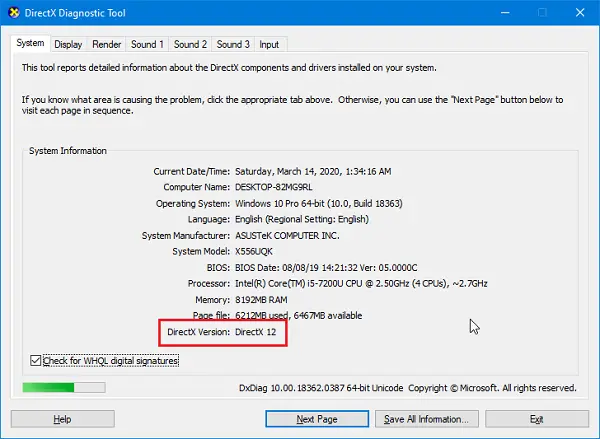
Now that you know which version is installed and want to install the older one then you can download it from here. But if you like to keep your system running without any freeze and lags, the latest version is always suggested. Try to search for the new version of the application that you want to install which supports the latest version of DirectX.
Read: DirectX encountered an unrecoverable error.
2] Check for Graphic card driver updates
Many times it is noticed that the DirectX version of your system is not compatible with the graphic drivers. This happens because of the disabled auto-updates. To perform this method, make sure that your system is receiving updates regularly.
- Press Win + X keys. The Quick Access menu will open up.
- Click on Device Manager. A new window of Device Manager will open.

- Click on Display Adapter, the display drivers available in your system will be visible.
- Right-click on Intel HD adapter and click on update.
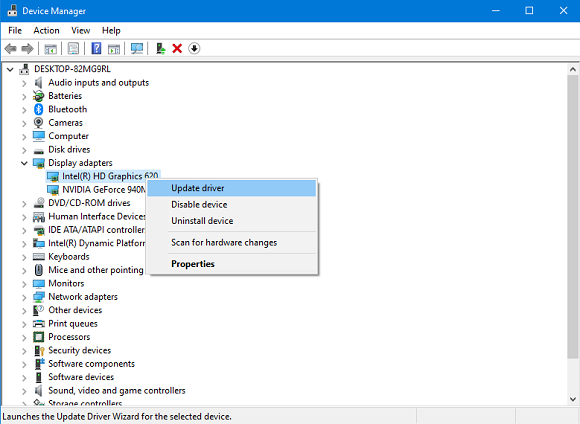
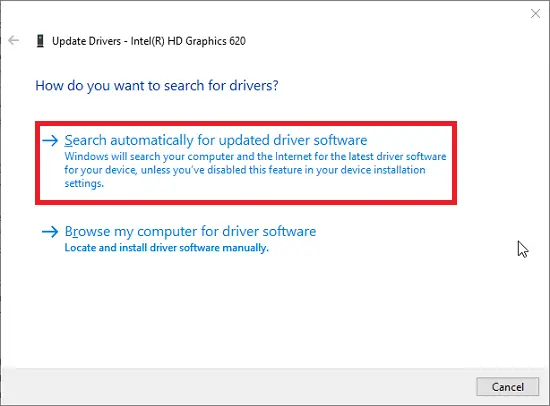
- Click on Search automatically for updated driver software. Just make sure your system has an active internet connection.
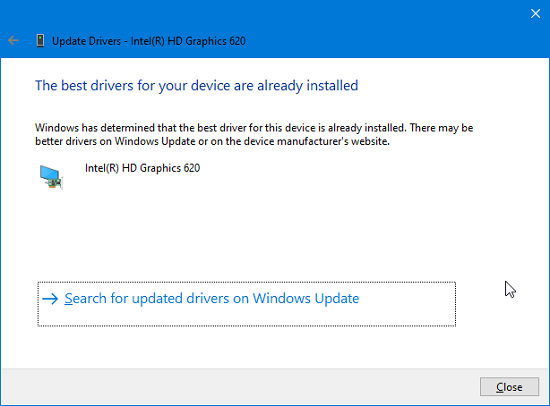
- If the latest drivers are already installed, it will let you know but if not then it will download and install the latest updates.
- Now, if your machine also has a dedicated GPU then in the Display Adapter’s list, right-click on it and select Uninstall Device. Install the drivers again from the GPU’s official website.
- If you know how to update the GPU’s drivers from its application, then you may skip Step 7 and continue to update the drivers.
3] Download and install Visual C++ Redistributable
Visual C++ Redistributable plays an important role. The basic requirement of DirectX also includes Visual C++ Redistributables. It may happen that it is already installed on your system but either you need an older or a newer version. To check which version of Visual C++ Redistributable is installed:
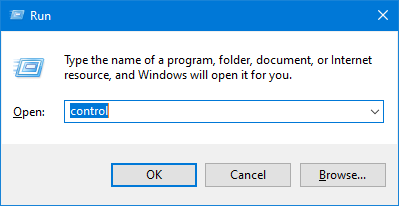
- Press Win + R keys. Type control and hit enter.
- When Control Panel opens up, click on Programs and Features.
- In the list of Programs, search for Microsoft Visual C++ -Redistributable. You may find multiple versions installed; this is due to the different requirements of different applications. Check for 2015 version if it is available, then you may need to reinstall it. If not then you may need to download it.
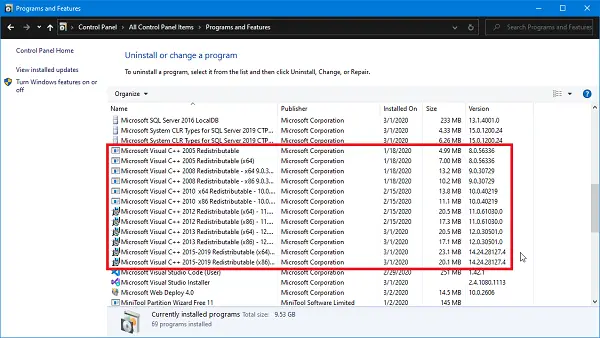
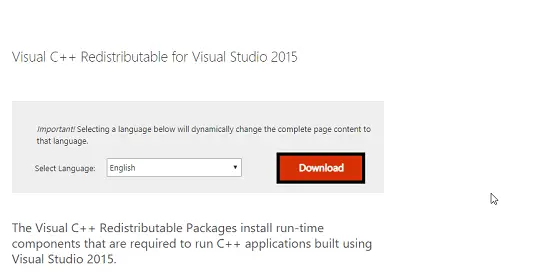
- Visit Microsoft’s official site and download the Visual C++ Redistributable 2015.
- Select language and click on Download.
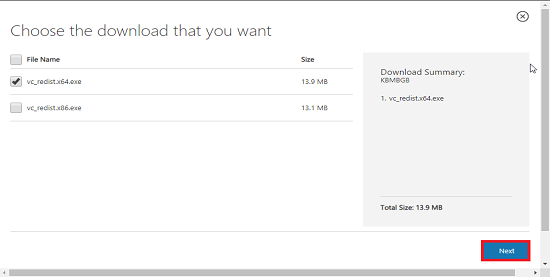
- Choose from the list of x86 and x64 versions. Click on Next. The download will begin shortly.
- Now install the newly-downloaded file and your error should have gone by now.
4] Install .NET Framework using Command Prompt
If the above method doesn’t work out for you, then you may download and install the same using Command Prompt. To install the framework, we will use the Deployment Image Servicing and Management (DISM) service of Windows.
- Open the Start menu, type cmd. Select Command Prompt and click on Run as administrator. Make sure that you have an active internet connection.
- Type the following command and hit enter:
DISM /Online /Enable-Feature /FeatureName:NetFx3 /All /LimitAccess /Source:D:sourcessxs
- Now, wait for the process to finish. Restart your system as soon as the process ends.
Since these methods have proven themselves helpful previously, your error should not prompt again.