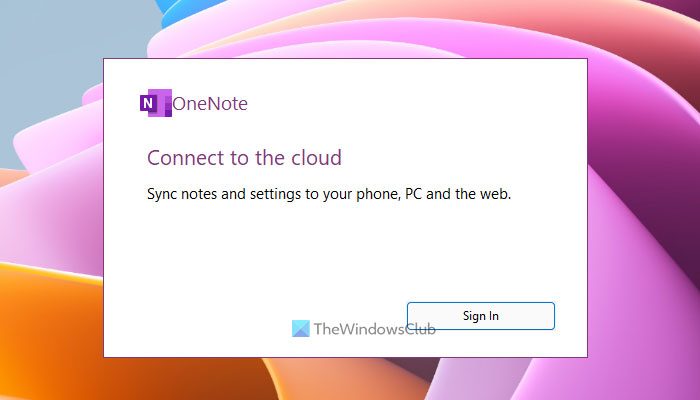
There could be various reasons why OneNote might show the Connect to the cloud message when opening the app on Windows 11/10. Here are some of the most common reasons and working solutions to get it fixed.

Before getting started, make sure that you have a stable internet connection. Otherwise, OneNote will keep on showing the same status whenever you try to open the app.
Disable OneNote Connect to the cloud status
To disable Connect to the cloud status of OneNote, follow these instructions:
- Update the app
- Repair Microsoft Office
- Change Beta Channel
- Change Registry value
To learn more about these solutions, continue reading.
1] Update the app

If you haven’t updated your app for a long time, it is the correct time to update OneNote. Older versions might be unable to connect to your account for many reasons, which is why it can display such a message.
To update OneNote, you have two options depending on the method you used to install it. If you installed it via Microsoft Store, open the Microsoft Store, search for “onenote” and update it accordingly.
However, if you downloaded it from the official website, you need to open onenote.com and download the latest version. Then, you can go through the installation process to get it done. For your information, all your data will be intact either way.
2] Repair Microsoft Office

As it is a part of Microsoft Office or Microsoft 365, you can repair the app via Windows Settings. At times, this problem might appear if there are some internet issues that is blocking the connection between the OneNote server and your computer.
To repair Microsoft Office, follow these steps:
- Press Win+I to open Windows Settings.
- Go to Apps > Installed apps.
- Find Microsoft 365.
- Click on the three-dotted icon and select Modify.
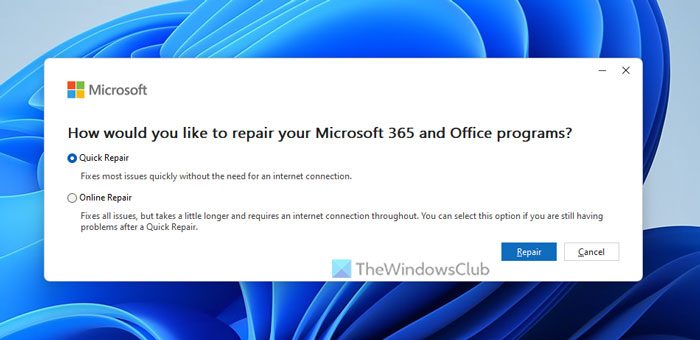
- Choose the Quick Repair option first.
- Click the Repair button.
- If it doesn’t work, choose the Online Repair option.
3] Change Beta Channel

If you have opted for Microsoft 365 Insider, you need to change the channel or opt out of Insider. For that, do the following:
- Open OneNote on your computer.
- Go to File > Account.
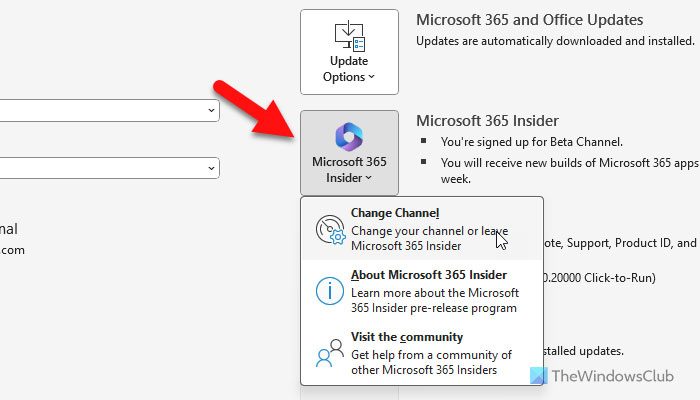
- Head to the Microsoft 365 Insider.
- Select Change Channel.
- Expand the drop-down menu and choose another channel.
- Click the OK button.
- If you want to opt out of Insider, remove the tick from the Sign me up for early access to new releases of Microsoft 365 apps checkbox.
- Click the OK button.
Read: Disable Pick Up Where You Left Off feature in Word
4] Change Registry value

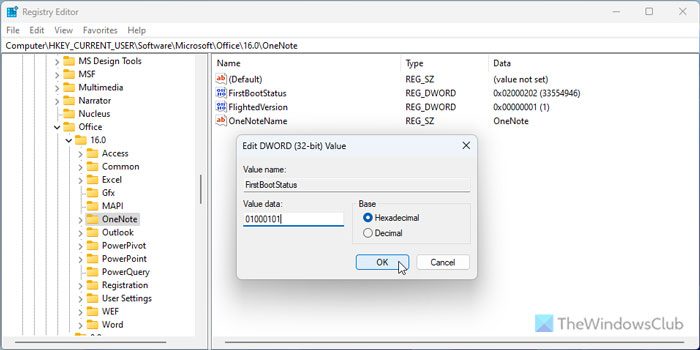
There is a REG_DWORD value named FirstBootStatus that might be responsible for this error. That is why we suggest you change the value as said below.
- Open Registry Editor on your computer.
- Go to HKEY_CURRENT_USER\Software\Microsoft\Office\16.0\OneNote
- Double-click on FirstBootStatus.
- Set the Value data as 01000101.
- Click the OK button.
- Restart your computer.
However, if you cannot find the FirstBootStatus, right-click on OneNote > New > DWORD (32-bit) Value and name it as FirstBootStatus. Then, you can change the Value data.
I hope these solutions have fixed your OneNote sign-in problem.
Read: How to enable or disable syncing of files from OneNote to OneDrive
How do I turn off the sync status on OneNote?
To turn off the sync status on OneNote, you need to change the Registry value. For that, go to Computer\HKEY_CURRENT_USER\Software\Microsoft\Office\16.0\OneNote and double-click on FirstBootStatus. Then, set the Value data as 01000101. Click the OK button and restart your computer.
How do I stop OneDrive from syncing OneNote?
To stop OneDrive from syncing OneNote notes, open OneNote and go to File > Info. Click on View Sync Status. Then, choose the Sync manually option and click Close. It stops the automatic synchronization immediately.