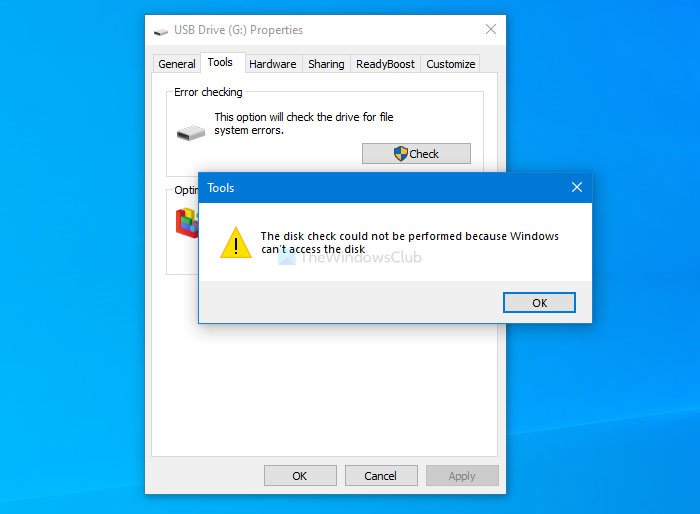
While checking an external disk for errors, if you see an error message The disk check could not be performed because Windows can’t access the disk; here are some possible fixes you can try. The entire error message says something like this-
The disk check could not be performed because Windows can’t access the disk

If you get some issues with your hard disk, the best way to recognize that is by using the chkdsk utility. There are several ways to run it on your computer, and one of the easiest methods is using the Tools section in the external drive’s Properties.
The disk check could not be performed because Windows can’t access the disk
To fix The disk check could not be performed because Windows can’t access the disk error in Windows 11/10, follow these suggestions-
- Check the connection between hard disk and PC
- Change drive letter
- Run chkdsk using Command Prompt
- Use Windows PowerShell
To know more about these steps, keep reading.
1] Check the connection between hard disk and PC
At times, your computer’s USB port might not work as it should be. If your hard drive is getting disconnected frequently, there is a chance of getting such an error while using the chkdsk utility. Therefore, before heading to other solutions, ensure that you do not have an issue with the USB port or the cable you are using to connect your hard drive.
Note: If you can confirm that your hard disk is connected to your computer, you can go through the following solutions.
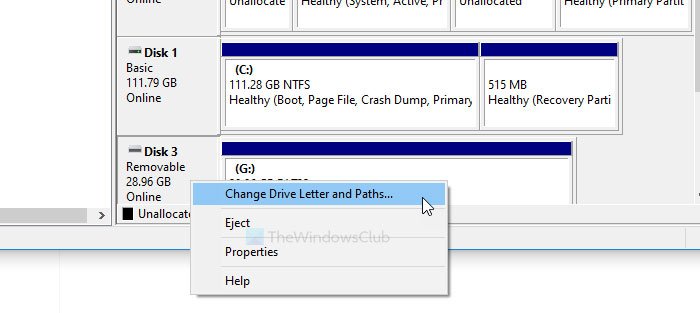
2] Change drive letter

If you can see the hard drive in This PC, but it doesn’t have a drive letter, you may encounter the issue stated above. The best solution, in that case, is assigning a drive letter. There are different methods to change or set a drive letter in Windows 10.
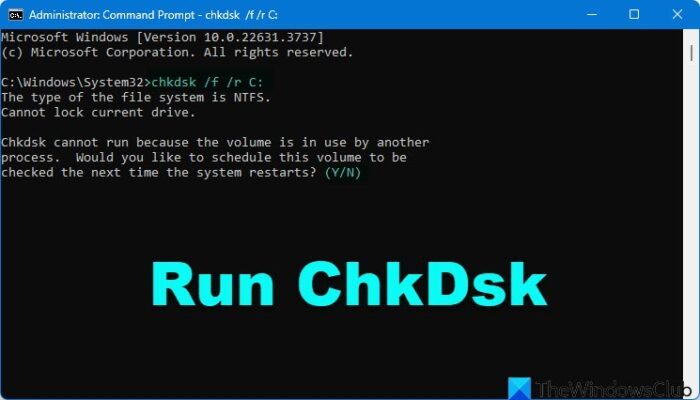
3] Run chkdsk using Command Prompt

For your information, you can run the chkdsk utility using Command Prompt. However, you must use a parameter to fix the issue. It is possible to use various parameters according to the file system to fix recognized errors, bad sectors, etc.
4] Use Windows PowerShell
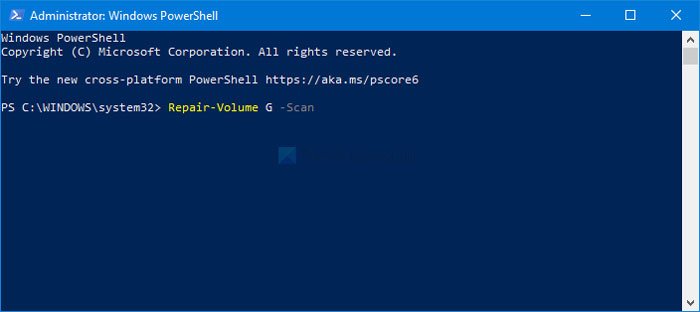
First, note down the existing drive letter of your external drive. Then, open the elevated Windows PowerShell window on your computer and enter this command-
Repair-Volume drive-letter –Scan
Don’t forget to replace the drive-letter with the original drive letter you noted earlier.

If it finds an error, the following command will try to fix it-
Repair-Volume drive-letter –OfflineScanAndFix

Repair-Volume drive-letter –SpotFix
These commands take the volume down and fix the issue offline.
These are some of the working solutions you can fix to fix the issue. I hope they help.
Related: Drive is not accessible, The parameter is incorrect.