Different LED indicators on a motherboard indicate a different hardware issue. In this article, we will talk about the DRAM light indicator on the motherboard. If the DRAM light on your motherboard is orange but shows no display, this article has some suggestions that can help you.
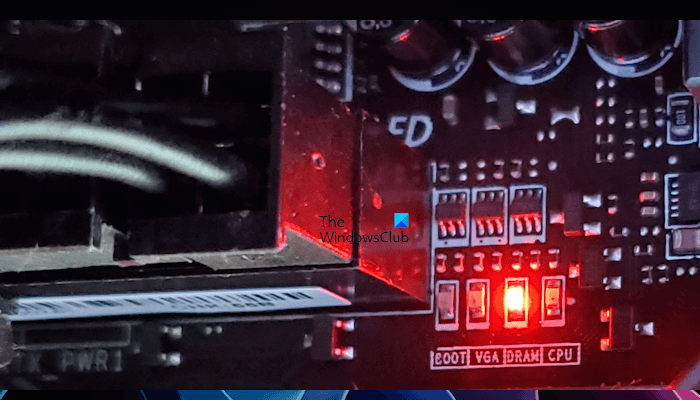
DRAM light on motherboard is orange but there is no display
A motherboard is a hardware of a computer that holds the other hardware components, including CPU, RAM, hard disks, etc. When an issue with a hardware component is detected, the motherboard indicates it with different beep codes or via the respective LED indicator (if available). Use the following suggestions if the DRAM light on your motherboard is orange but no display.
- Perform a hard reset
- Clear CMOS
- Reseat your RAM sticks and check individual RAM sticks
- Flash your BIOS
- The issue can be with your RAM or CPU
- Get professional support
Let’s see all these fixes in detail.
1] Perform a hard reset
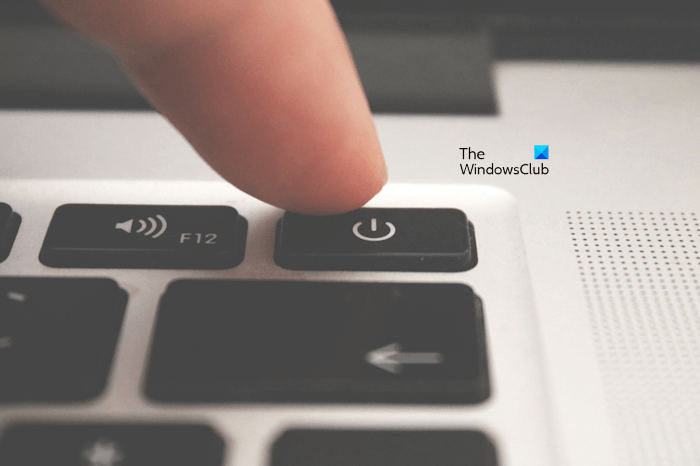
This is the first thing that you should do. Perform a hard reset and see if it helps. This process drains residual charge from capacitors and fixes the boot issues. To do this, follow the steps provided below:
- Make sure that your computer is turned off.
- Disconnect all the peripheral devices and unplug the power cable.
- Press and hold the power button for 30 to 45 seconds.
- Connect the power cable and turn on your system.
See if the DRAM LED turns on this time. If yes, proceed with further troubleshooting methods.
2] Clear CMOS
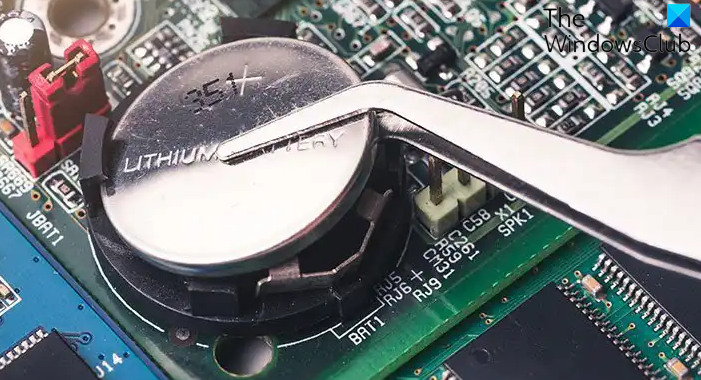
If hard resetting your system does not work, we suggest you clear CMOS. To do so, you have to open your computer case and remove the CMOS battery. CMOS battery is a small coin-shaped battery. Before you perform this step, make sure that your computer is powered off. Also, unplug the power cable to avoid any electric shock.
3] Reseat your RAM sticks and check individual RAM sticks
The next thing that you should do is remove RAM sticks and place them again properly. If you have multiple RAM sticks, boot your computer with one RAM stick at a time. This will let you know whether the issue is with a particular RAM stick or not. We also suggest you clean your RAM sticks and RAM slots.
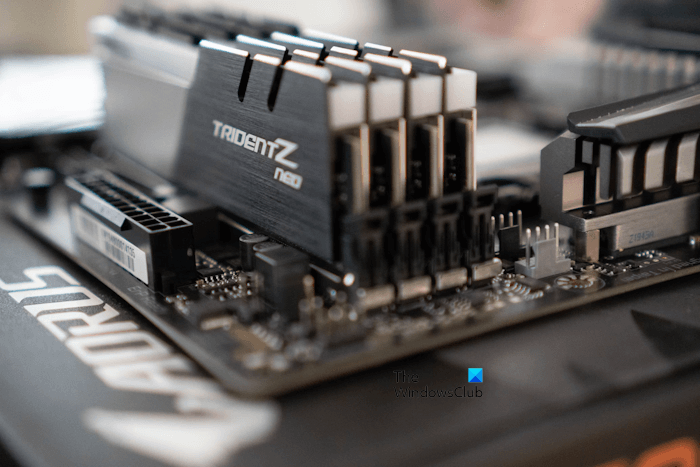
You can also try different combinations with your RAM sticks. For example, if you have two RAM sticks and four RAM slots, try inserting them into slot 1 and slot 2, slot 2 and slot 3, and so on.
If you have only one RAM stick, insert it into all available RAM slots one by one and boot your computer.
4] Flash your BIOS
You can also try to flash your BIOS. This method is also useful if you have installed a new CPU or RAM and you started getting the no display problem after the installation. Some motherboards support flashing the BIOS without a CPU and RAM.
To flash BIOS without a CPU and RAM, motherboards have a dedicated button. To perform this method, you need to download the latest version of your BIOS from the official website of your computer manufacturer.
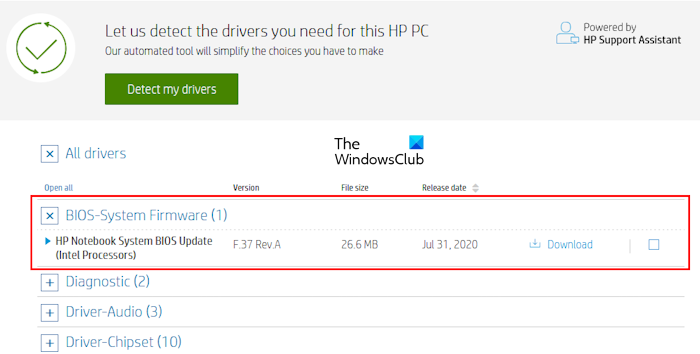
The steps to do this are as follows:
- On a working computer, download the latest version of your BIOS.
- Insert a USB flash drive and format it in FAT 32 format.
- Now, copy the BIOS file to the USB flash drive in the required format.
- Insert the USB flash drive into the dedicated USB port (refer to your user manual).
- Now, press the dedicated button on the motherboard to flash BIOS. Make sure that the power supply is connected to your computer.
When the process of flashing BIOS starts, the LED indicator on the motherboard starts blinking continuously. This indicates that the flashing BIOS is in process. Wait till the LED indicator stops flashing. When it stops flashing, your BIOS is updated to the latest version. This process can take from 5 to 10 minutes. Therefore, you have to wait till the process gets completed. Do not interrupt the process because this can break your motherboard.
You may also see the beta version of your BIOS on the official website. We suggest you not download the beta version, as it can cause trouble.
The above-mentioned steps are the general steps to flash BIOS without a CPU and RAM. But we strongly recommend you refer to the user manual of your motherboard to know the exact method of flashing the BIOS without a CPU and RAM. Following the incorrect method can damage your motherboard.
Related article: How to recover BIOS on laptop.
5] The issue can be with your RAM or CPU
If the DRAM light is still on, the issue may be with your RAM or CPU. If you have installed a new RAM, it should be compatible with your motherboard. Installing an incompatible RAM can result in boot failure.
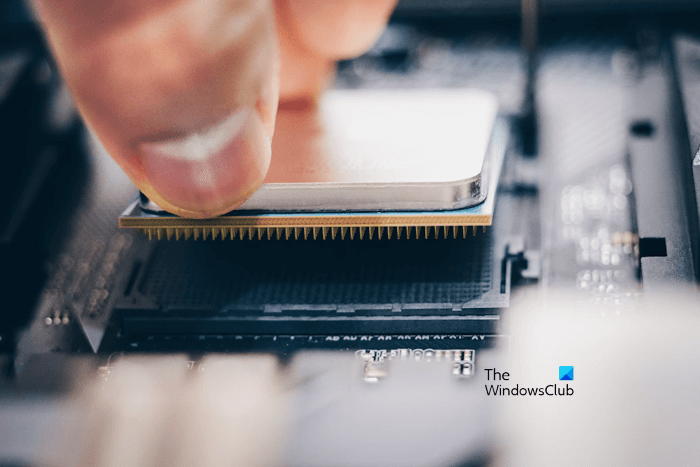
You can also try reseating the CPU. Remove the CPU and install it again. Also, check if any pin of the CPU slot is bent or damaged. Be careful while installing the CPU, as any mistake could lead to hardware damage.
Check all the cable connections. All the connections should be tight. The CPU cooler should not be mounted too tightly, as it can also lead to boot failure.
6] Get professional support
If nothing helps, the cause of the issue is out of your scope. We suggest you get professional help. Take your computer to a professional computer repair technician.
That’s it.
Related: VGA light on motherboard is ON
What does the orange light mean on RAM?
The orange light on RAM indicates that there is an issue with your RAM. Maybe your RAM is dirty or it is not seated in the slots properly. Remove your RAM from the RAM slot, clean it, and insert it properly. It is also possible that your RAM is damaged or dying.
Why is my DRAM light yellow?
It depends on the make of your motherboard. Different manufacturers use different LED indicators on the motherboard to indicate a hardware issue. If your DRAM light is yellow and it is on, there is an issue with your RAM. You need to check whether it is seated properly or not.
Read next: Troubleshoot ASUS motherboard with Q-LED indicators.
Leave a Reply