The file dxgkrnl.sys is associated with the Microsoft DirectX driver, which is a collection of technologies developed by Microsoft to provide hardware acceleration for demanding multimedia applications such as 3D games and HD videos. However, a lot of users are facing dxgkrnl.sys Blue Screen of Death. In this post, we are going to discuss how to resolve this issue.
Code: VIDEO_DXGKRNL_FATAL_ERROR
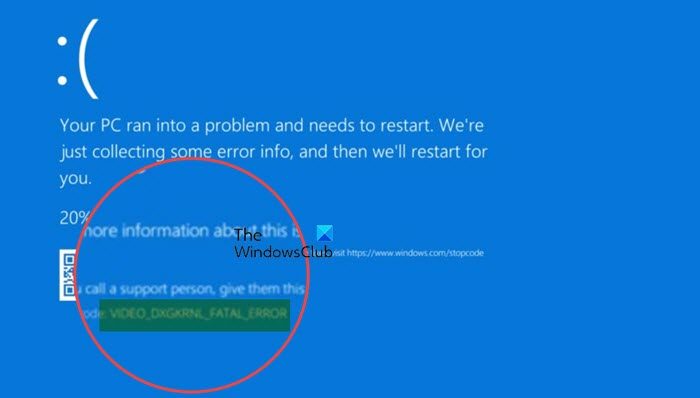
There are many Blue Screen errors for this system file. If this error occurs, you might have your dxgkrnl.sys infected with malware. Since this might go undetected as a system file from the antivirus, it might go undetected. Some of these errors have already been covered on our website, and you can search for them.
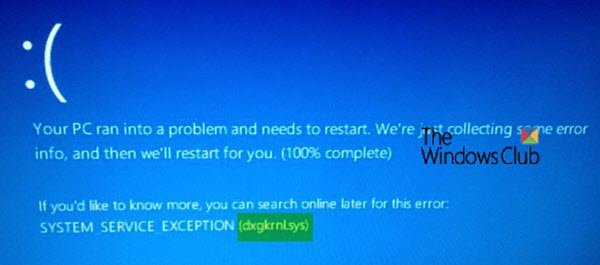
Some of the errors that relate to this file are:
- SYSTEM_SERVICE_EXCEPTION
- VIDEO_DXGKRNL_FATAL_ERROR
- BAD_POOL_HEADER.
- STOP 0x0000000A: IRQL_NOT_LESS_OR_EQUAL.
- STOP 0x0000001E: KMODE_EXCEPTION_NOT_HANDLED.
- STOP 0x00000050: PAGE_FAULT_IN_NONPAGED_AREA.
- THREAD_STUCK_IN_DEVICE_DRIVER.
What is the Dxg blue screen of death?
The Video DXGKRNL Fatal Error means a problem was found in the DirectX graphics system. This often happens after updating Windows and is called BSOD, Stop Error, blue screen error, or exception error.
Fix dxgkrnl.sys Error on Windows 11/10
We will cover several methods to fix dxgkrnl.sys Stop Error on Windows 11/10. They are:
- Run DirectX Diagnostic Tool.
- Update or re-install DirectX.
- Use DISM Commands.
- Update different Drivers
- Run Blue Screen Troubleshooter
- Disable SLI Technology in NVIDIA Control Panel.
- Turn off NVIDIA Surround.
1] Run DirectX Diagnostic Tool
As mentioned above, this error is related to DirectX Graphics APIs. So, in order to fix the issue, you can try to run the DirectX Diagnostic Tool.
2] Update or re-install DirectX
Another basic fix for the issue mentioned above is to update or reinstall DirectX. By updating or reinstalling DirectX, you can just replace the corrupt or incompatible components of DirectX from your computer.
3] Use DISM Commands
You may repair potentially corrupted system files with good ones using SFC or repair a corrupted system image using DISM.
To do so, hit the WINKEY + X combination and click on Command Prompt (Admin).
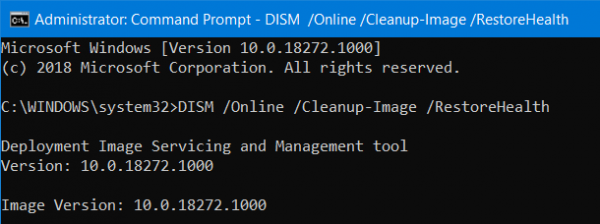
Now enter the following three commands sequentially and one by one:
Dism /Online /Cleanup-Image /CheckHealth
Dism /Online /Cleanup-Image /ScanHealth
Dism /Online /Cleanup-Image /RestoreHealth
Let these DISM commands run and wait until they execute.
4] Update Drivers
The incompatibility between the Operating System and the Driver might also give rise to issues like this. So, you can try to Update or Rollback any of the conflicting drivers. You can also try to Update your copy of Windows.
In particular, you can also try to uninstall your Graphics Driver and reinstall it again and see if it helps.
5] Run the Blue Screen Troubleshooter
Windows 11/10 comes with various troubleshooters out of the box. These are automatic tools that look for issues on your computer, depending on the troubleshooter’s focus.
You need to run the Blue Screen Troubleshooter. Let it scan your computer and after that, Reboot your computer for the changes to take effect.
6] Disable SLI Technology in NVIDIA Control Panel
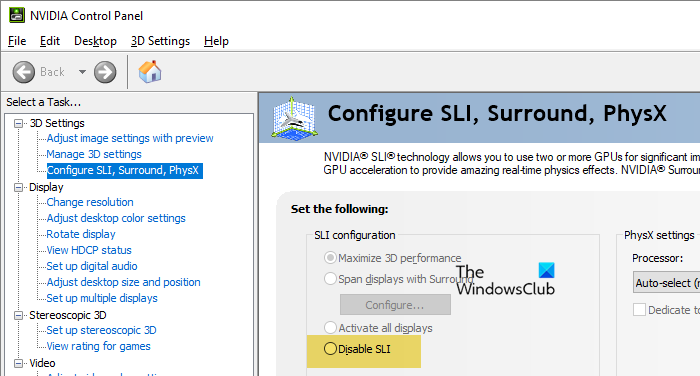
SLI is a technology that comes with NVIDIA Graphics cards. With this, multiple GPUs are allowed on a computer, which helps trigger Alternate Frame Rendering and directly boosts Graphics Performance. Hence, this fix is applicable only if you use an NVIDIA Graphics Card.
Start by searching for the NVIDIA Control Panel in the Cortana Search Box and select the appropriate search result. Alternatively, you can right-click on the NVIDIA Icon in the System Tray and select NVIDIA Control Panel.
Navigate to the section for 3D Settings. Select Set SLI Configuration.
Now click on Do Not Use SLI Technology. Click on Apply on the right bottom part of the window.
Reboot your computer for the change to take effect.
7] Turn off NVIDIA Surround
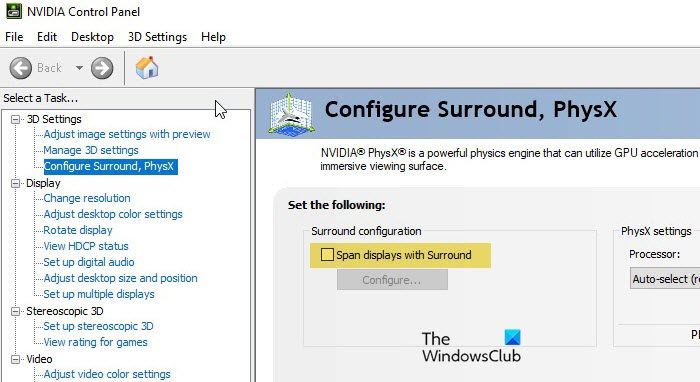
This fix is applicable only if you use an NVIDIA Graphics Card.
Search for the NVIDIA Control Panel in the Cortana Search Box and select the appropriate search result. Alternatively, you can right-click on the NVIDIA Icon in the System Tray and select NVIDIA Control Panel.
On the left side navigation panel, go to this path, 3D Settings > Configure Surround, PhysX. Under the section of Surround Configuration, uncheck the option labeled as Span displays with Surround.
Finally, click on Apply and then OK. Now, reboot your computer for the changes to take effect.
Let us know if any of the fixes mentioned above helped you.
Also Read: Fix dxgmms2.sys BSOD error on Windows computer.