The Game DVR feature on Xbox One lets you record games, and then share it wherever you want. It’s an inbuilt game capture application that can record few minutes of your gameplay, and then save it on your console or external drive which you can use it later on.
In a recent update to Xbox One, the Game DVR can now record gameplay at 1080P resolution instead of 720P @30 FPS. This is huge if you are looking for better quality. However, you will have to enable this option manually.
Enable 1080p Game DVR capture on Xbox One
To enable this, you will have to open Settings section in the Xbox One, and then look for the DVR Options. The option is available in settings of the console.
- Press the Xbox Guide button on the controller. This will reveal the guide.
- Now, keep pressing the Right Bumper (RB) till you reach the system section.
- In here, select “Settings”, and press “A.”
- This will open the main Settings.
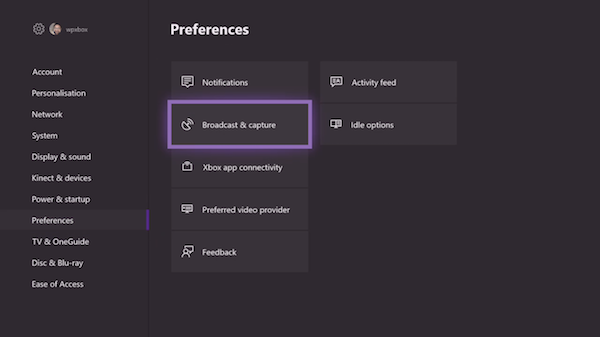
- Scroll down to the Preferences tab.
- Choose Broadcast & capture.
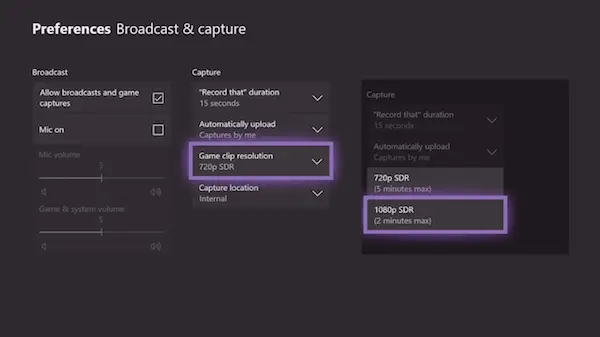
- Under “Capture”, go to Game clip resolution.
- Select 1080p SDR.
During selection, you will get to see that when switching from 720p SDR to 1080p SDR, the time of recording drops from 5 minutes to 2 minutes.
If you have an Xbox One X console, you should see a 4K resolution option which will record at 60 FPS and HDR.
Save Game DVR Clips to an external drive
Now that you know how to switch to 1080P while doing this, you may have noticed that there was an option to change “Capture Location” right under it. This means if you have external storage, you will be able to save it right there. This will make it easy for you to carry it anywhere you want. However, once you unplug from the console, the settings will set back to default “internal”.
To do this, you will need a USB 3.0 hard drive. However, there is no restriction on the minimum storage size.
- First, connect your hard drive to your PC, and format it to NTFS.
- Next, connect the external drive to a USB port on your Xbox One.
- A prompt will appear which will ask if you want to use your external drive for:
- Use for media.
- Format Storage device.
- Cancel.
- Select media.
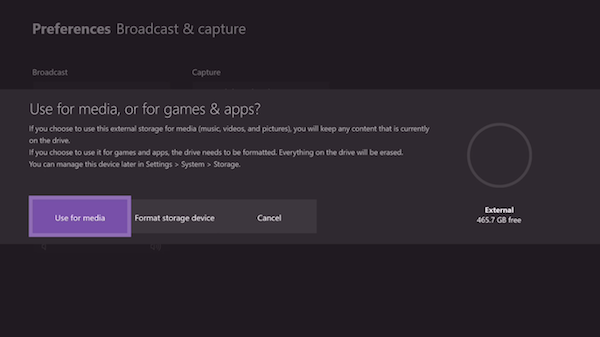
If you have an NTFS formatted hard drive, stay assured that none of your data will be lost when using it for media only. The message clearly says:
- If you choose to use this external storage for media, i.e., music, videos, and pictures, you will keep any content hat is currently on the device.
- If you choose to use it for games, and apps, the drive needs to be formatted. Everything on the device will be erased. You can manage the device later in Settings > System > Storage.
Follow these steps to change the location to external storage:
- Go back to the Broadcard & capture settings as we did above.
- Navigate to Capture Location.
- Select External. You will see the hard drive name there.
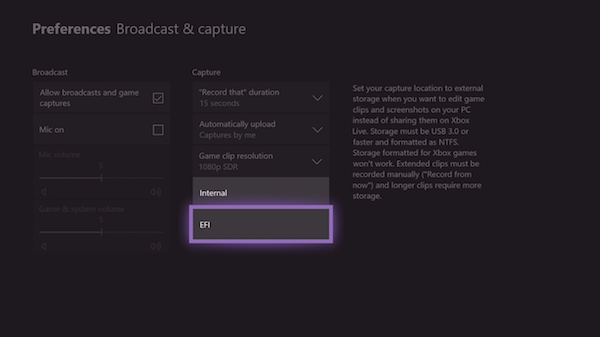
Next, when you select the 1080P recording, the time limit is increased to 1 hour instead of two minutes. Since video recording takes a lot of space, it was an intention to keep the limit to a max of 2 to 5 minutes, when internal storage is used.
Microsoft should totally make this drive available on the network, so there is no need to unplug the hard drive when the clips are needed to be transferred to PC.
Troubleshoot ‘First, format this device on your PC’ error
In case you get an error which says
First, format this device on your PC. To cpature game clips, and screenshots externally, storage must be formatted as NTFS. Connect it to your PC, and format it then recoonect it to your Xbox (0x80bd003c)
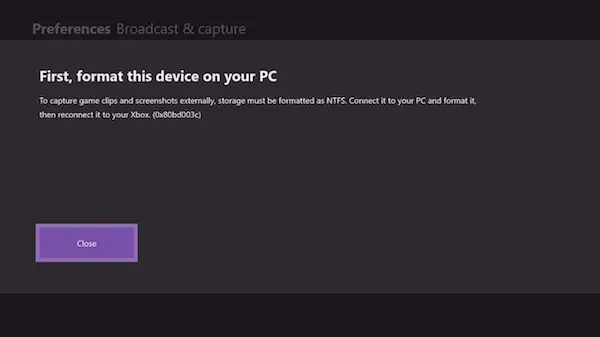
In this case, you will need to reformat your hard drive as NTFS again to make it work. When formatting the drive, you should uncheck the Quick Format option, and then format it. It takes longer than usual, but that worked for me. Also, I had to try multiple numbers of times, and then only it worked for me.
Also remember, if you switch between Games and Media, you will have to format it every time. A hard drive formatted for Xbox Games usage cannot be used for saving media files.
Leave a Reply