When you install Hotpatch for Windows Server 2022 Datacenter: Azure Edition, you can install security updates without rebooting. It can be used with both Desktop Experience and Server Core. In this post, we will see how to enable Hotpatch for Azure Edition virtual machine built for ISO.
What is Azure Edition Hotpatch?
The purpose of the Azure Edition Hotpatch is to allow the installation of security updates without the need to reboot the server to ensure high availability of the server. It has some other perks including a more secure environment and quicker updates.
Enable Hotpatch for Azure Edition virtual machines built from ISO
When using Hotpatch for your ISO-deployed machine on Azure Stack HCI, the Hotpatch experience differs. The Hotpatch will always be enabled, moreover, its configuration will be absent from the Azure Update Manager. Also, the Orchestration can only be performed manually.
To enable Hotpatch for Azure Edition virtual machines built from ISO, we need to go through the following prerequisites.
- You need to make sure that your platform supports Windows Server 2022 Datacenter: Azure Edition. You can go with platforms such as Azure or Azure Stack HCI (version 21H2 or above) with Azure benefits enabled.
- You need to configure an outbound network access or an outbound port rule to allow HTTPS (TCP/443) traffic to go.microsoft.com or software-static.download.prss.microsoft.com.
So, when trying to get the Hotpatch working, you need to keep the aforementioned prerequisites in check.
Make your server ready for installation

After checking all the prerequisites, it’s time to make your server ready to install and enable Hotpatch. To do so, first of all, sign into your server. If you’re using Server Core, go to the SConfig menu, select option 15, and press Enter to open a PowerShell session. If you’re using the desktop experience, access your VM via a remote desktop, and then launch PowerShell.
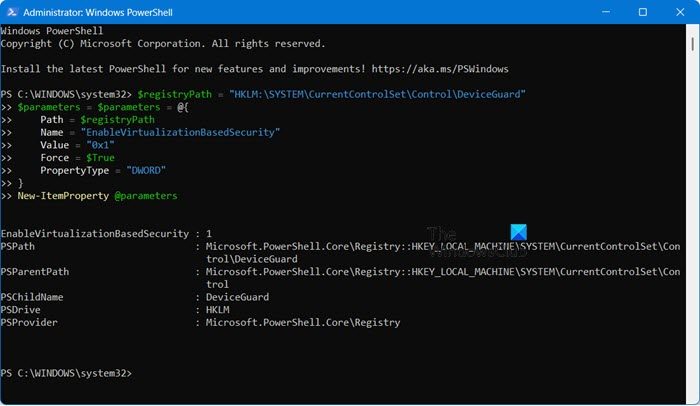
Initially, we need to enable Virtualization-based security. You can do that by executing the following command in PowerShell
$registryPath = "HKLM:\SYSTEM\CurrentControlSet\Control\DeviceGuard" $parameters = $parameters = @{ Path = $registryPath Name = "EnableVirtualizationBasedSecurity" Value = "0x1" Force = $True PropertyType = "DWORD" } New-ItemProperty @parameters
You can now, reboot your computer. Once your computer starts, run the following command to set the Hotpatch table size.
$registryPath = "HKLM:\SYSTEM\CurrentControlSet\Control\Session Manager\Memory Management" $parameters = $parameters = @{ Path = $registryPath Name = "HotPatchTableSize" Value = "0x1000" Force = $True PropertyType = "DWORD" } New-ItemProperty @parameters
Finally, we need to execute the following command to configure the Windows Update endpoint for Hotpatch
$registryPath = "HKLM:\SOFTWARE\Microsoft\Windows NT\CurrentVersion\Update\TargetingInfo\DynamicInstalled\Hotpatch.amd64" $nameParameters = $parameters = @{ Path = $registryPath Name = "Name" Value = "Hotpatch Enrollment Package" Force = $True } $versionParameters = $parameters = @{ Path = $registryPath Name = "Version" Value = "10.0.20348.1129" Force = $True } New-Item $registryPath -Force New-ItemProperty @nameParameters New-ItemProperty @versionParameters
After configuring the Hotpatch registry, we need to install it.
Read: Windows Server Tutorial and Tips
Download and install the Hotpatch servicing package

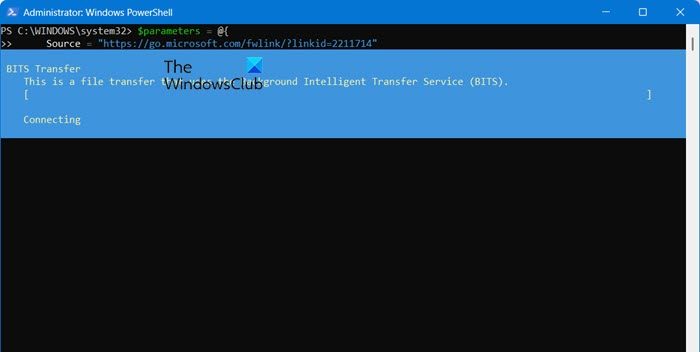
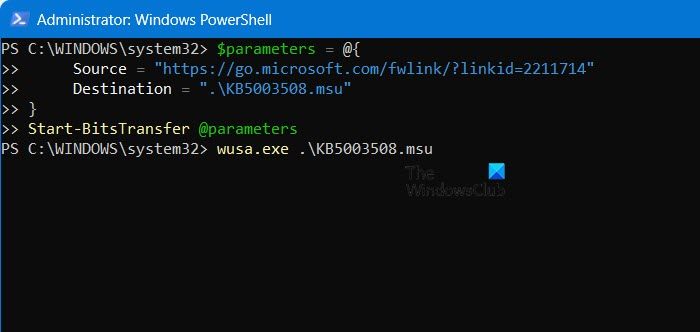
Finally, we need to download and install the Hotpatch servicing package. However, for that to happen, you need to download Microsoft Update Standalone Package KB5003508 from the Microsoft Update Catalog and copy it to your computer. To do so, run the command mentioned below.
$parameters = @{ Source = "https://go.microsoft.com/fwlink/?linkid=2211714" Destination = ".\KB5003508.msu" } Start-BitsTransfer @parameters

Now, we need to install the package that we just downloaded, for that, run the below command.
wusa.exe .\KB5003508.msu
To verify whether the package is installed, run the command mentioned below.
Get-HotFix | Where-Object {$_.HotFixID -eq "KB5003508"}
That’s it! Your job is done.
Read: How to check SMB version on Windows 11
How to attach ISO file to Azure VM?
You can’t make an Azure VM from an ISO file. You can only create VMs from VHDs, Managed Disks, or Managed Disk Images/Snapshots. If you want to use this ISO in Azure, you would need to use something like HyperV on-premises to create a VM, export the VHD, and upload it to Azure.
Also Read: Windows Server 2022 Hardware Requirements.
Leave a Reply