When you check the properties of an image or NTFS volume, you see a field called “Accessed” that denotes when the file has been last accessed. However, this can put some toll on your computer and hence, it is not for everyone. In this post, we will see how to enable or disable NTFS Last Access Time Stamp Updates.

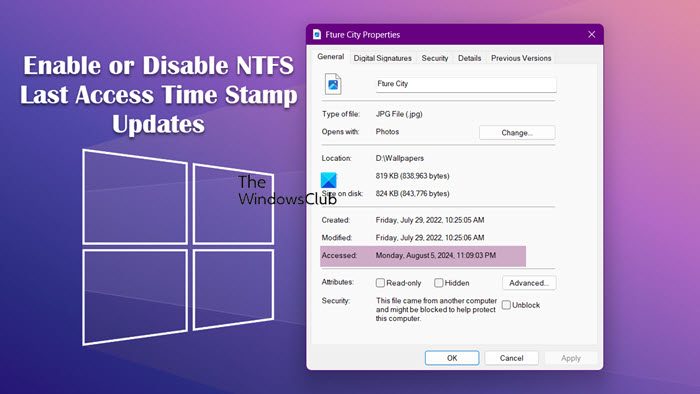
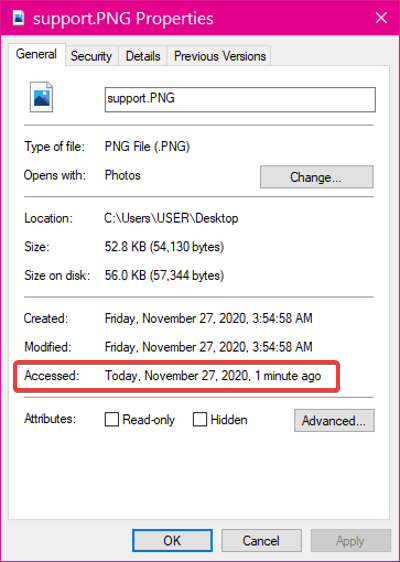
When you open the properties of a file or folder on an NTFS volume, Windows 11/10 shows you the last time this file or folder was accessed on your machine, as you can see from the screenshot below.

While the last access timestamp is a neat feature, it can take a toll on your system resources and cause files to open more slowly, especially if you use a budget PC.
Most people never need this feature and may wish to disable it. In the section that follows, I’ll show you how to disable last access time stamp updates from Command Prompt.
Enable or disable NTFS last access time stamp updates
Press the Windows key and search for Command Prompt. Right-click on Command Prompt from the search results and select the Run as Administrator option. This launches the program with elevated privileges.
We’ll explore the following four ways to manage last access time updates in Command Prompt:
- Show the current status of last time stamp updates.
- Enable and disable User-Managed last access time stamp updates.
- Enable and disable System Managed last access time stamp updates
Continue reading this post as I explain the above processes and show you how to carry them out.
1] Show the current status of last time stamp updates

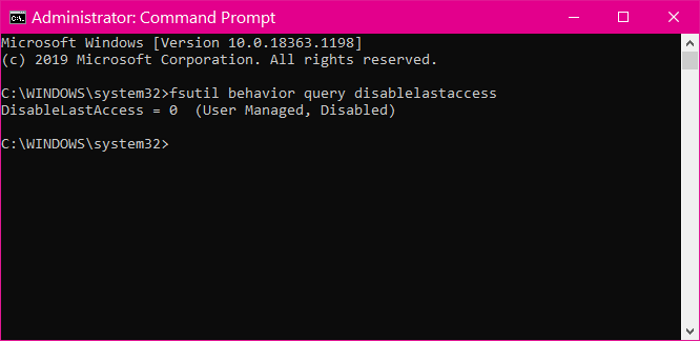
Before disabling or enabling last time stamp updates, you need to know its current status. Enter the following text into the Command Prompt window and hit the ENTER key. You can also copy and paste the text.
fsutil behavior query disablelastaccess
The above command shows the current status of your last access time stamp updates.
2] Enable and disable User-Managed last access time stamp updates
After checking the status of your last access timestamp updates, you may want to disable it if it’s active and vice versa. The User-Managed mode puts the power in your hands.
If you enable or disable last access timestamp updates, it stays that way, and the computer will not modify the settings.
To enable user-managed last access time stamp updates, use the following command:
fsutil behavior set disablelastaccess 0
To disable user-managed last access time updates, run the command below:
fsutil behavior set disablelastaccess 1
3] Enable and disable System Managed last access time stamp updates

As the name suggests, the NTFS driver is in charge of enabling and disabling the last access updates in the System Managed mode. The system volume (usually drive C) gets mounted whenever you boot your computer.
During this process, the NTFS driver will enable the last access updates for NTFS volumes if the size of your system volume is less than or equal to 128GB. Alternatively, if the system drive is larger than 128GB, the system disables last access time-stamp updates.
To enable System-Managed last access time stamp updates, use the following command:
fsutil behavior set disablelastaccess 2
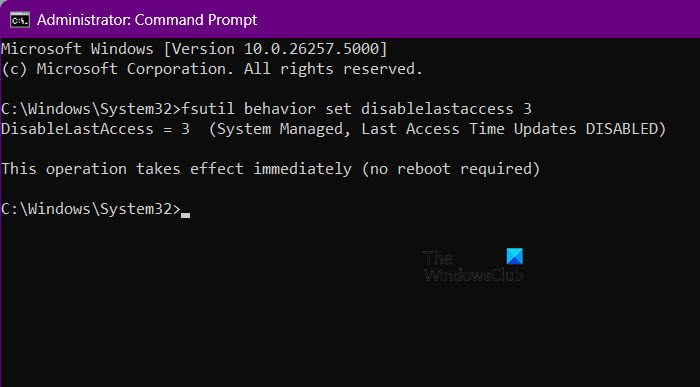
To disable System-Managed last access time updates, enter the following command, and run it:
fsutil behavior set disablelastaccess 3
After running any of the above commands, exit Command Prompt and restart your machine.
That’s it!
What is NTFS timestamp?
An NTFS Timestamp indicates when a specific event occurred. The NTFS file system stores eight timestamps per file in the file’s entry in the MFT. You can access the properties of a file or an NTFS volume to check the timestamp.
Also Read: Enable or disable NTFS File Compression in Windows 11.