One of the most annoying issues with a Printer is the one where it refuses to get set up or configured on your computer. When it has configuration issues, one of the common errors that it throws is 0x00000709. This occurs if there is already a default printer set and configured or Windows does not want to configure the new printer at all.
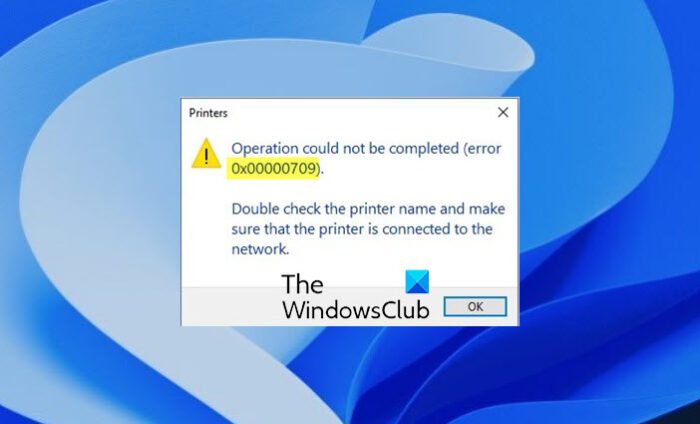
Operation could not be completed (error 0x00000709), Double check the printer name and make sure that the printer is connected to the network.
Today, we will try two fixes that may help you get rid of this error.
Fix Printer Error 0x00000709
If a Printer cannot set as default or you cannot connect a Printer, and you see error 0x00000709 in Windows 11/10, try these fixes:
- Check printer name and connection
- Run Printer Troubleshooter
- Use the Registry Editor
- Update the Printer Drivers.
1] Check printer name and connection
This error code occurs when a printer is connected to a network and the connection fails and the operation cannot be completed. So as suggested, you need to first check in the printer name is correct and if the printer is properly connected to the network.
2] Run Printer Troubleshooter
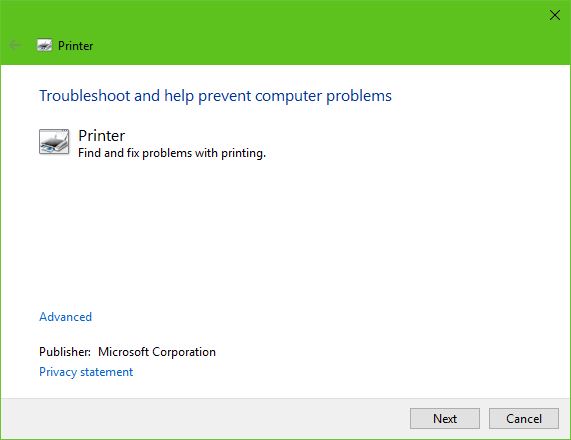
The first option to take is to run the Printer Troubleshooter.
Click on the Windows Key + R to fire up the Run dialog box, then type the following command and click Enter:
msdt.exe /id PrinterDiagnostic
From here, then, follow the instructions to fix your printer in hopes that it works well throughout.
3] Use the Registry Editor
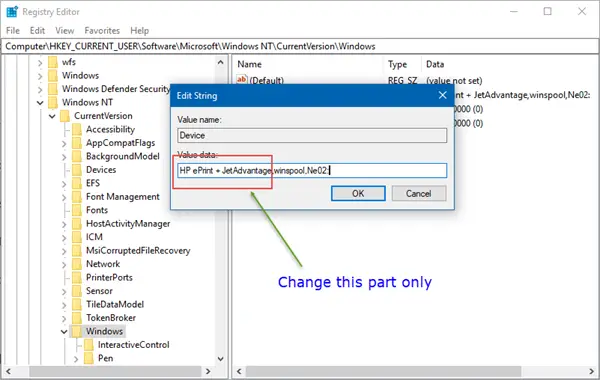
Hit the WINKEY + R button combination to launch the Run utility, type in regedit and hit Enter. Click on Yes for the UAC or User Account Control Prompt that you get.
Once Registry Editor opens, navigate to the following key location-
HKEY_CURRENT_USER\Software\Microsoft\Windows NT\CurrentVersion\Windows
Now, under the Windows folder, double-click on the file named Device on the right-side pane.
Add the name of your printer inside the Value Data field as shown above and then click on OK.
You will get a message saying – Cannot edit Device: Error writing the value’s new contents.
Click on OK again.
Before you carry out the next step, note down the existing permissions and once you have added the Printer, remember to reverse the changes you made to the Permissions.
Next, right-click on the Windows folder on the left pane and then click on Permission. In the section labeled as Group or user names, select Restricted.
In the section labeled as Permissions for RESTRICTED, check to Allow for all the three options: Full Control, Read, Special Permissions.
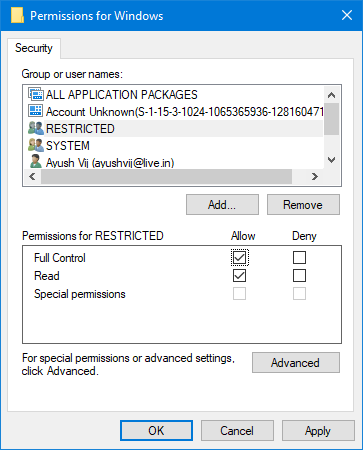
Now, click on Apply and then click on OK.
Once you have done that, right-click on the file named as UserSelectedDefault and select Rename and then rename it to your printer’s name.
Reboot your computer for the changes to take effect.
Once you have added the printer, remember to reverse the Permission changes you made. This is in the interest of security.
4] Update the Printer Drivers
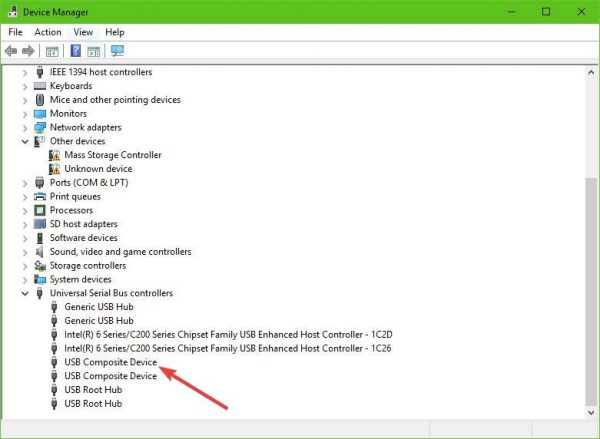
You should update your Printer Drivers. Locate the option that says USB Composite Device, right-click it, then select Update Driver from the menu. Restart your computer. The final thing to do here is to click on Search automatically for updated driver software, and you’re done.
We suggest visiting the official website of the brand and search for the section that allows the downloading of the latest and older drivers. Should you come across the newest driver, get it up on your computer and install it.
Read: Fix Runtime Error 482 Printing error in Windows 11/10
All the best!
Leave a Reply