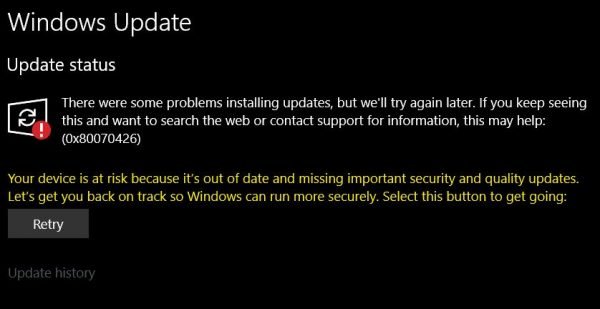
The error code 0x80070426 is another Windows 11/10 error that is applicable to both Microsoft Store and Windows Update. The error for Windows Update states-
“There were problems installing some updates, but we’ll try again later. If you keep seeing this and want to search the web or contact support for information, this may help: (0x80070426)”
The error message for Microsoft Store says-
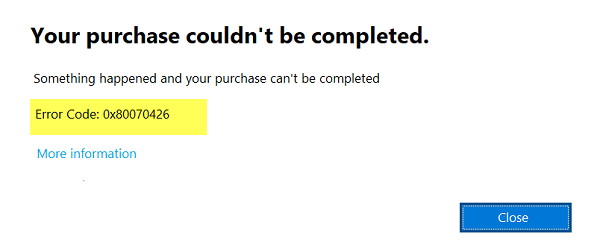
“Your purchase couldn’t be completed. Something happened and your purchase can’t be completed. Error code : 0x80070426”
Since there are common services that support both Windows Updates and Microsoft Store, the solutions are similar too. We will be discussing the fixes for this error here.
Error 0x80070426 for Microsoft Store & Windows Update
To resolve this error code 0x80070426, we will be carrying out the following fixes:
- Reset the Microsoft Store.
- Run Windows Update Troubleshooter.
- Use System File Checker and DISM.
- Download the required update manually.
- Configure the Firewall or Antivirus.
- Reset Windows Update components
- Check Microsoft Account Sign-in Assistant Service status.
1] Reset Microsoft Store
To reset the Microsoft Store, Run CMD as Administrator and execute the following command:
wsreset
Wait for the process to complete and then try to install your App or Windows Update again.
2] Run Windows Update Troubleshooter
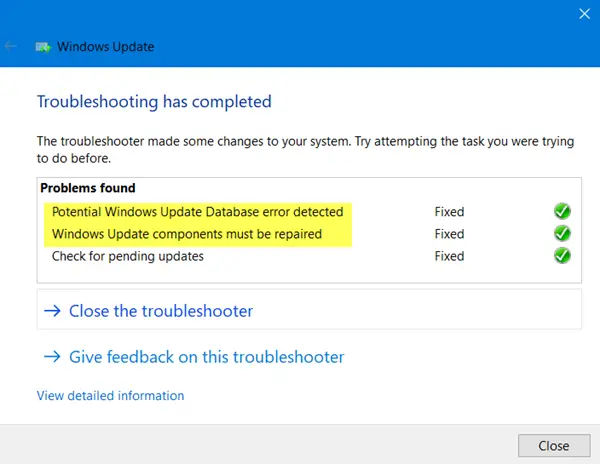
To run Windows Update Troubleshooter, start by opening the Settings app from the Start Menu and navigating to Update & Security > Troubleshooter.
Select Windows Update from the right-side panel and click on Run Troubleshooter.
Follow the on-screen instructions to troubleshoot the issue that you are facing.
3] Use System File Checker and DISM
Run CMD as Administrator and then execute the following command to run System File Checker:
sfc /scannow
Restart your system after the scan is completed.
You can also use our freeware FixWin to Run the System File Checker utility with a click.
Now, in order to fix Windows Update files using DISM, open Command Prompt (Admin) and enter the following three commands sequentially and one by one and hit Enter:
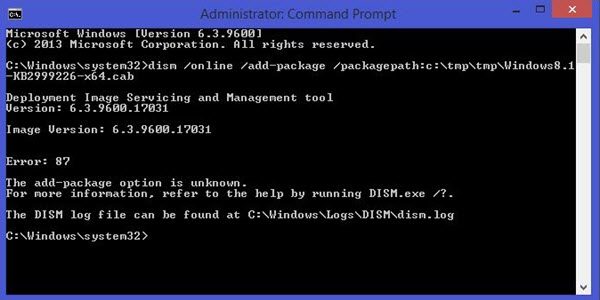
Dism /Online /Cleanup-Image /CheckHealth
Dism /Online /Cleanup-Image /ScanHealth
Dism /Online /Cleanup-Image /RestoreHealth
Let these DISM commands run and once done, restart your computer and try again.
4] Download the required update manually
If it’s not a feature update, and only a cumulative update, you can manually download and install the Windows Update. To find which update has failed to follow the steps:
- Go to Settings > Update and Security > View Update History
- Check which particular update has failed. Updates that have failed to install will display Failed under the Status column.
- Next, go to Microsoft Download Center, and search for that update using the KB number.
- Once you find it, download, and install it manually.
You could use Microsoft Update Catalog, a service from Microsoft that provides a listing of software updates that can be distributed over a corporate network. Using the Microsoft Update Catalog can prove to be a one-stop location for finding Microsoft software updates, drivers, and hotfixes.
You can try to temporarily disable Windows Defender which is installed out of the box on your Windows 10 computer. You can also disable your Windows Firewall on your computer and check if that fixes the errors that you are encountering. If you are using 3rd-party security software, disable them and see.
6] Reset Windows Update components
To rename SoftwareDistribution & reset Catroot2 folders, start by hitting the WINKEY + X combinations and select Command Prompt (Admin) to launch Command Prompt with Administrator Privileges.
Now copy and paste the following commands one by one in the Command Prompt console and hit Enter.
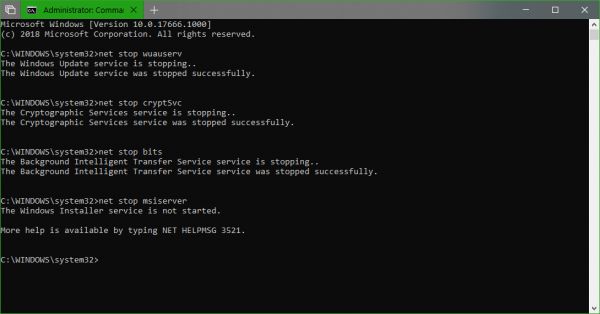
net stop wuauserv
net stop bits
net stop cryptSvc
net stop msiserver
This will stop all the Windows Update Services running on your Windows 10 PC.
After that, type in the following commands to rename the respective directories on your computer,
ren C:\Windows\SoftwareDistribution SoftwareDistribution.old
ren C:\Windows\System32\catroot2 catroot2.old
Finally, type in the following commands and hit Enter to restart the Services for Windows Update that we stopped earlier,
net start wuauserv
net start bits
net start cryptSvc
net start msiserver
pause
Close Command Prompt and reboot your computer and check if that fixes the error mentioned above.
Related: Windows could not start Service, Error 0x80070005, Access Is Denied
7] Check Microsoft Account Sign-in Assistant Service status
Deepak adds below in the comments:
Ensure that Microsoft Account Sign-in Assistant service is not disabled in Windows Service Manager. It should be set to Microsoft default which is Manual – and it should be started. If not click on the Start button.
Did these fixes help you?
You may also see Error Code 0x80070426 associated with Microsoft account, or Office Activation.
NOTE: Please also check the suggestions by BLaCKnBLu3B3RRY and Deepak Mohapatra in the comments, below.
How do I fix Error 0x80070486 in Windows?
To fix Windows Update Error Code 0x80070486 in Windows 11/10, run the Windows Update Troubleshooter, try to install the Update in clean boot state and if that does not help, download the Update from the Microsoft Catolog website and install it manually.
Read: If you encounter the same error for User Accounts, read our guide about it, Your Account Wasn’t Changed To This Microsoft Account, Code 0x80070426.
Leave a Reply