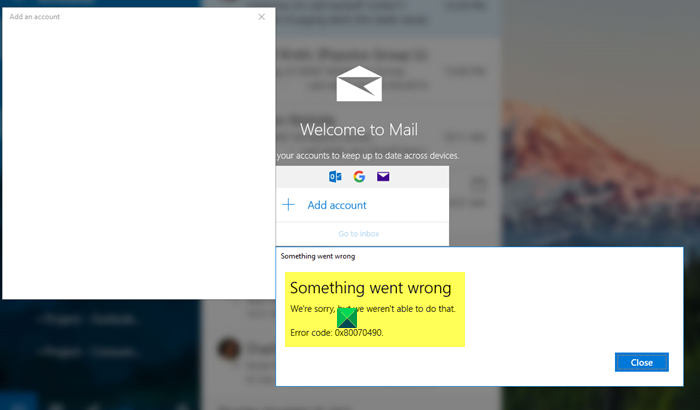
When you try to Add an account in the Mail app in Windows 11/10, you may receive Error 0x80070490. This can happen when adding a Gmail, Hotmail, Outlook, or any other email service provider. In this post, we will show how to fix error 0x80070490 on Windows 111/10. This error comes with an error message that shows –
Something went wrong. We’re sorry, but we weren’t able to do that. Error code: 0x80070490

Fix Error 0x80070490 in Mail app
Users are getting this error 0x80070490 when any files of process associated with these folders get corrupted. If you’re dealing with the same error code, you can use the following suggestions to fix it:
- Repair or Reset the Windows Mail App
- Uninstall & reinstall the Mail App
- Run System File Checker
- Enable the Built-in administrator account
Let us look at these solutions in more detail.
1] Repair or Reset the Windows Mail App

This error possibly occurs due to having a wrong setting in the Windows Mail app. In this case, you can try repairing or resetting the Mail app using the following instructions:
- Open Windows Settings.
- Go to Apps > Apps & features.
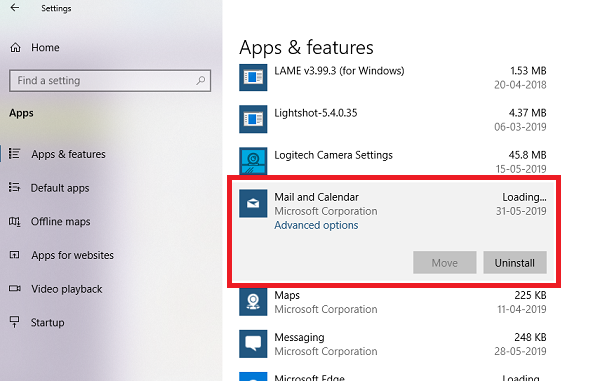
- Locate the Mail and Calendar app and select it.
- Click on the link saying Advanced options.
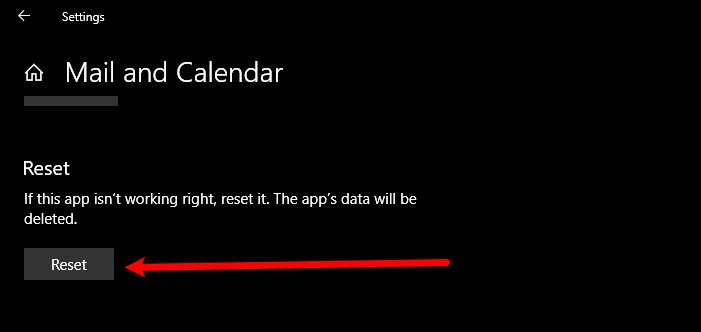
- Under the Reset section, click on the Reset button.
- Click the Reset button again to confirm the changes.
If you need, you can see the above steps in detail:
To get it started, launch the Settings app first. For this, press the Windows + I keyboard shortcut and let the Windows Settings appear.
Inside the Settings app, open the Apps menu and then select the Apps & features section.
Now move to the right pane and search for the Mail and Calendar app from the list. Once you find it, select it and then click on the Advanced options link.
On the next page, scroll down to the Reset section and then click on the Reset button.
If Windows asks for your confirmation, click on the Reset button again to verify it.
After performing the above steps properly, see if the error code 0x80070490 is fixed now. If you still receive the same error, try the next option.
2] Uninstall the Mail App and install it again
This solution requires you to uninstall the Mail app and reinstall it again and see if it helps you fix the error code. The procedure to uninstall and reinstall the Mail app is as follows:

Right-click on the Start menu.
Select Windows PowerShell (Admin) from the menu list.
When UAC prompts on the screen, click the Yes button to give your consent.
In the PowerShell window, type the following command line
Get-AppxPackage Microsoft.windowscommunicationsapps | Remove-AppxPackage
Press the Enter key to run the code.
Now close the PowerShell window and open the Microsoft Store app.
Search for the Mail and Calendar app.
Then download & install the Mail and Calendar app.
After installing the Mail and Calendar app, see if it fixed the error code.
3] Run System File Checker
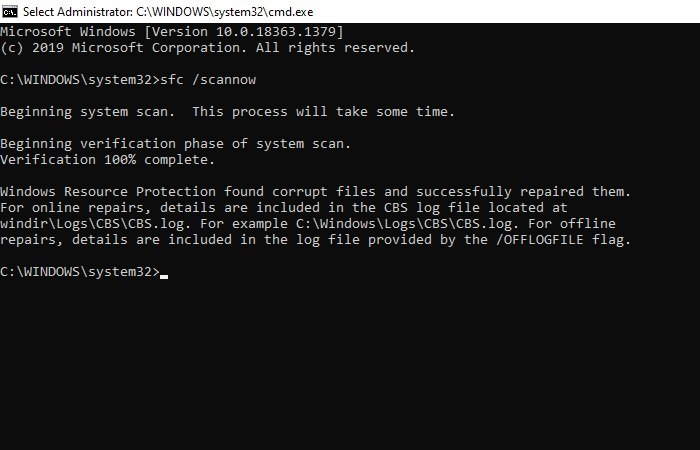
The next solution is to run the System File Checker tool to scan restore the corrupted system files. To try this, do the following:

open an elevated Command Prompt.
Copy and paste the command line and hit enter to execute it
sfc /scannow
It may take around a while to complete the procedure. So as long as the system scans the text code, you can perform any other work if you want. After the successful SFC scan, restart your Windows device and try to add your email account again.
Read: Fix Mail app error code 0x8007139f.
4] Enable the Built-in administrator account
If nothing helps you solve the error code, chances your administrator account is not active. In this case, you need to enable the built-in administrator account to solve the error code.
- Press the Windows + I keys to open the Run dialog box.
- Type cmd in the text field and press Ctrl+Shift+Enter to open the command prompt as an administrator.
- If a UAC popup appears on the screen, click the Yes button to grant the admin access.
- In the command prompt window, type – net user administrator /active:yes.
- Press the Enter key to run the code.
- Now close the Command Prompt window and then restart your PC.
- On starts up, try to sign in to the administrator account.
After performing the above steps, try to settings up the account again.
That’s it. Let us know if this worked for you.
Leave a Reply