Microsoft Store might be one of the most used applications on Windows 11/10 – but it does come with its share of problems. While Microsoft has been trying to improve upon it with every update, users still report many errors. One of the more common errors is – Try that again, Something went wrong, The error code is 0x80073CF9, in case you need it.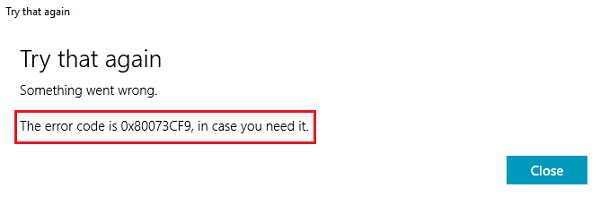
Fix 0x80073CF9 Install failed Microsoft Store error
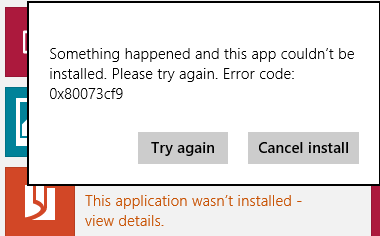
Error code 0x80073CF9 denotes Severity Failure when you download, install or update Windows Store apps. If you receive error code 0x80073CF9, here is what you need to do to fix the problem. Do remember to create a system restore point first before making any changes to your system.
1] SFC scan
Run an SFC scan as it can help to repair corrupt system files.
2] Switch from wireless to wired connection
At times, downloads don’t work right with wireless connections. Try connecting your system to the network hard-wired and resume the download. If it doesn’t connect to the wired connection directly, try the following steps:
1] Press Win + R to open the Run window. Type the command ncpa.cpl and press Enter to open the Network Connections window.
2] Right-click on your wireless network and select Disable. This will disable the wireless network, forcing the system to connect to the wired network.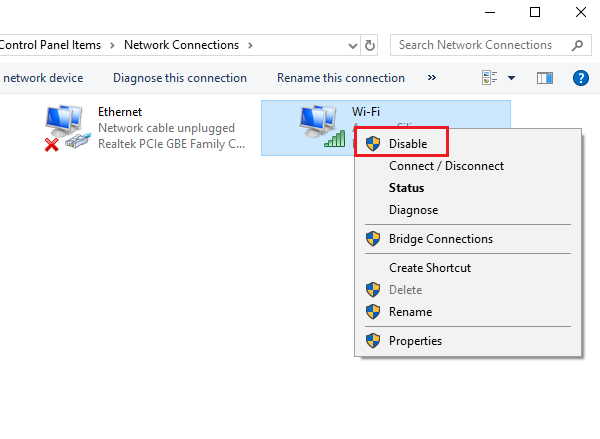
Check if it helps resolve the issue or move to the next solution.
3] Create the AppReadiness folder
1] Go to C:\Windows, where C: is the system drive.
2] Right-click anywhere in the open space and select New > Folder.
3] Name the new folder AppReadiness.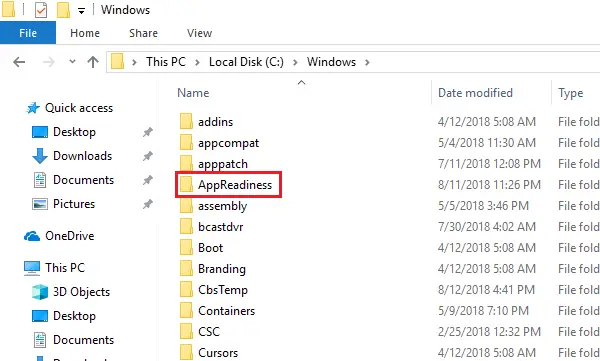
4] Open the folder and make sure the path to the folder should be C:\Windows\AppReadiness where C: is the system drive.
Windows Store will save data in this folder. When it was absent, the Store iss unable to create it on its own, an issue which has been corrected now.
4] Allow the Store access to the Packages folder
This error also occurs when the AppReadiness folder is created, but the Windows Store does not have enough permissions to write to the Packages folder there.
1] The Packages folder is located on the path: C:\ProgramData\Microsoft\Windows\AppRepository. This path might have a few hidden folders. In case you are unable to find them, go to the View tab and check Hidden items.
2] Making changes to the AppReadiness folder needs Administrator permissions. Right-click on the folder and select Properties.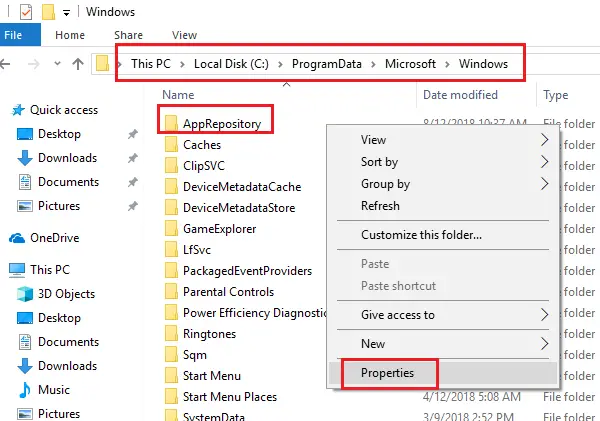
3] In the Security tab, click Advanced and then Continue.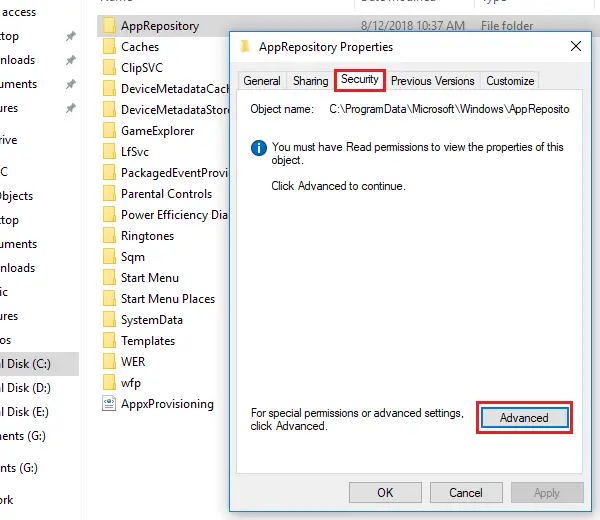
4] Allow full access to SYSTEM.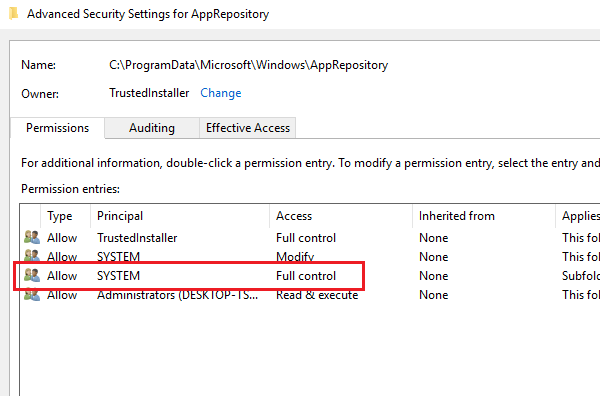
5] Click on Apply and then OK to save the settings and restart the system.
5] Delete OLE folder
Try to delete ‘OLE’ folder in Registry Editor. First back up your Registry. Then open regedit and navigate to HKEY_CURRENT_USER\Software\Microsoft\. Here delete the OLE folder.
6] Rename SoftwareDistribution folder
Try running the following commands one after the other, before you try to update the app:
net stop wuauserv
rename c:\windows\SoftwareDistribution softwaredistribution.old
net start wuauserv
Shut down Security software and Firewall and try again
7] Reinstall the app
Do a Clean Uninstall of the app and reinstall it afresh
8] Recreate AUInstallAgent folder
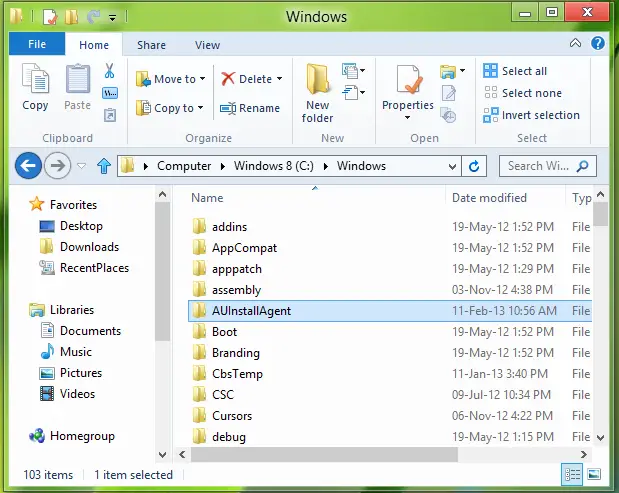
If a folder named AUInstallAgent is missing from your C:\Windows folder, recreate it, try again, and see if it helps. The only condition for doing this is to be signed in as an administrator of your Windows.
Make sure the folder “AppReadiness” exists inside C:\Windows, if it doesn’t exist, create it manually and leave it empty.
I hope this helps!
How to fix Microsoft Store error 0x80073CF8?
To fix the Microsoft Store error 0x80073CF8, check Storage Space, reset the Microsoft Store Cache, and Run Microsoft Store Troubleshooter. If that does not help, re-register the Microsoft Store and run the SFC and DISM Tools.
Read: Fix 0x80073CF9 Microsoft Store error.
Leave a Reply