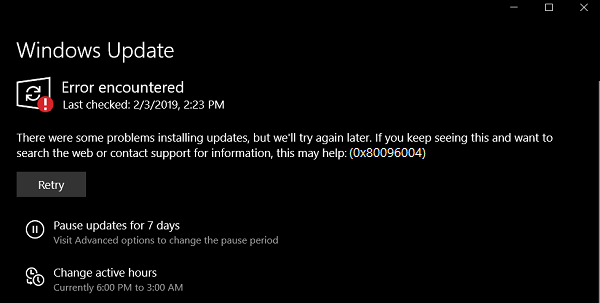
People have reported Microsoft of encountering error 0x80096004 for Windows Updates. This is caused during the initial download and verification process, and even Windows features (FODs) are also affected by this error. The error code says TRUST_E_CERT_SIGNATURE. This means that the signature of the certificate could not be confirmed.

It is caused due to a broken certificate store or a corrupt copy of the Windows operating system being installed.
There were problems installing some updates, but we’ll try again later. If you keep seeing this and want to search the web or contact support for information, this may help (0x80096004)
Today, we will be checking out how to fix error code 0x80096004 for Windows Updates on Windows 11/10.
Fix Windows Update error 0x80096004
To fix the error 0x80096004 for Windows Update on Windows 11/10, we will be carrying out the following fixes,
- Replace the crypt32.dll file.
- Reset Windows Update folders.
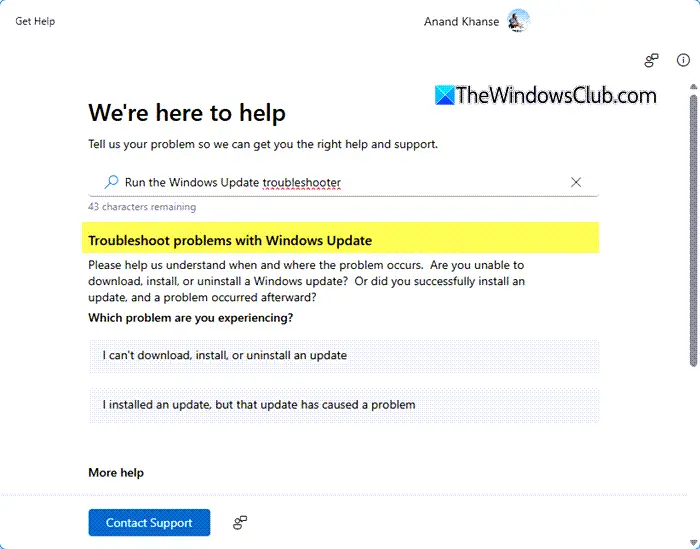
- Use Windows Update Troubleshooter.
- Configure the Firewall or Antivirus.
- Download the required update manually.
- Use System File Checker.
- Run Windows Updates in Clean Boot State.
1] Replace the crypt32.dll file
Crypt32.dll is the module that implements many of the Certificate and Cryptographic Messaging functions in the CryptoAPI
The file mentioned above is located on this path-
For x86:
This PC > C:\Windows\System32.
For x64:
This PC > C:\Windows\SysWOW64.
Get the new file from another computer with the same file version number.
Then, you need to boot into Safe Mode, navigate to the path mentioned above, and replace the file.
Next, open Command Prompt by searching for cmd in the Cortana search box and run it with Administrator level privileges.

Type in the following command and hit the Enter key to re-register the dll file–
regsvr32 crypt32.dll
Reboot and see.
2] Reset Windows Update related folders
You need to delete the contents of the SoftwareDistribution folder & reset the Catroot2 folder.
3] Use Windows Update Troubleshooter

You can run the Windows Update Troubleshooter and check if that is of any help in fixing any of your issues.
4] Configure the Firewall or Antivirus
You can try to temporarily disable Windows Defender which is installed out of the box on your Windows computer. You can also disable your Windows Firewall on your computer and check if that fixes the errors that you are encountering. If you are using 3rd-party security software, disable them and see.
5] Download the required update manually
If it’s not a feature update, and only a cumulative update, you can manually download and install the Windows Update. To find which update has failed to follow the steps:
- Go to Settings > Update and Security > View Update History
- Check which particular update has failed. Updates that have failed to install will display Failed under the Status column.
- Next, go to Microsoft Download Center, and search for that update using the KB number.
- Once you find it, download, and install it manually.
You could use Microsoft Update Catalog, a service from Microsoft that provides a listing of software updates that can be distributed over a corporate network. Using the Microsoft Update Catalog can prove to be a one-stop location for finding Microsoft software updates, drivers, and hotfixes.
6] Use System File Checker
Open Command Prompt as administrator and run System File Checker by executing the following command:
sfc /scannow
Restart your system after the scan is completed.
You can also use our freeware FixWin to Run the System File Checker utility with a click.
7] Run Windows Updates in Clean Boot State
A Clean Boot starts a system with minimal drivers and startup programs. When you start the computer in clean boot, the computer starts by using a pre-selected minimal set of drivers and startup programs, and because the computer starts with a minimal set of drivers, some programs may not work as you expected.
You can run Windows Update after booting into the Clean Boot State and check if that makes the error go away.
All the best!
Leave a Reply