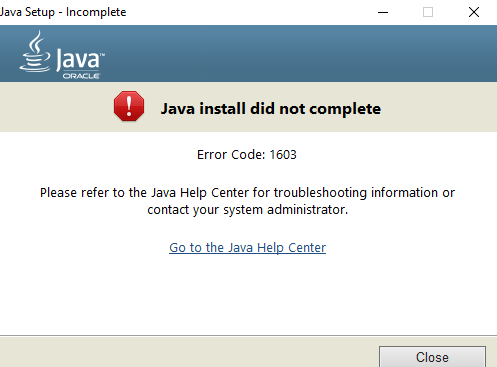
Users at times may face problems when installing Java or updating their Java application on Windows systems. One such example is, the user, encountering error code 1603. Basically, there are two ways to install Java – users can choose either to get Java through online download or offline download. At times, in order to install the Java, users may have to disable the firewall as it may interrupt the Java online installation. If you see a message Java Update or Install did not complete – Error Code 1603, then this post may interest you.
Java Update or Install did not complete – Error Code 1603

While the exact cause of this error is not known, it is worth to check if you have fulfilled all the system requirements for Java. If you are using Windows system, make sure that you check if there is insufficient disk space available in your system for Java installation. For the Java installation, make sure you meet the hardware requirements and use a popular browser for the installation. Also, Windows users may require administrative privileges for download and installation. In this article, we explain how to fix the error code 1603: Java Update did not complete.
Restart the system before installing the new Java package
If you encounter 1603 error while installing Java, one may have to restart the system and try installing the Java through offline download. Follow the below steps to fix the error.
Restart the system.
Download and install the offline installer package from the Java official site here.
While downloading the Java package, in the prompt box, choose the option Save in and save the package in the desired folder.
Now navigate to the saved, downloaded package in the system and double click on the file to start the installation process.
Uninstall the old Java versions before installing the new Java package
Go to Control Panel.
Click on Programs and features.
Select Java package and click on uninstall.

Restart the system.
Try installing the Java package from the official site.
Disable Java content in the browser through Java Control Panel & Reinstall Java
Go to Start and open Control Panel.
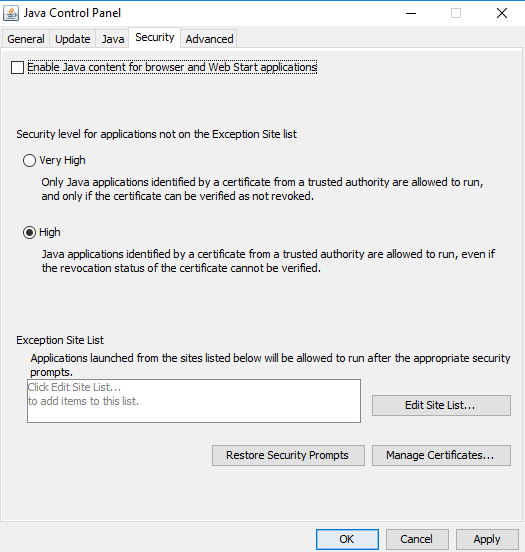
In the Control Panel, click on Java icon to open Java Control Panel.
Navigate to the Security tab.
Uncheck the option Enable Java content in the browser.

Click Apply and OK to save the changes.
Now to reinstall the Java package, Download and install the Java package from the official website here.
Once the installation is complete, re-enable the option to Enable Java content in the browser in the Java Control panel. This is mandatory if you are running Java content in the browser.
That’s all.
Rename folder Oracle to something different, inside Softwaredistribution folder. Thanks later!