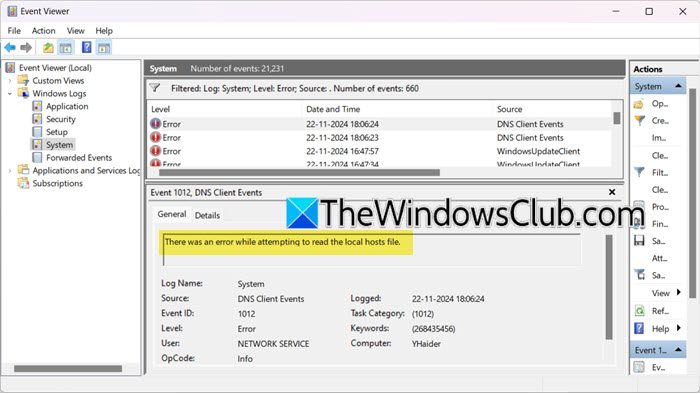
While going through the Windows Event Viewer logs, we came across an entry that said – There was an error while attempting to read the local hosts file, Event ID 1012. Now, you may know that the Hosts file on your computer is used by the Windows operating system to map hostnames to IP addresses.
There was an error while attempting to read the local hosts file.
Log Name: System
Source: DNSClients Events
Event ID:1012
Here’s what you can do if you see this Event ID.
Fix There was an error while attempting to read the local hosts file
If you see There was an error while attempting to read the local hosts file, Event ID 1012 in the Event Viewer of your Windows 11/10 computer, follow the solutions mentioned below.
- Check the hosts file name, type and location
- Recreate the hosts file
- Verify the file permissions of the hosts file
- Flush DNS
- Repair System Files
Let us talk about them in detail.
1] Check the host file name, type and location
The correct name of the Hosts file is – hosts, and it does not hav a file type extension. In its Properties, against Type of file, you will see just File written.
It is located in the C:\Windows\System32\drivers\etc\ folder.
If the file name or type is something else, like hosts.txt or hosts.ics, you will have to recreate it.
2] Recreate the hosts file
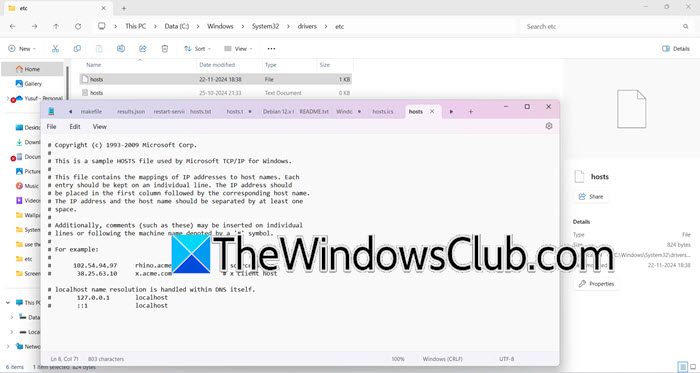
You may encounter this issue if the Hosts file is corrupted. In that case, we can reset the Hosts file back to default.
To proceed, navigate to the location of the Hosts file, which is located at C:\Windows\System32\drivers\etc\. First, rename the existing Hosts file to hosts.bak. You may need to take ownership of the file before doing this.
Next, create a new default Hosts file by opening a new text file named “hosts” in the %WinDir%\system32\drivers\etc folder. Then, copy and paste the following text into the new Notepad file:
# Copyright (c) 1993-2009 Microsoft Corp.
#
# This is a sample HOSTS file used by Microsoft TCP/IP for Windows.
#
# This file contains the mappings of IP addresses to host names. Each
# entry should be kept on an individual line. The IP address should
# be placed in the first column followed by the corresponding host name.
# The IP address and the host name should be separated by at least one
# space.
#
# Additionally, comments (such as these) may be inserted on individual
# lines or following the machine name denoted by a '#' symbol.
#
# For example:
#
#      102.54.94.97     rhino.acme.com          # source server
#       38.25.63.10     x.acme.com              # x client host
# localhost name resolution is handle within DNS itself.
#       127.0.0.1       localhost
#       ::1             localhost
You need to save the file, but make sure to NOT save it as a text file. If you have done that, you can remove the .txt extension afterward, also, ensure that the encoding format is set to either UTF-8 or ANSI.
Alternatively, if you wish you can download the default Hosts file of Windows 11/10 by clicking here.
3] Verify the file permission of the hosts file
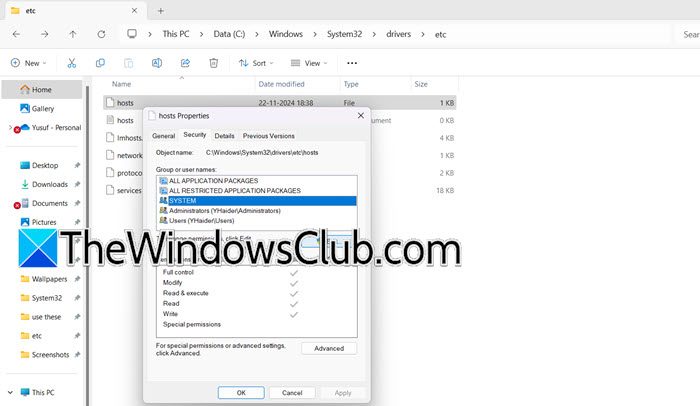
Sometimes, we fail to make changes to the hosts file and then the system is unable to access it. In that case, we need to check and make sure that the SYSTEM and Administrators users have adequate permissions to access the file. In order to make the changes, follow the steps mentioned below.
- In the File Explorer, go to C:\Windows\System32\drivers\etc\.
- Right-click on the hosts file and select Properties.
- Now, go to the Security tab, select the user you want to change the access of (most probably Administrator), and then click on Change.
- Tick the box next to Full Access and click on Apply > Ok.
Finally, reboot the system and then check if the issue is resolved.
You might want to read this post on how to Lock, Manage, or Edit the Hosts File.
4] Flush DNS
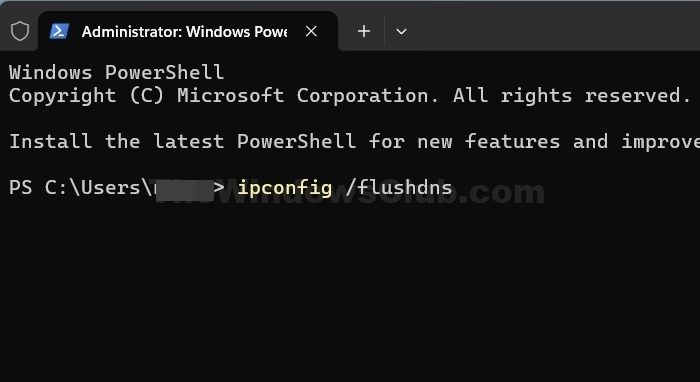
If you have recreated the Hosts file but are still encountering the issue, we must flush the DNS cache. This can help resolve connectivity issues, update DNS records, and improve network performance. Removing the cache will also allow your system to register the network change. To do so, follow the steps mentioned below.
- Open Start, type “Command Prompt”, and select Run as administrator.
- Click on the Yes icon when the UAC prompt appears.
- Now, type
ipconfig /flushdnsand hit Enter.
Finally, check if the issue persists.
5] Repair System Files
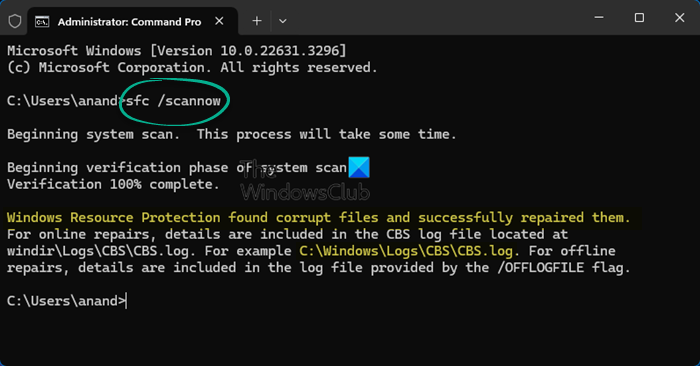
Corrupted system files and Windows images can cause multiple issues, including those related to local hosts. To resolve them, you can do various things. You can open the Command Prompt as an administrator and then run the following commands.
sfc /scannow
Wait for the SFC command to scan and repair your system, if it fails, run DISM.
We hope your issue will be resolved based on the solutions mentioned here.
Read: Hosts File not working in Windows 11
How do I flush DNS Hosts file?
If you want to flush DNS cache on Windows, you can open Command Prompt as an administrator and then run ipconfig /flushdns. If you are on macOS, run sudo killall -HUP mDNSResponder in the Terminal window. These commands will flush the DNS cache, allowing your system to start creating them from scratch.
Read: SysMate Hosts File Walker lets you manage Windows Hosts file
How to test if a Hosts file is working?
The best way to test whether the Hosts file works is by pinging the domain name. If you have added a new host name, you can run ping domain-name.com, and it should resolve the IP address. If the ping is successful, you can rest assured that the hostname addition worked.
Also Read: What is LMHOSTS file in Windows 11?
Leave a Reply