Sometimes, you scan a document but want to make changes to it but do not know how to; there is a feature in Microsoft Word that can extract text from images, especially if it’s an image of a document. The images are usually in JPEG format. Extracting text from images to a Word document is an excellent option for businesses, schools, and institutions to save and convert their scanned documents to a Word document where they can update them anytime.
How to extract Text from an Image in Word
Open Microsoft Word.
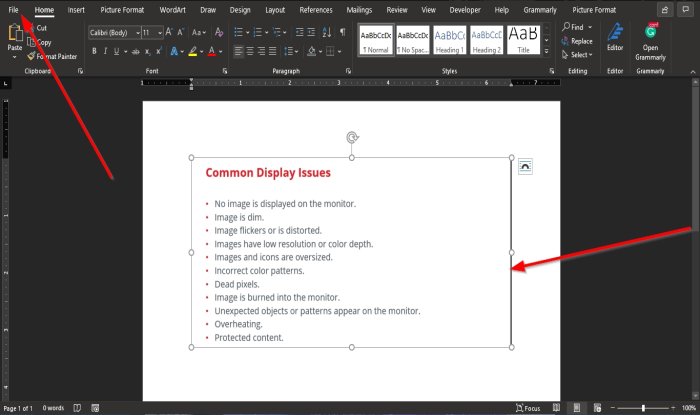
Insert a text image or a scanned document image into the Word document.
Do not use a random image off the internet.
To extract the text from the image, you need to save the image as a PDF file.
To save the image as PDF, go to the File tab.
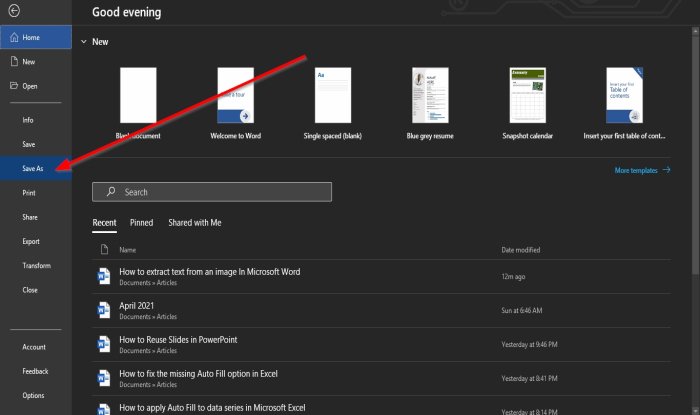
On the Backstage View, click Save As.
On Save As, click Browse. 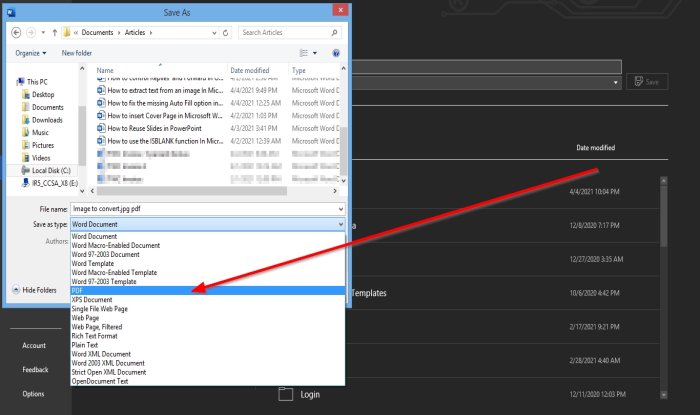
A Save As dialog box will pop up.
In the File Name section, name the file.
In the Save as Type section, click on the drop-down arrow and select PDF from the list.
Then, Save the file.
The file is saved as a PDF.
Now, we will open the PDF we just created.
Click the File tab.
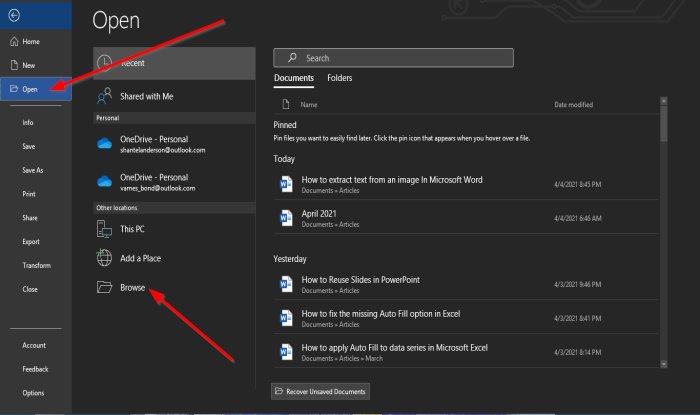
On the Backstage View; Click Open.
On Open, click Browse.
An Open dialog box will appear; click the saved PDF file, then click Open.
A message box will pop up; click Ok.
The file will start to convert to text.
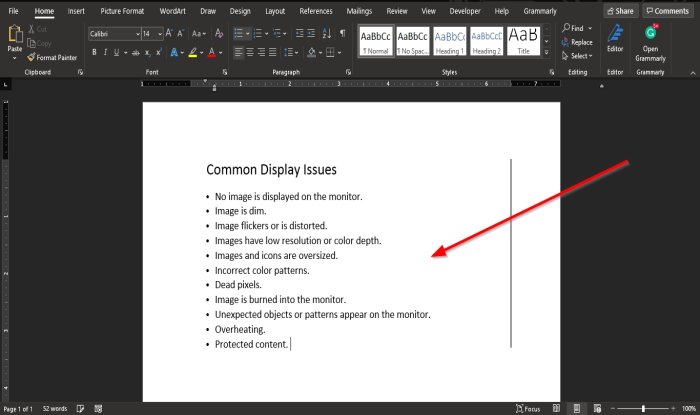
Now we have an image converted to text in a Word document, and you can make necessary changes to the text by editing.
We hope this tutorial helps you understand how to extract text from an image in Microsoft Word; if you have questions about the tutorial, let us know in the comments.
Other posts that may interest you:
Leave a Reply