A common issue reported by Facebook users is Facebook images are not loading. This problem is equally common with all desktop browsers and mobile apps. While many users have reported it on Facebook and other forums, nothing much has been done to fix it by the company.
Facebook is not showing pictures
The primary cause of images not loading for any website is a slow internet connection. However, other causes like a bad DNS server, VPN, problems with network cache, etc. can cause this issue. If you encounter this problem, proceed with the following troubleshooting sequentially:
- Verify the status of the Facebook server
- Check the Internet connection speed
- Check if images are disabled on your browser
- Resolve a bad DNS server
- Flush DNS cache
- Run the Network Adapter troubleshooter
- Disable VPN software.
1] Verify the status of the Facebook server
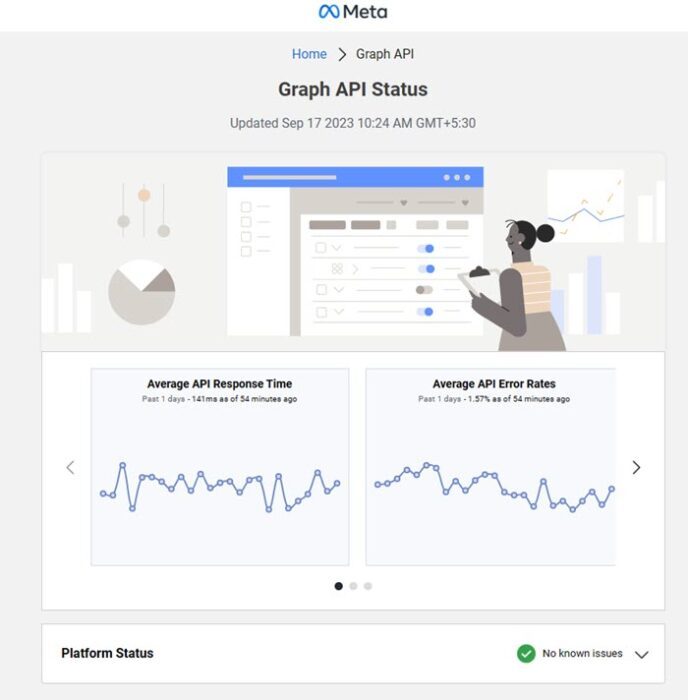
While the Facebook server is one of the best for any website, it is occasionally down, but if the server is down, it might cause the whole website or parts of it to malfunction. You can check the server status for Facebook here. If the server is up, the statement on this page will read “Facebook Platform is Healthy.” Otherwise, it would mention the cause of the downtime and later explain the issue.
2] Check the Internet connection speed
While many websites would open over a slow internet connection, many entities on webpages, like images and videos, might not load on time (or at all). Thus, it is advisable to check the speed of your internet connection using these speed test tools.
If the internet speed is slow, you can check this troubleshooting to fix slow internet speed on Windows.
3] Check if images are disabled on your browser
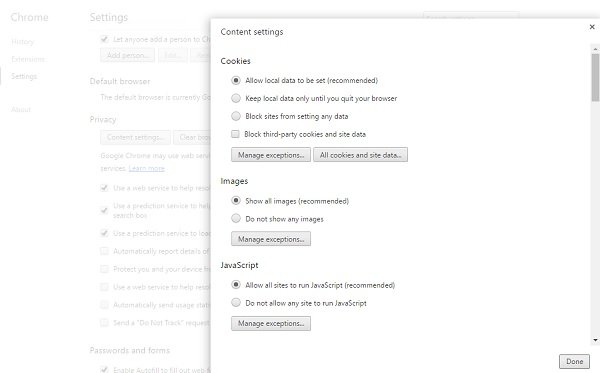
To increase the performance of web browsers, users are given the option to disable the images on their browsers.
If the images are disabled, they won’t load on any webpage. Ensure the images are not disabled in your browser before proceeding further.
Related: Images not loading in Chrome or Edge
4] Resolve a bad DNS server
A bad DNS server could be a reason for the issue in discussion. You can resolve the problem by using a fixed DNS server address, which works. The procedure for the same is as follows:
Press Win+R to open the Run window and type the command control panel. Hit Enter to open the Control Panel window.
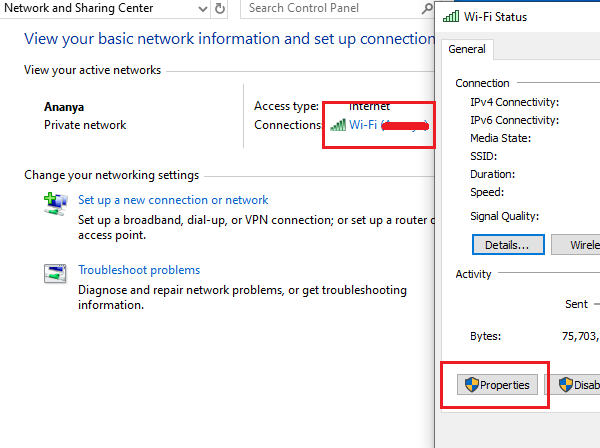
Go to Network and Internet > Network and sharing center.
Click on the name of your WiFi network to open the WiFi status window.
Select Properties. If it asks for Administrator permissions, click on Yes.
Double-click on Internet Protocol Version 4 to open its properties.
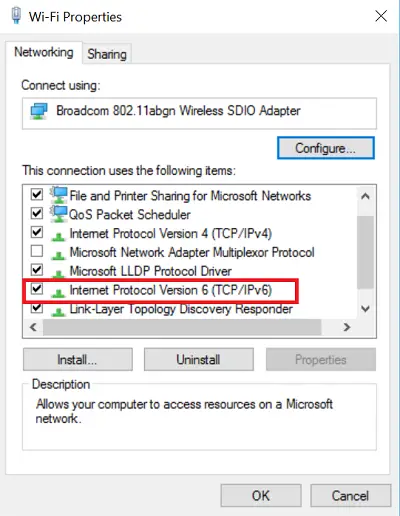
Shift the radio button to Use the following DNS server addresses and use the following values:
- Preferred DNS server: 8.8.8.8
- Alternate DNS server: 8.8.4.4

Click on OK to save the settings.
5] Flush DNS cache
If the network configurations are corrupt, you might face some issues accessing websites and web content. In this case, you could use a few commands in the elevated Command Prompt to resolve the problem.
Search for command prompt in the Windows search bar and right-click on Command Prompt. Select Run as administrator.
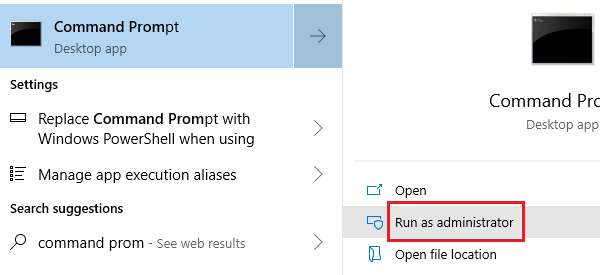
Type the following commands one by one and hit Enter after each command to flush the DNS cache:
ipconfig /release

ipconfig /renew

ipconfig /flushdns
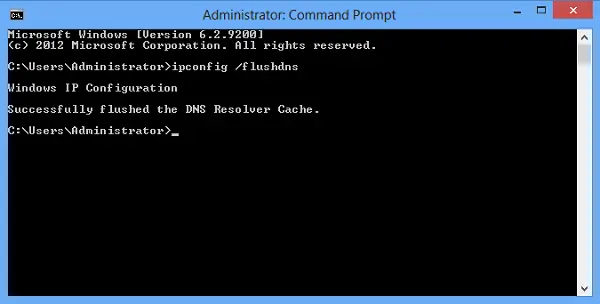
Restart the system once the commands have executed.
6] Run the Network Adapter troubleshooter
The Network Adapter troubleshooter is an excellent tool which checks for Network issues on the system and resolves them if possible. The procedure to run the Network Adapter troubleshooter is as follows:
Click on the Start button and go to Settings>Updates and Security>Troubleshoot.
Select the Network Adapter troubleshooter from the list and run it.
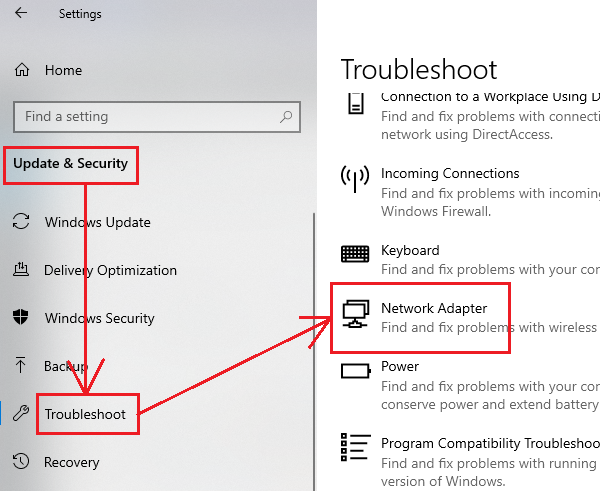
Once the troubleshooter has scanned, it would either fix the problem, report it, or ignore it.
In either case, restart the system and check if images start appearing on Facebook or not.
7] Disable VPN software
Disable your VPN software and see if that works for you.
All the best.
Leave a Reply