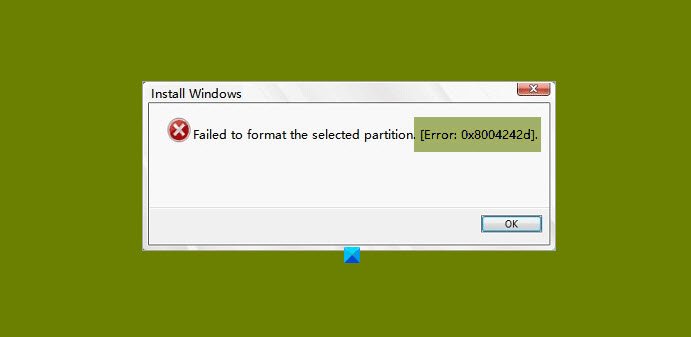
Some Windows 10 users reported that they are unable to format their Hard Drives and the error message says, “Failed to format the selected partition, Error 0x8004242d“. You could also see 0x80070057 as the accompanying error code instead. In this article, we are going to fix this error with the help of some simple solutions.
Failed to format the selected partition, Error 0x8004242d

There can be many reasons behind this problem. Such as your OS is incompatible with the mass storage controller or the driver, issue in data cable or any other hardware, etc. However, we are going to cover every possible solution to this error.
Before moving forward, make sure to check if your SATA Cable is connected perfectly. If it’s loose tighten it and check if the issue is fixed. If not, continue reading.
These are the things you can do to fix Failed to format the selected partition, Error 0x8004242d.
- Use DISKPART
- Run CHKDSK
- Delete all the partitions
- Disable UEFI Boot Support
Let us talk about them in detail.
1] Use DISKPART

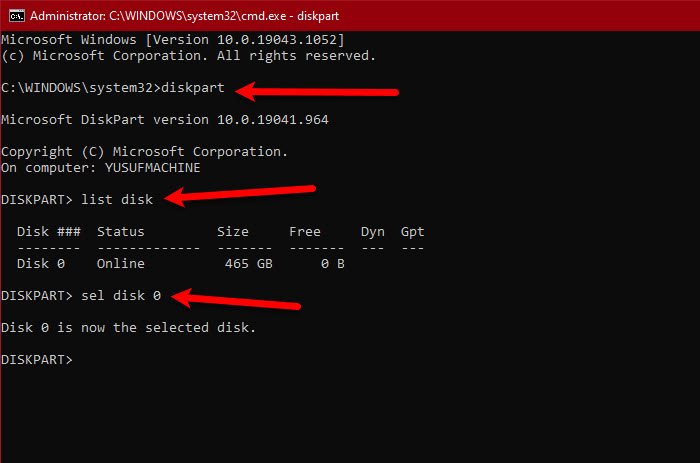
The first solution requires you to use Dispkpart.exe to clean the disk before formatting Hard Drives. So boot from the Installation Media and open Command Prompt from Advanced Options.
Type the following commands and hit enter
diskpart
list disk
This will show you the list of all the drivers your computer has. You can look at their respective sizes to know the one causing the trouble. Now, use the following command to select that particular disk.
sel disk <disk-number>
Note: Replace the <disk-number> with the number of the disk that you are trying to fix.
Run the following command to confirm that you have selected the correct disk.
det disk
Once, you are sure that the disk you have selected is correct and cleaning it will cause no harm, run the following command.
clean all
Note: This will delete all your data. So, be aware of that.
Finally, use the following command to exit DISKPART.
exit
Hopefully, this will fix the error for you.
Related: Windows could not format a partition on disk, Error Code 0x80070057.
2] Run CHKDSK

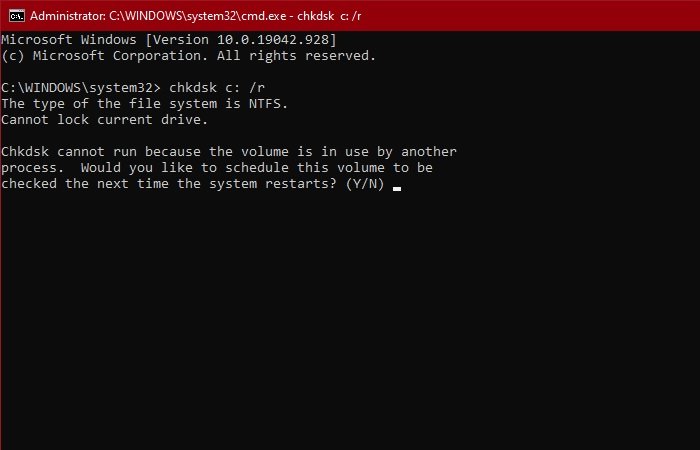
The problem can be because of a bad sector in your hard drive. So, launch Command Prompt after booting the computer from Installation Media and run the following command.
chkdsk c: /r
It will ask you to confirm, so, hit “Y” to do that.
Let the command run and fix the error.
3] Delete all the partitions
The most common reason for this error is the corrupted Master Boot Record. The easiest way to fix this is by deleting all partitions.
However, before doing this, make sure to create a System Backup Image.
Related: We couldn’t format the selected partition – Error 0x80070057
4] Disable UEFI Boot Support
The problem can be because of a conflict between UEFI and BIOS. So, if you facing this error try disabling UEFI Boot Support to fix it. You can follow the given steps to do the same.
- Restart your computer and boot into BIOS.
- Go to the Boot Menu.
- Disable Secure Boot.
Now, save the alteration and check if it fixes the issue.
Hopefully, you are able to fix the partition error with the help of these solutions.
Leave a Reply