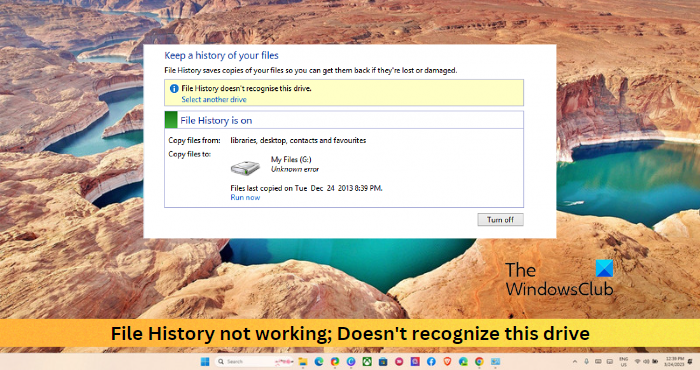
If File History is not working and the Doesn’t recognize this drive error keeps troubling you, this post may help you. File History in Windows 11/10 allows users to back up their data on an external drive automatically. As this error is an issue of concern, it should be fixed immediately. Fortunately, you can follow some simple suggestions to fix it.

Why does File History not recognize my drive?
File History is a backup feature in Windows devices that allows users to back up data to an external hard disk or a network location. But sometimes, it may have trouble recognizing your external drive. This could be if the external drive isn’t formatted using the NTFS file system or is corrupted or physically damaged. To fix this, run a chkdsk scan and plug the external storage drive into a different USB port.
Fix File History not working Windows 11
If File History is not working and the Doesn’t recognize this drive error keeps troubling you in Windows 11/10, here are some suggestions to help you.
- Select another Destination Drive
- Restart File History Service and set Startup type to Automatic
- Reconnect the Backup Drive
- Repair the Backup Drive with CHKDSK
- Delete File History AppData
Now let’s see these in detail.
File History doesn’t recognize this drive
1] Select another Destination Drive

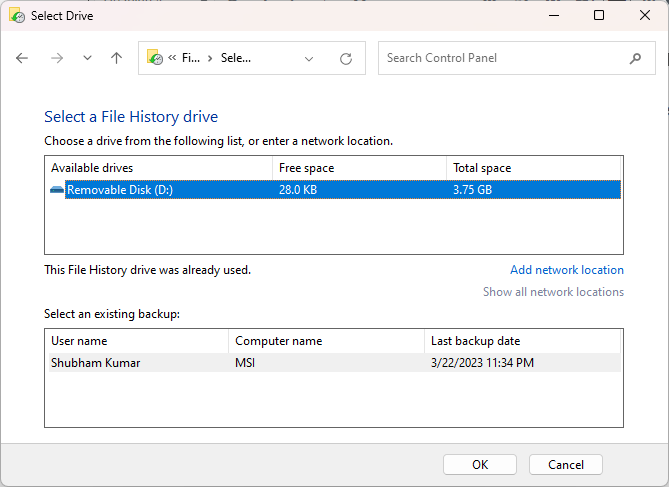
Before starting with different troubleshooting methods, select another drive for File History backup and see if file history starts working. Here’s how:
- Click on Select another drive below the error message “File History doesn’t recognize this drive.“
- Select the new drive to replace the old unrecognizable drive, and click Ok to save the changes.
2] Restart File History Service and set Startup type to Automatic

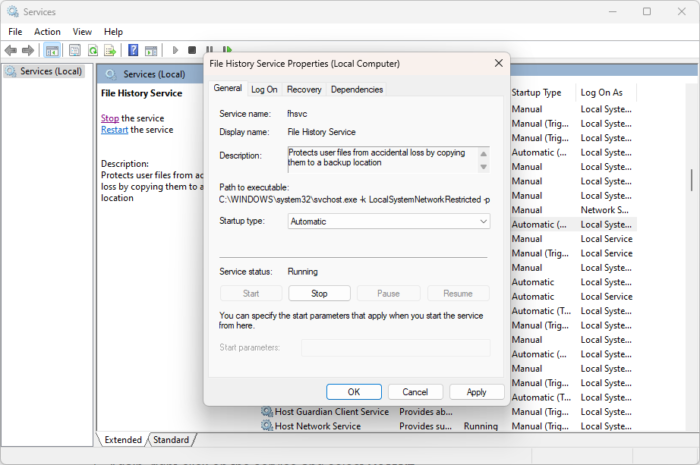
The next step requires you to restart the File History service and set the Startup Type to Automatic. Doing so will automatically start the service once your device restarts. Here’s how:
- Click on Start, type services, and hit Enter.
- Scroll down and search for File History Service.
- Right-click on it and select Properties.
- Set the StartUp type to Automatic and click Ok to save the changes.
- Again, right-click on the service and select Restart.
3] Reconnect the Backup Drive
File History may have trouble recognizing the drive if it isn’t connected correctly. Reconnect the backup drive through another USB port, restart your device, and see if file history not working error gets fixed.
4] Repair the Backup Drive with CHKDSK

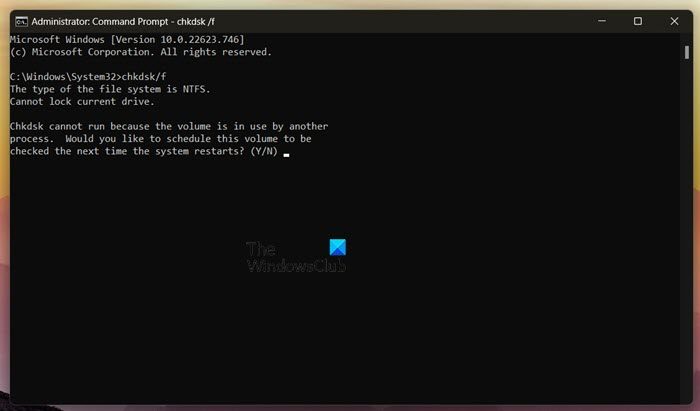
The CHKDSK is a utility by Windows that scans and repairs disk errors. It also checks if any hard drive parts are corrupted, which may cause this issue. Here is how you can run a CHKDSK Scan:
- Click on Start, search for Command Prompt, and click on Run as Administrator.
- Type the following command and press Enter. (Replace E with the actual drive name)
chkdsk E:/f
- The command won’t start running as your device’s root drive is in use. However, when you restart your PC, it’ll ask you to begin scanning.
- Type Y, press Enter, and then reboot Windows.
- The CHKDSK command will now start running. Wait for the procedure to complete.
- Then restart your device and check if File History starts working.
5] Delete File History AppData
If none of these suggestions could help, consider deleting File History’s appdata. The Appdata folder stores specific data and settings required by applications. Here’s how:
- Press Windows key + E to open the File Explorer.
- Click on View > Show, and check the Hidden options.
- Press Windows key + R to open the Run dialog box.
- Type AppData and hit Enter.
- Navigate to Local > Microsoft > Windows; delete the File History Folder here.
Read: Fix File History Error 80070005
Let us know if anything here helped you.
How do I reset File History in Window?
To reset file history, open Control Panel and click on Save backup copies of your files with File History. Here, click on Advanced Settings and select Clean up versions. A warning screen will appear now, select Clean Up and follow the instructions on the screen.
Leave a Reply