If you want to find disk or volume GUID and list volume GUIDs per disk on Windows 11/10, this article would be handy for you. You can use Command Prompt, Windows PowerShell, or Windows Terminal to find all the information. Whether it is Windows 11 or Windows 10, or you have one or multiple hard drives, you can find all the GUIDs accordingly.

To demonstrate all the steps, we will use Windows Terminal. However, you can use Command Prompt as well as Windows PowerShell as well.
How to Find Disk and Volume GUID in Windows 11/10
To find disk and volume GUID in Windows 11/10, follow these steps:
- Press Win+X to open WinX menu.
- Select Windows Terminal (Admin) option.
- Click the Yes button.
- Enter diskpart command.
- Enter this command: list disk
- Enter this command: select disk [disk-number]
- Use this command: uniqueid disk
To learn more about these steps, continue reading.
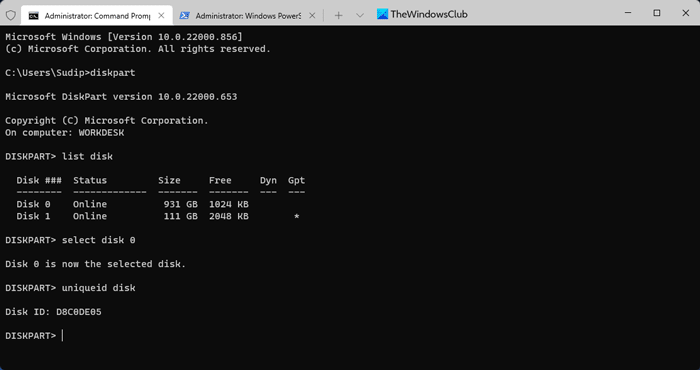
First, you need to open the elevated Windows Terminal. For that, press Win+X to open the WinX menu, select Windows Terminal (Admin) option, and click on the Yes button on the UAC prompt.
Then, make sure that the Command Prompt instance is opened. If so, enter this command:
diskpart
Then, enter the following command to find all the disks:
list disk
It displays all the mounted disks. You need to find the disk number and enter this command to select it:
select disk [disk-number]
Don’t forget to replace [disk-number] with the actual number. Next, you need to enter this command:
uniqueid disk

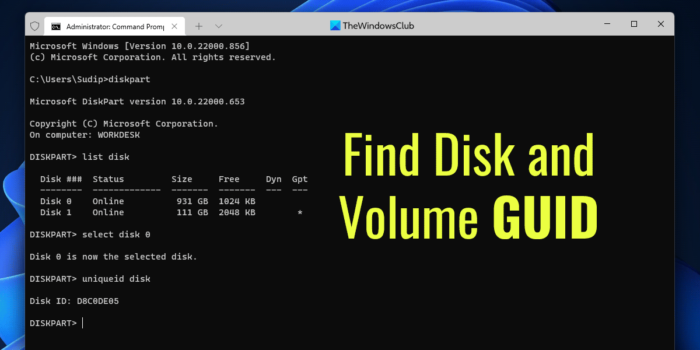
Now you can find the unique ID or GUID on your screen. You can follow the same steps to select another disk and find the GUID of that disk.
How to List Volume GUIDs per Disk in Windows 11/10
To list volume GUIDs per disk in Windows 11/10, follow these steps:
- Right-click on the Start Menu.
- Select Windows Terminal (Admin) option.
- Click on the Yes button.
- Enter this command: GWMI -namespace root\cimv2 -class win32_volume | FL -property DriveLetter, DeviceID
Let’s find out more about these steps.
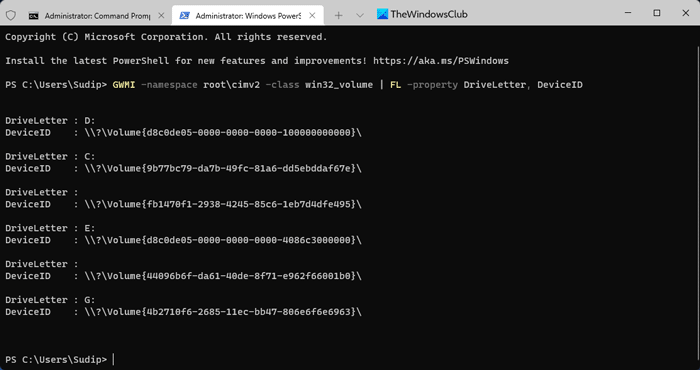
At first, you have to open elevated Windows PowerShell or Windows Terminal. As we are going to use Windows Terminal, you can right-click on the Start Menu, select Windows Terminal (Admin) and click on the Yes button on the UAC prompt.
Then, ensure that you have opened the Windows PowerShell instance in the Windows Terminal. If so, enter this command:
GWMI -namespace root\cimv2 -class win32_volume | FL -property DriveLetter, DeviceID

It lists down all the volumes along with the DeviceID or GUID.
Read: Diskpart failed to clear disk attributes error on Windows
How do I find disk volume GUID?
To find the disk or volume GUID in Windows 11/10, you need to go through the aforementioned steps. You can use the DISKPART to get the job done. In order to use it, you have to open the Command Prompt with administrator permission and use this command: uniqueid disk.
Where can I find disk GUID?
Although Windows Registry stores the disk GUID, you can use Command Prompt or Windows PowerShell to find the same. Two detailed guides are included in this article, and it is recommended to go through the steps to learn more. In simple terms, you need to use DISKPART or GWMI to get it done.
That’s all! Hope this guide helped.