If you get error code 0x80070428 – 0x3001A while upgrading to/from Windows 11, here is how you can fix the problem. Although this problem mainly occurs due to having a third-party antivirus and low disk space, there could be other reasons too. Here is a comprehensive list of all the possible reasons and solutions to get rid of this Windows upgrade error.
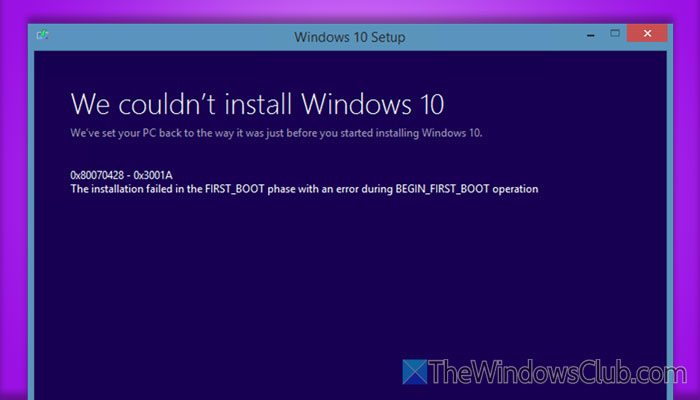
0x80070428 – 0x3001A
The installation failed in the FIRST_BOOT phase with an error during BEGIN_FIRST_BOOT operation
Fix 0x80070428 – 0x3001A Windows Upgrade error
To fix 0x80070428 – 0x3001A Windows Upgrade error, follow these solutions:
- Ensure available storage
- Run SFC scan
- Run DISM tool
- Disable or Uninstall 3rd-party antivirus and privacy protection tools
- Verify Windows license
- Use Event Viewer to find log
To learn more about these solutions, continue reading.
1] Ensure available storage
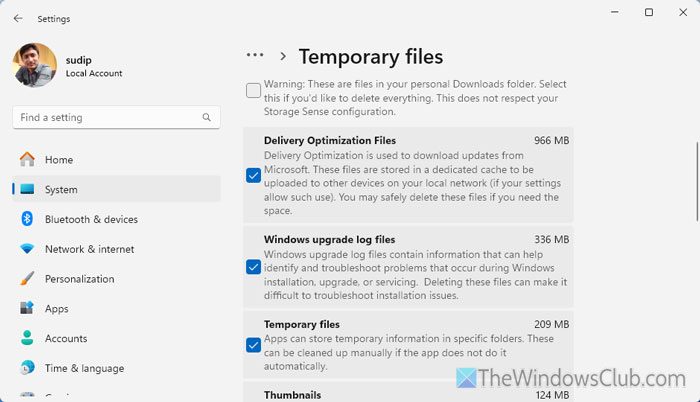
If you encounter the error message, you must first check the storage. You can open This PC to find the details. However, if no free storage is available for a Windows upgrade, you can open the Windows Settings and go to System > Storage > Storage used on other drives.
Then, select the C drive and head to the Temporary files. Tick all the checkboxes and click the Remove files button.
After that, try using the upgrade process again.
Fix: 0x80042444 – 0x4002F Error when installing Windows Upgrade
2] Run SFC scan
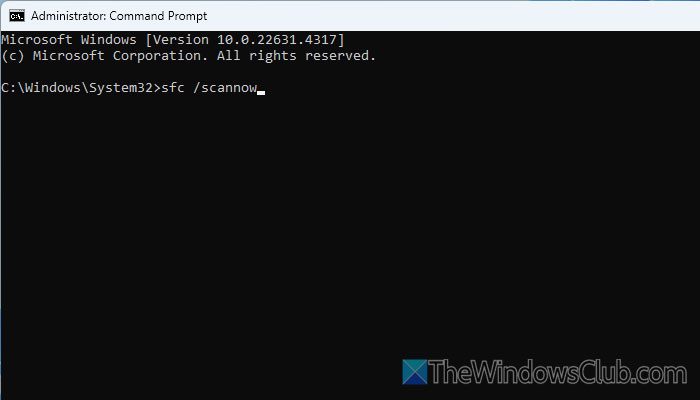
As this problem can arise because of corrupt system files, you can run the System File Checker to fix it. To run the SFC scan, follow these steps:
- Search for cmd in the Taskbar search box.
- Right-click on the individual result and select Run as administrator.
- Click the Yes button.
- Enter this command: sfc /scannow
Let it be finished.
3] Run DISM tool
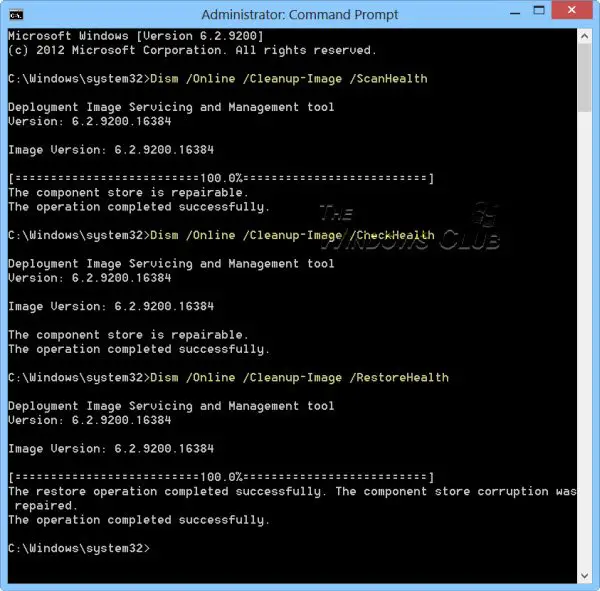
At times, running the SFC scan may not be enough. In such situations, you need to repair the Windows System Image and Windows Component Store. To do so, you need to use the DISM tool.
To run the DISM tool, follow these steps:
- Open Command Prompt with administrator permission.
- Enter this command:
Dism /Online /Cleanup-Image /CheckHealth - Then, enter this command:
Dism /Online /Cleanup-Image /RestoreHealth
For your information, all these processes may take 15-20 minutes. Do not interrupt or close the window.
4] Disable or Uninstall 3rd-party antivirus and privacy protection tools
If you have hardened your computer security with a third-party antivirus or privacy protection software, it is time to disable or even uninstall it. There could be times when your antivirus may block your upgrade process. That is why we suggest you temporarily disable it and check if it fixes the issue.
5] Verify Windows license
When you upgrade from one version to another, your license or product key needs to be verified. If the license has issues, you cannot upgrade to/from Windows 11 and may end up getting the aforementioned error.
Read: View Licensing Status and Activation ID of your Windows OS with slmgr.vbs
6] Use Event Viewer to find log
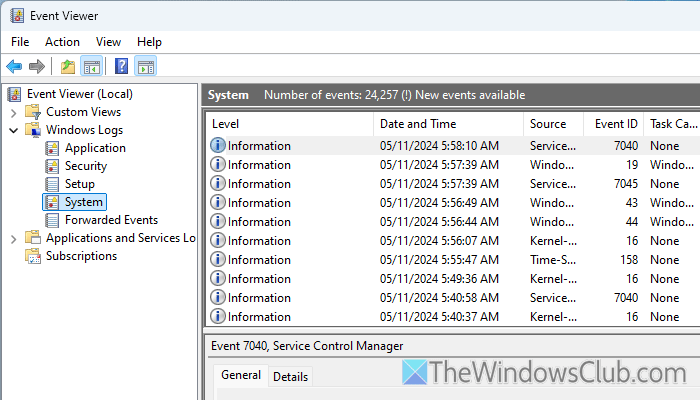
Event Viewer could be handy for you to find the culprit that is blocking you from upgrading your Windows.
Open the Event Viewer and go to Windows Logs > System.
If you find an error related to a Windows upgrade, check the details of that error.
I hope these solutions fix your problem.
Read: Fix Windows Update error code 0x800704B8-0x3001A
How do I get rid of Windows Update install error?
To get rid of Windows Update installation errors, go through these general solutions:
- Run the Windows Update Troubleshooter via the Get Help app.
- Restart the Windows Update service using the Services panel.
- Make sure that your update is not blocked in the Windows Settings. For that, check the Pause updates setting.
How do I fix Windows 11 upgrade error?
To fix Windows 11 upgrade errors, you must check if there are free disk spaces on your system drive or C drive. Next, ensure that your computer meets the hardware and system requirements. You can also unplug all external devices, run the Troubleshooter, disable third-party antivirus, etc.
Read: Fix 0x800707E7 – 0x3000D, The installation failed in the FIRST_BOOT phase error.