Windows Update error 0x800736cc in Windows 11/10 occurs due to corruption in Windows Update components and can usually be fixed by running the built-in Deployment Image Servicing and Management too. The error message reads:
0x800736CC, ERROR_SXS_FILE_HASH_MISMATCH, A component’s file does not match the verification information present in the component manifest
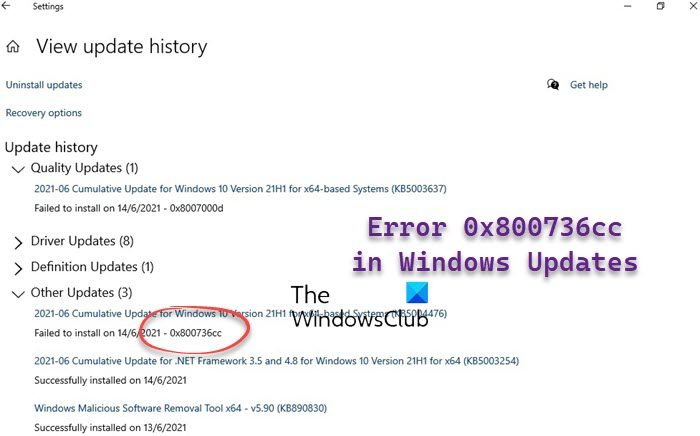
Updates come with security patches, bug fixes, and more, and hence, they are important for the proper functioning of the system. But if the installation of the update fails due to mismatched component files, it can affect the system performance.
What is the Windows Update error 0x800736cc?
The error 0x800736CC shows up due to corrupt or missing Windows Update related system files. However outdated system drivers, incorrect, interference from 3rd party apps can also be the culprit.
Fix Windows 11 Update Error 0x800736cc
The good news is, we have some proven solutions that can help fix the Windows update install error 0x800736CC in Windows 11 as explained below.
- Preliminary steps
- Use the DISM Tool
- Reset the Windows Update components
- Run the Windows Update troubleshooter
- Install the update manually.
Now, let’s implement the methods to check if it helps fix the issue.
1] Preliminary steps
Before moving on to the advanced troubleshooting methods below, we can try some of the initial steps to check if that helps:
- Restart your PC.
- Update the system drivers.
- Disable your security software temporarily.
- Increase Hard Disk space
- Correct the system date and time.
2] Use the DISM Tool
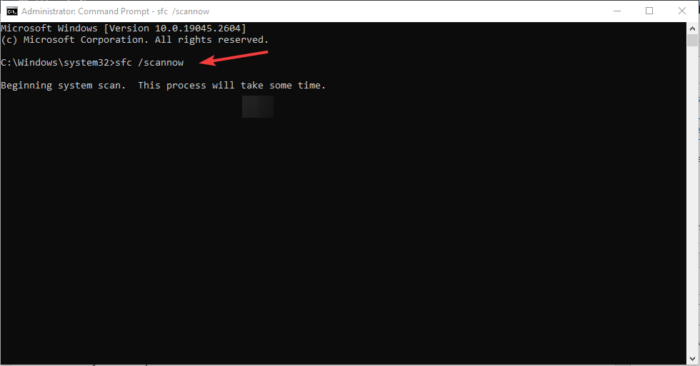
The DISM tool, on the other hand, is used to prepare, moderate, and repair Windows system image.
Since the Windows images itself appears to be corrupted, we recommend that you run the DISM Tool to corrupted Windows Update system files as follows using an elevated CMD:
DISM.exe /Online /Cleanup-image /Restorehealth
When you run the command mentioned above, DISM will replace potentially corrupted or missing system files with good ones.
However, if your Windows Update client is already broken, you will be prompted to use a running Windows installation as the repair source or use a Windows side-by-side folder from a network share, as the source of the files.
You will then be required to run the following command instead:
DISM.exe /Online /Cleanup-Image /RestoreHealth /Source:C:\RepairSource\Windows /LimitAccess
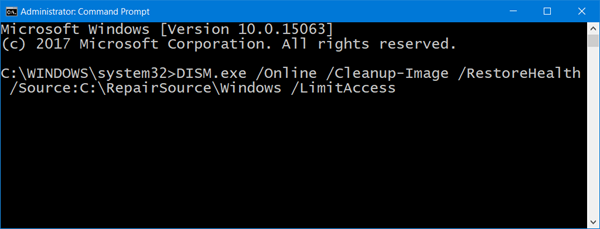
Here you have to replace the C:\RepairSource\Windows placeholder with the location of your repair source.
Once the process is complete, DISM will create a log file in %windir%/Logs/CBS/CBS.log and capture any issues that the tool finds or fixes.
Close the command prompt, and then run Windows Update again and see it has helped.
Read: How to view DISM log files on Windows
3] Run the Windows update troubleshooter
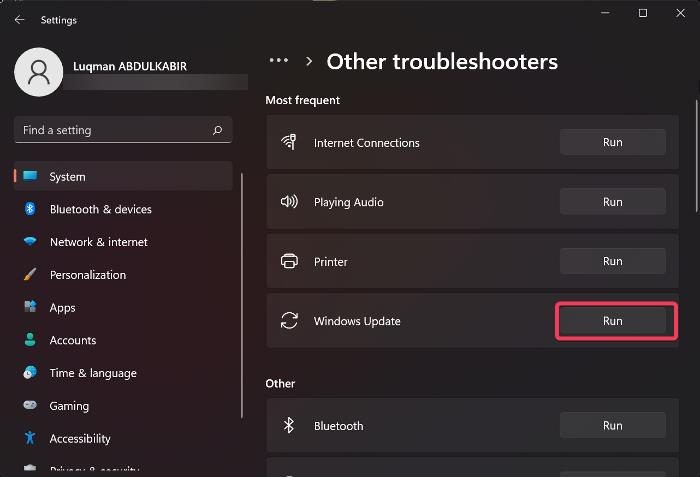
Having repaired your Windows Update files, you may run the Windows Update troubleshooter to fix any issues related to Windows Updates.
It will look for the problems related to the update and if any issues are found, it will apply the fix automatically. For example, it can remove unwanted temporary files, check if the Windows Update services are running, delete the SoftwareDistribution folder contents, and more.
Read: Fix Windows Update is not working
4] Reset the Windows Update components
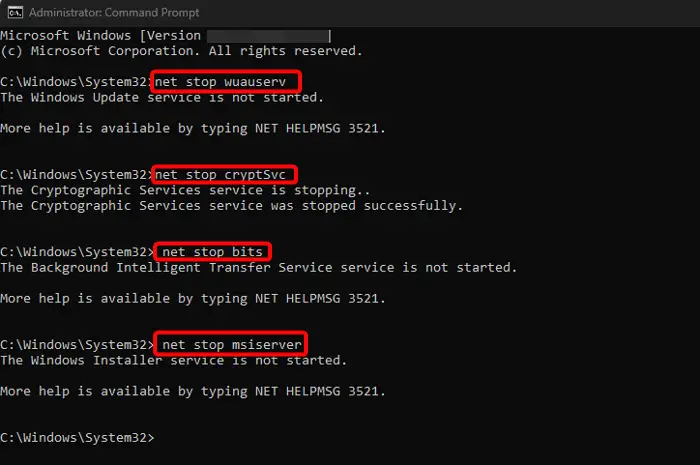
It could be possible that Windows Update components are broken and hence, we encounter the error. In this case, we need to stop the Windows Update services, rename the SoftwareDistribution folder, and restart the services to reset the Windows Update components to fix the error. Here’s how:
- To open the Run dialog, press the Win + R shortcut keys.
- In the search bar, type cmd and press the Ctrl + Shift + Enter keys together to open Command Prompt with admin rights.
- Next, run the below commands one after another and hit Enter after each one to stop:
-
net stop wuauserv
-
net stop cryptSvc
-
net stop bits
-
net stop msiserver
-
- Again, run the below two commands one by one and hit Enter after each to rename the SoftwareDistribution folder:
-
ren C:\Windows\SoftwareDistribution SoftwareDistribution.old
-
ren C:\Windows\System32\catroot2 Catroot2.old
-
- Next, type the below command one after another and hit Enter after each one to restart the Windows Update services:
-
net start wuauserv
-
net start cryptSvc
-
net start bits
-
net start msiserver
-
- Now, close the Command Prompt, and restart your PC to check if the error persists.
Related: Reset Windows Update Agent to default if it is corrupted in Windows
5] Install the update manually
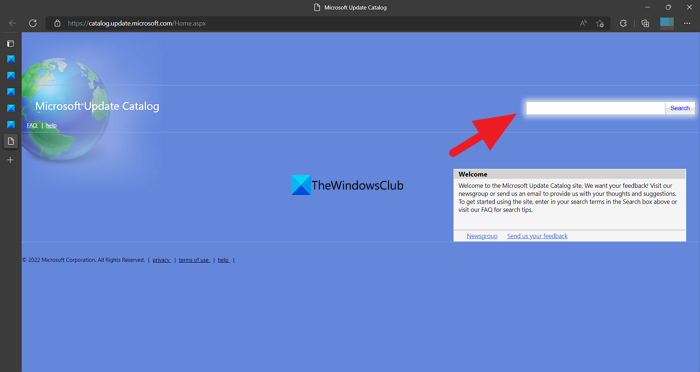
If the above methods fail to fix the install error 0x800736CC in Windows 11, you can visit the official Microsoft Update Catalog page to download and install the update automatically.
All you need to do is, note down the KB number of the update, search for it in the Catalog, and download the latest version based on your system architecture (32-bit/64-bit). Now, download the .msu file in the new window and follow the on-screen instructions to finish the installation. Now, restart your PC to apply the update.
How do I fix Windows 11 Update error?
While there could be many reasons why we encounter errors during Windows updates or upgrades, some errors are common and can be fixed by trying a few general steps as below:
- Removing any external hardware.
- Uninstalling any third-party antivirus software.
- Clearing all junk files to create more space on the hard drive.
- Running Windows Update Troubleshooter
- Installin Updates in Clean Boot State.
Why is Windows 11 Cumulative Update not installing?
The Windows 11 Cumulative Update usually fails when there is not enough disk space on the device. Other possible reasons inclide – internet not working properly, corrupted system files, Windows Update services not running, broken Windows Update components, and more.
Leave a Reply