If the 0xA00F4293 <VideoCaptureStartTimeout> error in Windows 11 keeps troubling you, then this post may help. This error indicates a timeout when starting a video capture, preventing users from seamlessly utilizing their cameras for various applications. The complete error message reads:
Something went wrong
If you need it, here’s the error code:
0xA00F4293 <VideoCaptureStartTimeout>
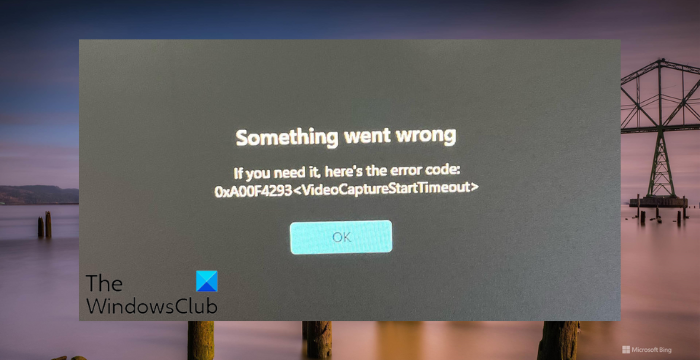
Fix 0xa00f4293 Video Capture Start Timeout error in Windows 11
Follow these suggestions to fix the 0xa00f4293 Video Capture Start Timeout error in Windows 11:
- Run Hardware & Devices Troubleshooter
- Reinstall Camera Drivers
- Allow Camera & Microphone Access for All Apps
- Repair/Reset Camera App
- Reinstall the Camera App
Now, let’s see these in detail.
1] Run Hardware & Devices Troubleshooter
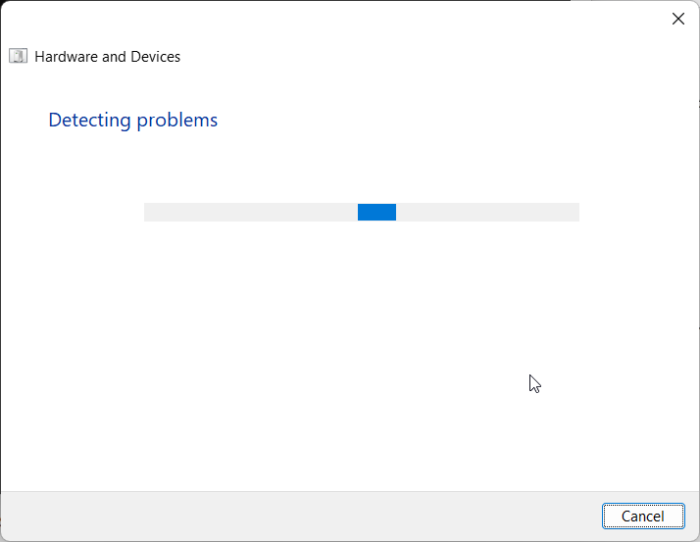
Start by running the Hardware & Devices Troubleshooter, i.e., a Windows built-in tool that scans and fixes issues with the camera, mic, keyboard, mouse, etc. Here’s how:
- Click on Start, search Command Prompt, and select Run as Administrator.
- Type the following command and hit Enter.
msdt.exe -id DeviceDiagnostic
- The Hardware and Devices Troubleshooter will now open. Click on Next and it will automatically scan for errors and ask you to apply the fix.
2] Reinstall Camera Drivers
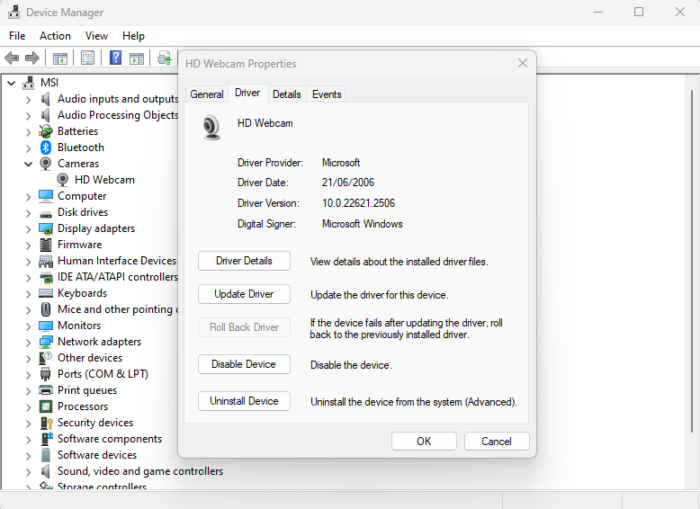
Next, uninstall the camera drivers and restart your PC. After restarting your PC will automatically download and install the latest version of the camera drivers. This may help fix the 0xa00f4293 video capture start timeout error.
Here’s how to uninstall the camera driver:
- Click on Start, search Device Manager, and click Open.
- Expand the Cameras section and double-click on your Camera adapter.
- Navigate to the Driver tab and click on Uninstall Device.
Alternatively, you can use the best free driver updater software to update the camera drivers.
3] Allow Camera & Microphone Access for All Apps
The error 0xa00f4293 video capture start timeout can occur if some apps can’t access the camera and microphone. Allow access and see if it helps. Here’s how:
Press Windows + I to open Settings.
Navigate to Privacy & security > Camera and enable the toggle beside Let apps access your camera.
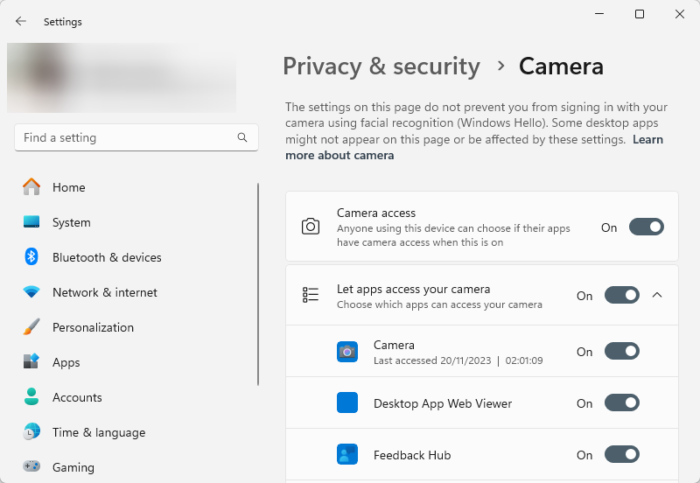
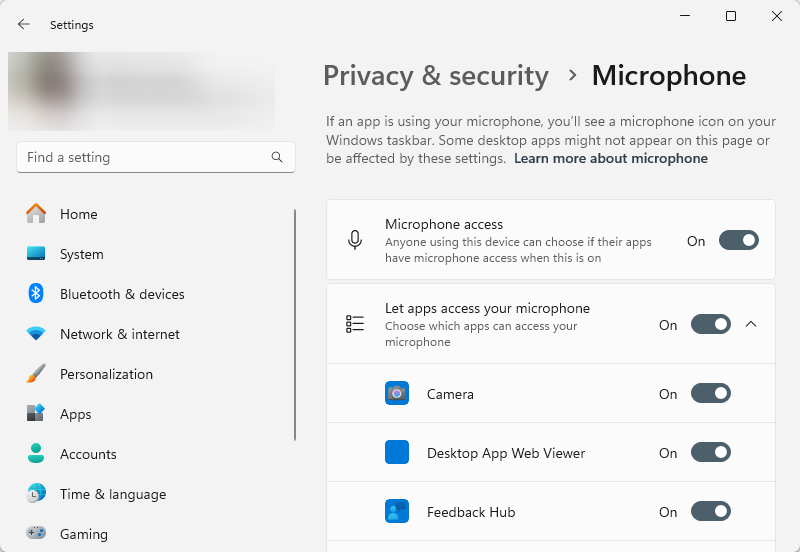
Again, navigate to Privacy & security > Microphone and enable the toggle beside Let apps access your microphone.
4] Repair/Reset Camera App
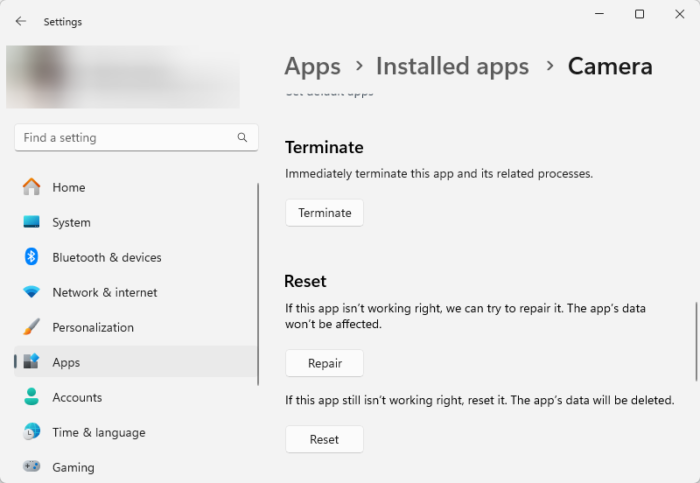
If the error still isn’t fixed, either Repair or Reset the Camera app. Here’s how you can do it:
- Press the Windows key + I to open Settings.
- Then click on Apps > Installed Apps.
- Click on the three dots beside Camera and select Advanced Options.
- Scroll down and click on Repair/Reset.
5] Reinstall the Camera App
Lastly, try reinstalling the Camera app. Uninstall it and then download its latest version from the Microsoft Store.
I hope these suggestions help you.
Read: Fix 0xA00F425C Camera error in Windows
How do I fix error 0xA00F4292 on Windows 11?
To fix the 0xA00F4292, PhotoCaptureStartTimeout error on Windows 11, run the Camera troubleshooter and check your camera privacy settings. However, if that doesn’t help, reinstall the camera drivers and app.
Why is my HP built-in camera not working on Windows 11?
If your HP built-in camera is not working, update the drivers and modify the camera’s privacy settings. However, if updating the drivers doesn’t help, you can try rolling back to the previous version.
Leave a Reply