While installing the Windows operating system or upgrading from a lower version of Windows OS to a higher version of Windows OS, say from Windows 10 to Windows 11, some users encountered the installation failed error with the code 0xC1900101 – 0x20004. In this article, we will see how to fix the 0xC1900101 – 0x20004, Installation failed error.
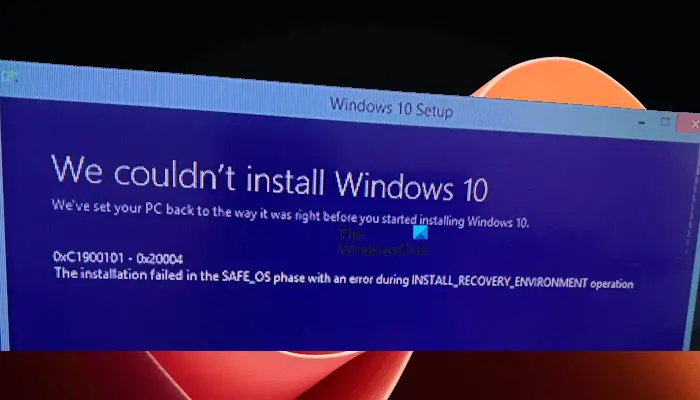
The complete error message that Windows displays is:
0xc1900101 – 0x20004
The installation failed in the safe_OS phase with an error during INSTALL_RECOVERY_ENVIRONMENT operation.
Fix 0xC1900101 – 0x20004, Installation failed error
Usually, this error occurs due to corrupted or outdated device drivers. In addition to this, the connected peripherals can also cause this error sometimes. Whatever the cause of this error is, let’s see the solutions to fix the installation failed in the safe_OS phase with an error during INSTALL_RECOVERY_ENVIRONMENT operation, Error 0xC1900101 – 0x20004 on Windows computers.
- Disconnect all peripherals and try again
- Scan your hard disk for errors
- Unplug SATA cables from your hard disk(s) (if applicable)
- Update your drivers
- Check for BIOS update
- Install Windows Update offline
- Reset your BIOS settings to default
Let’s see all these fixes in detail.
1] Disconnect all peripherals and try again
Sometimes, Windows update errors occur due to the connected peripherals. Hence, we suggest disconnecting all the peripherals while installing the Windows update. This is the easiest fix. If this works, you need not perform other fixes.
2] Scan your hard disk for errors
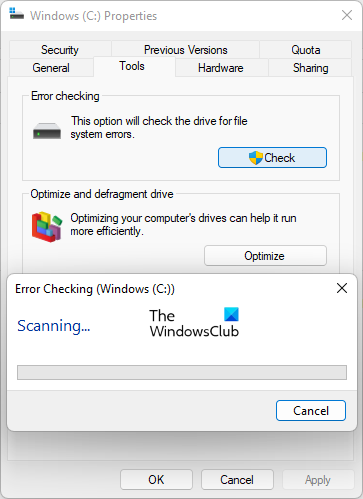 Hard disk errors can cause many issues. If your C drive has errors, you will not be able to install Windows updates. It is better to run a chkdsk scan on your C drive and see if it helps.
3] Unplug SATA cables from your hard disk(s) (if applicable)
This solution is for users who have more than one disk drive on their systems. For example, if you have installed Windows on an SSD and saved your data on your HDD. Open your desktop PC case or laptop and disconnect the SATA cable from the hard disk other than the one on which Windows is installed. Now, run the Windows update. This should help.
You should take professional help to remove or unplug the SATA cable from your hard disk if you do not know about computer hardware. If the SATA cables are connected to other peripherals, disconnect them too.
4] Update your drivers
As we have explained above in this article, one possible cause of this error is the corrupted or outdated drivers. Therefore, check for driver updates and install the required updates (if available).
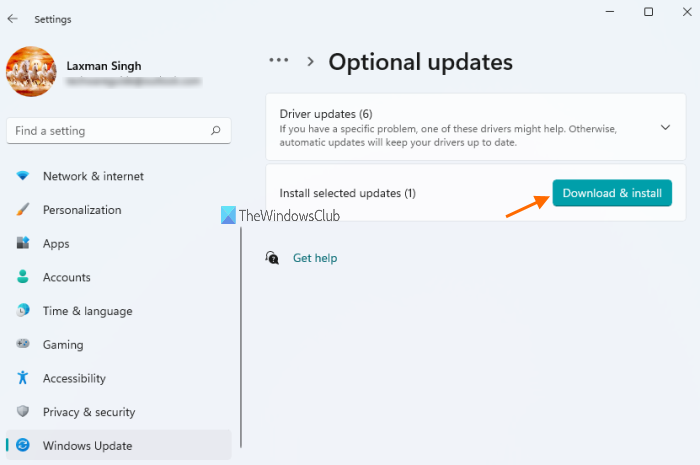
You can check the driver and other additional updates on the Windows Optional Updates page. When the driver updates are released from the manufacturer, they become available on the Optional Updates page. From here, you can install them easily. If the Optional Updates page is blank, you can use another method to check for driver and other additional updates.
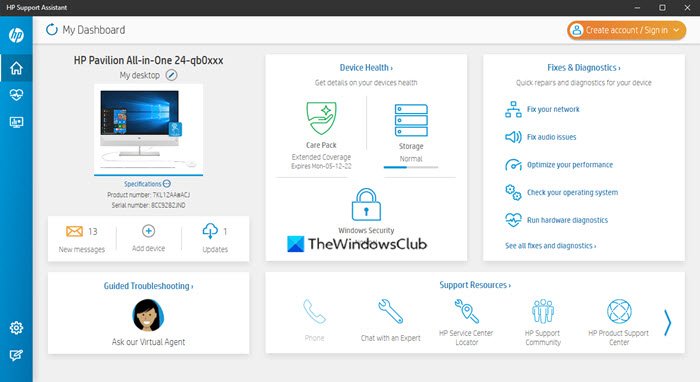
Use the dedicated tool developed by your computer manufacturer to keep your system up to date. Most computer brands have a dedicated tool or software, like:
After updating all your drivers, run Windows update. It should not show the error message this time.
5] Check for BIOS update
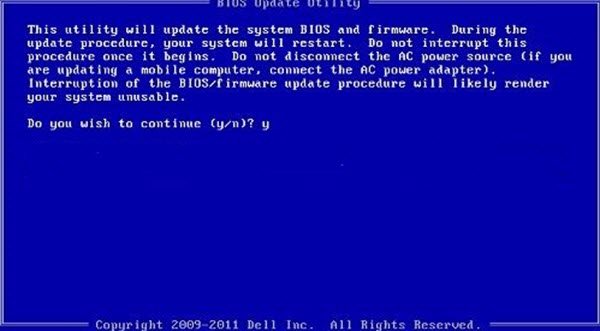
Outdated BIOS can also cause issues while updating or upgrading Windows. We also suggest you update your system BIOS and then perform a Windows Update installation.
6] Install Windows Update offline
According to the feedback, some users disconnected their systems from the internet while updating them to the latest version of Windows OS. You can also try this. First, download the latest ISO file by using the Media Creation Tool. When the ISO file is downloaded to your system, you can use it to update or upgrade your system.
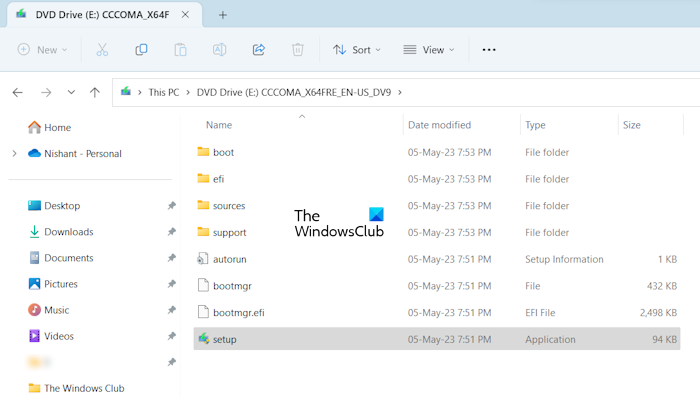
Mount the ISO file on your system. After doing that, the ISO file will appear as a disk drive in File Explorer. On opening it, you will see a setup file there. Disconnect your system from the internet. The easiest way to do this is to turn off your router. Now, run that setup file and follow the on-screen instructions to install the latest version of Windows OS.
Related: Installation failed in SAFE_OS phase with an error during Replicate_OC operation
7] Reset your BIOS settings to default
If the problem still persists, resetting BIOS settings to the default can help. To do so, you have to enter your system BIOS. Computers of different brands have different keys to enter BIOS. You have to visit your PC manufacturer’s official website to know the correct key to enter your system BIOS.
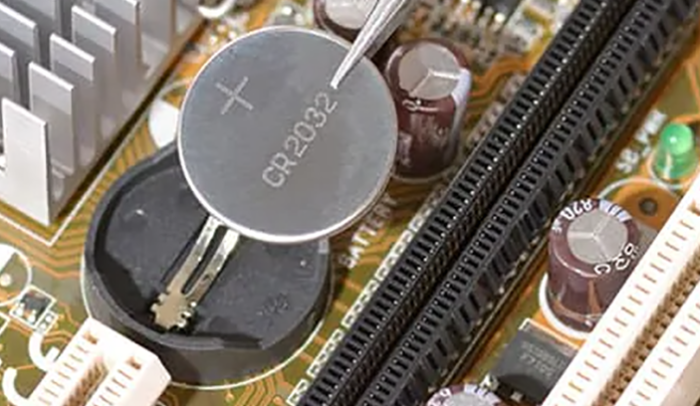
There is one more way to reset BIOS. Clearing CMOS also resets the BIOS settings. To do this, you must remove the CMOS battery, wait for 5 to 10 minutes, and then reseat the battery again. For this, you have to open your laptop or desktop PC case. If you do not know how to do that, it is better to take professional help.
Read: Error 0xC1900101 – 0x40017, The installation failed in the SECOND_BOOT phase.
How do I fix 0xC1900101 error when installing Windows 11?
To fix the 0xC1900101 error when installing Windows, make sure that your system has enough disk space. Some fixes that you can try include disabling your antivirus, running the Windows Update Troubleshooter, checking your hard disk for errors, etc.
Why is Windows Update 0xC1900101 failing?
There can be many reasons why Windows displays the error 0xC1900101 during Windows Update installation. Some possible causes include disk errors, outdated or corrupted BIOS, outdated or corrupted drivers, etc.
Read next: 0xC1900101 – 0x20017, Installation failed in SAFE_OS phase with an error during BOOT operation.
Leave a Reply