One of the driver files on some Windows systems, Amadacpbus.sys is in charge of communicating and managing AMD hardware connected to the AMD chipset, such as the AMD audio controller and AMD graphics card. As stated earlier, this file is crucial for any Windows computer with AMD hardware, however, it has been linked to a Blue Screen of Death issue with the error message:
Stop Code: SYSTEM_THREAD_EXCEPTION_NOT_HANDLED What failed: amdacpbus.sys

What is the Amdacpbus.sys Failed Blue Screen?
The Amadacpbus.sys failed blue screen of death is an error that typically shows up when AMD drivers on your computer start to malfunction and results in the Blue Screen and the error message, Stop Code: SYSTEM_THREAD_EXCEPTION_NOT_HANDLED What failed: amdacpbus.sys.
Common causes of Amadacpbus.sys Failed Blue Screen
System files can sometimes become corrupted as a result of a corrupted driver, program or OS files, software conflicts, improper computer usage, and improper shutdown. Because the error is related to Amadacpbus.sys, a system file, it might be due to the fact that it has become damaged or corrupted due to an outdated or damaged AMD driver or even a conflicting program on your computer. The amadacpbus.sys failed Blue Dcreen is typically brought on by faulty AMD drivers on your computer, which the above-mentioned causes may spur on.
Fix Amadacpbus.sys Failed Black Screen of Death
The Amadacpbu.sys file is related to AMD drivers on your Windows computer, and to fix the Amdacpbus.sys Failed Blue Screen, follow these suggestions:
- Update AMD drivers
- Uninstall and reinstall AMD drivers
- Roll-back AMD driver
- Run SFC and DISM scan
- Use System Restore.
1] Update AMD drivers

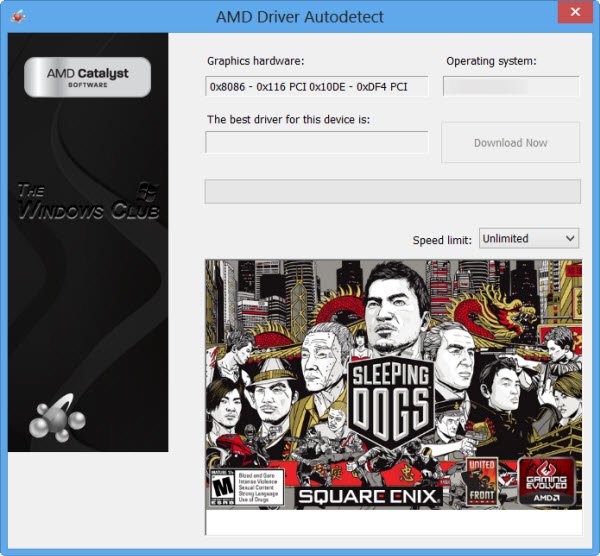
The ebst way to update AMD drivers on your Windows computer is to use the AMD Driver Autodetect tool for Windows 11/10. Use it to automatically detect and updated outdated AMD drivers.
2] Uninstall and reinstall AMD drivers

You can also uninstall your graphics and audio drivers, reinstall their updated versions, and see if the issue is fixed. To uninstall these drivers:
- Simply go open Device Manager on your computer.
- Right-click on the respective drivers and select Uninstall and confirm the action.
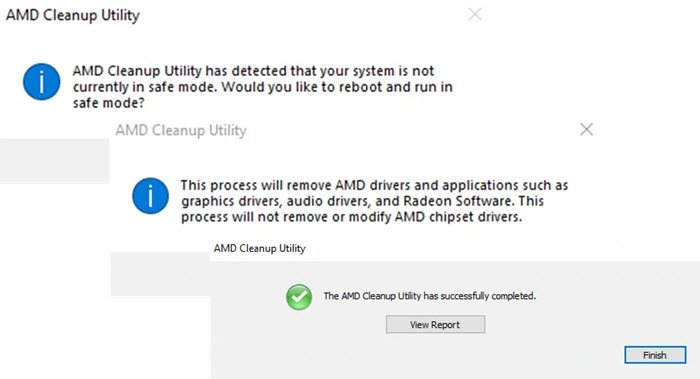
Alternatively, use the AMD Clean Uninstall Utility to remove AMD driver files completely.
After this, you should install the new versions of the drivers on your computer.
You can download AMD drivers here on amd.com. Just visit this link, search for your PC’s driver, download the setup file, and run it.
3] Run SFC and DISM scan
The system file Amadacpbu.sys may have become corrupted for a variety of reasons, which could be the cause of your PC’s Blue Screen issue. In order to find and replace damaged or corrupt Amadacpbu.sys files on your computer, it is recommended that you run the SFC scan and the DISM scan.
- Press Windows + S to open the Windows Search.
- Type cmd into the search box and select Run as administrator.
- After the Command Prompt opens, type the command below and hit Enter.
sfc /scannow
Once this scan is completed, restart your computer, make sure that you are connected to the internet, and then execute the following command one after the other:
DISM /Online /Cleanup-Image /CheckHealth

DISM /Online /Cleanup-Image /ScanHealth

DISM /Online /Cleanup-Image /RestoreHealth
Again restart your computer and see if the issue has been fixed.
4] Roll-back AMD driver

If you have just updated an AMD driver on your computer before the Blue Screen issue started, then you should roll back the driver by following the steps below:
- Right-click the Start menu and select Device Manager.
- On the resulting window, navigate to the Display adapter option and double-click it.
- Right-click your graphics driver and tap on Properties.
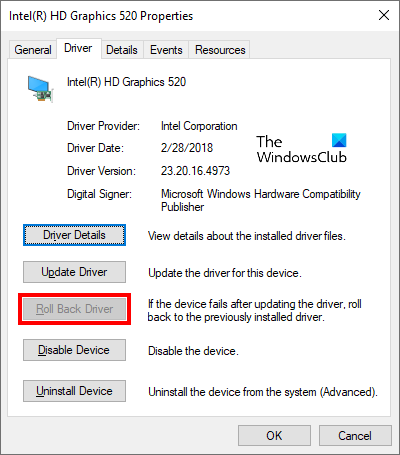
- Switch to the Driver category and click on Roll Back Driver.
This will take back your display driver to a previous version and thereby fix this issue for you.
Read: Bluescreen after installing Drivers in Windows
5] Use System Restore
You can return to a previous state and fix the issue if your computer had a restore point set up before this problem appeared. Only those with nothing to lose should consider returning to that earlier point. To use a restore point on Windows PC:
- Press Windows + R, type control panel, and click OK.
- On the Control Panel window, ensure the View by option is set to Large icons. Now, tap on the Recovery option.
- Tap on Open System Restore and tap on Next.
- Select the restore point you want to use and click Next.
Read: How to find which Driver is causing the Blue Screen on Windows?