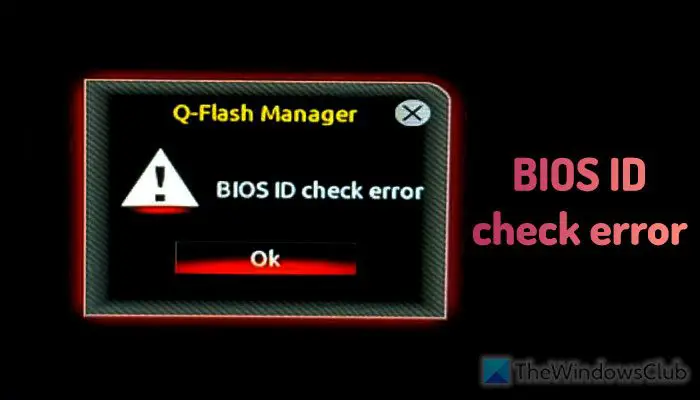
While updating BIOS, if you get a BIOS ID check error message, here is how you can resolve the issue. Although this particular error message appears on a Gigabyte motherboard, you can follow the same solutions even if you use a different motherboard.

Basic Input/Output System or BIOS is one of the basic and most essential things you need to run a computer. No matter which motherboard manufacturer or operating system you use, your hardware always comes with BIOS. BIOS runs via firmware (in other terms, software) that needs to be updated if the manufacturer has rolled out a new one.
Updating BIOS firmware is not a big deal. However, at times, you might come across some problems e.g. BIOS ID check error. There are multiple reasons for this problem, and here we have discussed some of the most common causes along with the solutions.
Fix BIOS ID check error on Windows computer
To fix BIOS ID check error on a Windows computer, follow these instructions:
- Download the correct firmware
- Download again to rectify corrupt file
- Update BIOS using bootable USB
To learn more about these solutions, continue reading.
1] Download the correct firmware

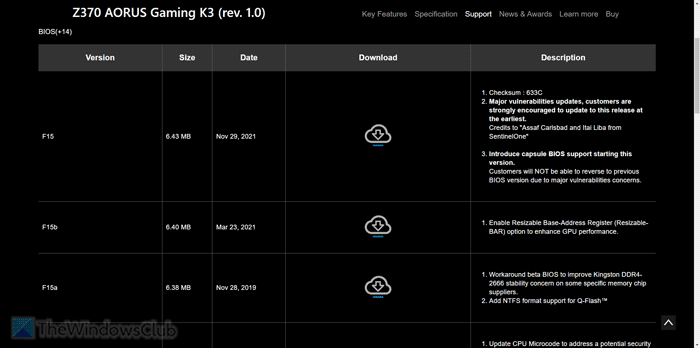
It is the most important thing you need to keep in mind while updating BIOS firmware. You might have two computers at your home, and their motherboards could be different. In such situations, you need to identify your motherboard to download the correct firmware version.
It is pretty easy to find out the motherboard model. You can open the Terminal and enter this command:
wmic baseboard get product,Manufacturer,version,serialnumber
You can also use the System Information panel to obtain the same details.
Once you have the serial number and model number, you can head to the official website and download the firmware.
2] Download again to rectify corrupt file
Let’s say that you downloaded the file a long time ago, and since then, many things have happened on your computer. In such cases, if the file has been damaged in any way, you cannot use it to update the BIOS. That is why we suggest you download the file again. It is highly recommended to get it ONLY from the official website of your motherboard manufacturer.
3] Update BIOS using bootable USB

It is possible to update BIOS using a bootable USB as well. As it says, you need to create the bootable USB first. For that, you need two things apart from a USB driver: Rufus and the firmware. Then, you can go through this detailed guide to learn how to create a bootable USB with the BIOS firmware and update BIOS of your Windows computer.
I hope these solutions work for you.
Read: What is CSM Support in BIOS? How to enable or disable it?
How do I update my computer BIOS?
There are multiple ways to update your computer’s BIOS. You can use a bootable USB driver, use the Q-Flash Manager, etc. Although the first one takes some time, the second one doesn’t, and it is the easiest way to get the job done. On the other hand, you can also use BIOS update apps.
How to check BIOS?
To open and check BIOS, you need to restart your computer first. When it is being restarted, you need to keep pressing the F2/F10/F12/Del buttons. As different motherboard manufacturers assign different keys, you need to know the correct one first. However, if you want to check the BIOS version, you can open Command Prompt with administrator permission and enter this command: wmic bios get biosversion.
Read: Dell BIOS Update not installing – Your security settings could not be detected
Leave a Reply