If the Get Help app is opening but blank in Windows 11, here is what you need to do to fix this problem. There are multiple reasons why you might encounter this problem, and this article has almost all the possible causes along with solutions to fix the issue within moments.
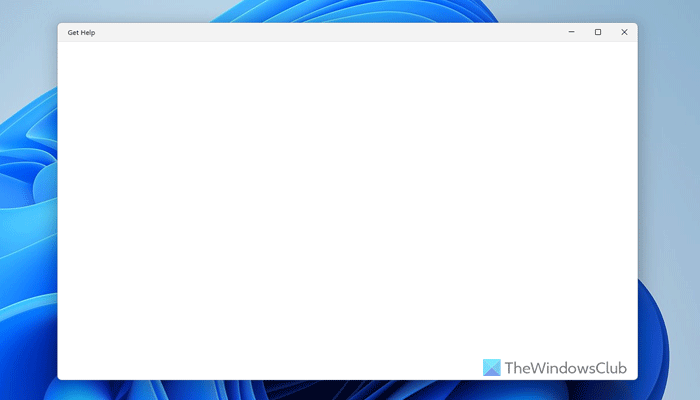
Get Help app is blank in Windows 11
To fix the blank Get Help app in Windows 11, follow these solutions:
- Terminate the app from Task Manager
- Ensure you have an internet connection
- Change background component permissions
- Repair the app
- Reset Get Help app
- Run SFC scan
To learn more about these solutions, continue reading.
1] Terminate the app from Task Manager
When you see this problem, the first thing you do is click on the close button visible on the app. However, we suggest you use the Task Manager to do the same. When you terminate the app using Task Manager, it also stops all the background services. Sometimes, background services could cause this problem, and terminating the app using Task Manager could fix the issue.
2] Ensure you have an internet connection
The Get Help app requires an internet connection to display the troubleshooter. As it uses the Microsoft server to display all the information, you must have a valid internet connection. That is why it is highly recommended that you check your internet connection and try again.
If you use a VPN or proxy, you can disable it temporarily and check again.
3] Change background component permissions
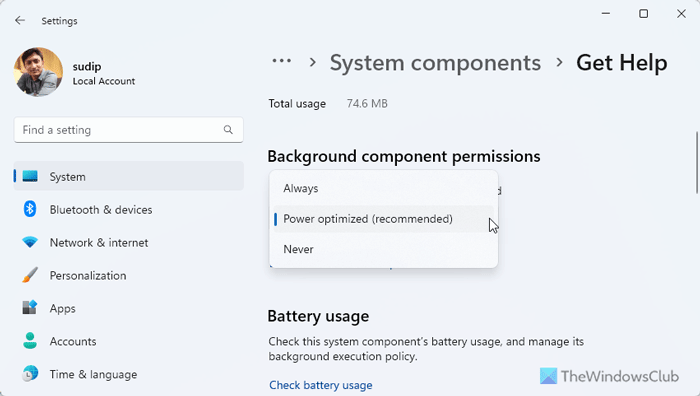
To change the background component permissions of the Get Help app, follow these steps:
- Press Win+I to open Windows Settings panel.
- Go to System > System components.
- Click on the three-dotted icon of the Get Help app and select Advanced options.
- Head to the Background component permissions.
- Expand the drop-down menu.
- Choose another option as per your requirements.
However, if the new option doesn’t do anything positive, you should try again with another option.
4] Repair the app
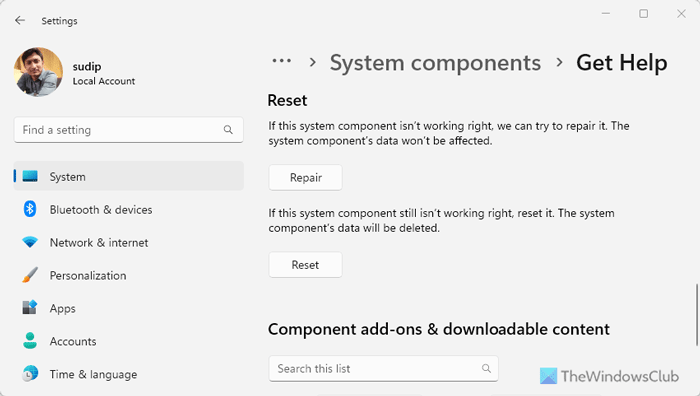
If the Get Help app is corrupted due to malware or adware attacks, you can repair it using Windows Settings. Follow these steps to get it done:
- Open the Windows Settings panel on your computer.
- Go to System > System components.
- Open the Advanced options of the Get Help app.
- Scroll down and click the Repair button.
Wait for a few moments to get it finished. Once done, open the Get Help app.
5] Reset Get Help app
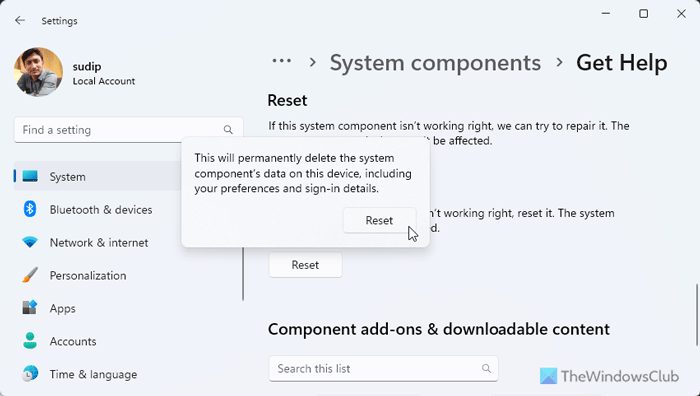
If the repairing option doesn’t fix the issue, reset the Get Help app. As there is almost no data to lose, you won’t have any issues if you reset it. For that, do the following:
- Open the Windows Settings pane.
- Click on the System components in the System tab.
- Click on the three-dotted icon of the Get Help app.
- Select the Advanced options.
- Click on the Reset button twice.
6] Run an SFC scan
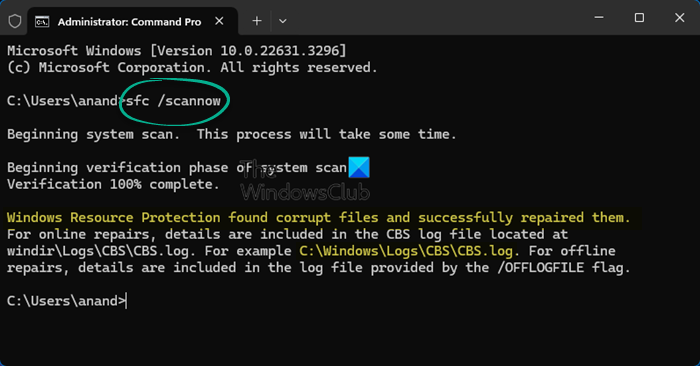
If none of the solutions worked for you, you should run the System File Checker. This issue may occur due to system file corruption, so an SFC scan could easily fix the problem.
I hope these solutions help you fix the problem.
Read: Get Help app not working in Windows 11
Why is my Get Help not working?
The most common reason why your Get Help app is not working is the lack of a valid internet connection. You need to ensure that your internet connection doesn’t have any problems. In case you use a VPN or proxy, it is suggested to disable them and try again.
Read: How to Get Help in Windows 11.
How do I open Get Help in Windows?
To open the Get Help app in Windows 11, you can use the Taskbar search box. First, click on the search box or press Win+Q and type “get help”. Then, you can click on the individual search results. It will open the Get Help app immediately.