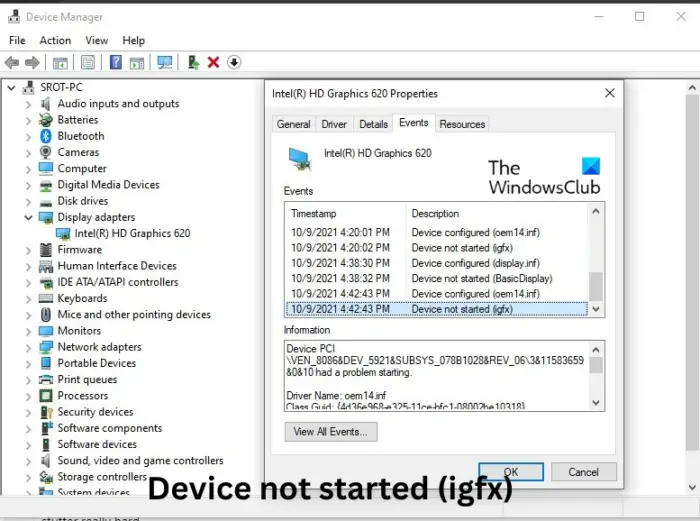
This post features solutions to fix Device not started (igfx) error on Windows 11/10. IGFX is the Intel Graphics Media Accelerator, an onboard graphics chip. Igfxem.exe is the main control module for Intel’s graphics cards. This module is fixed between the Intel graphics card and the Windows OS that, allows rotating off the screen and controlling several important graphics card features. But recently, many users have complained about this error on Windows. Fortunately, you can follow some simple steps to fix this error.

Fix Device not started (igfx) error on Windows 11/10
To fix the Device not started (igfx) error on your Windows computer, first update your device’s Intel Graphic drivers and software along with your Motherboard’s BIOS. However, if it doesn’t work, you can consider the system restore option.
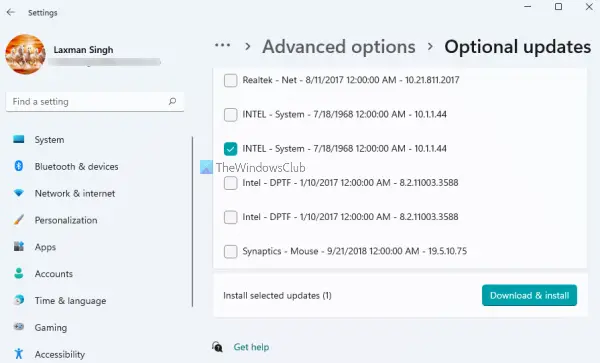
Outdated or corrupted Intel drivers can be responsible for Windows errors. Using Windows Optional Updates, download and install any display driver components offered to your system.

It is always a good idea to ensure that your Windows 11/10 OS is updated.

Next, you must update Intel Graphics Driver.
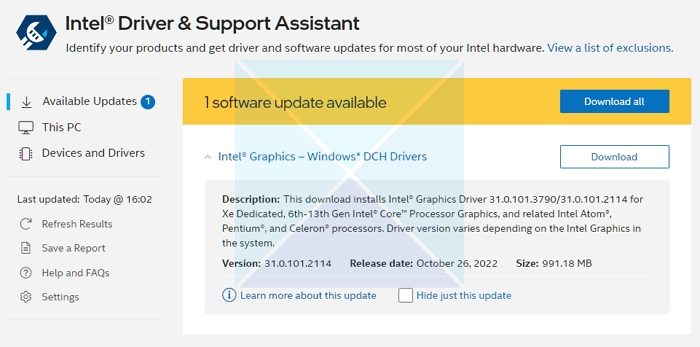
Using the Intel Driver Update Utility is an option you may consider.
- Download and install Intel Driver & Support Assistant from intel.com and restart your PC.
- Once you get back into your account, locate the assistant in the Start menu and open it.
- It will open a link in the browser, which will then check if you need an update or missing a driver.
- Once it finds it, you will get a list of drivers you can install on your PC.
- Click on the Download button, and install the setup file.
Once everything is complete, restart your PC.
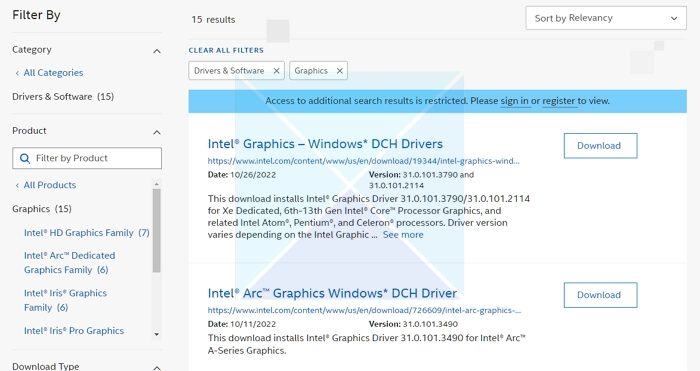
Alternatively, you can manually Install the Driver From the Intel Download Center.

- Determine the Intel® Processor number and write it down (example: i7-1165G7). Here is how to find the processor number:
- Press the Windows key and type system information. Select System Information from the search results. In the new window, find and write down or copy-paste the number given next to Processor.
- Next, go to the Download Center and type in the processor number in the search bar.
- Choose the desired driver outcome: For the most recent driver updates, it is advised to choose Intel Graphics – Windows* DCH Drivers, but there are other options.
- Next, click Download and open the EXE file.
- Please continue with the installation until it says Installation Complete in the installer.
- Restart PC.
Ensure you search for the exact driver by matching it with your processor and GPU version, as you can view it in the device manager or System information page.
If this does not help you, perform System Restore to go back to the point before the problem started. Performing a system restore can make your device to working condition without reinstalling the operating system. Doing so will repair the Windows environment by installing the files and settings saved in the restore point.
Let us know if anything here helped you.
Leave a Reply