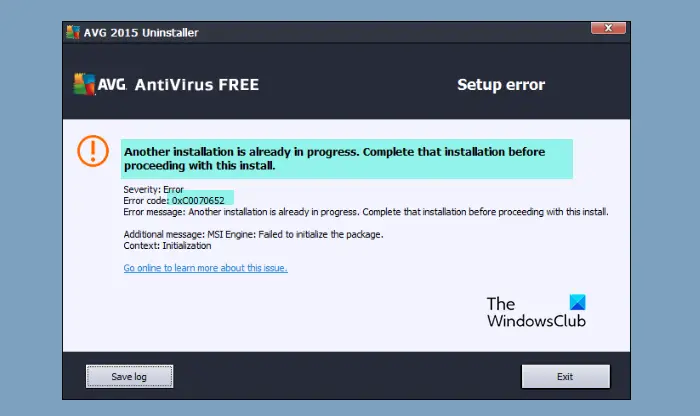
Some Windows users are seeing error 0xC0070652 when installing or uninstalling Programs. The error message states “Another installation is already in progress. Complete that installation before proceeding with this install”. However, according to the users experiencing this issue, they are not installing or uninstalling any program. That’s why in this article, we will be seeing the reason for this error and how you can resolve it.

Another installation is already in progress. Complete that installation before proceeding with this install, Error Code 0xC0070652
Why am I seeing Error 0xC0070652 when trying to uninstall a program?
The most common reason why you are seeing this error is the interference of a third-party application. This application can be anything, ranging from antivirus to a game. We will be seeing how to know the exact culprit hereinafter. You may also face the error if there is some issue with the Windows Installer service. If the service is stopped or experiencing some glitch, you may see the error message along with the code 0xC0070652. We will be seeing more about this and how you can fix the issue.
Error 0xC0070652 when installing or uninstalling Programs
If you are seeing Error 0xC0070652 when installing or uninstalling Programs, then, first of all, update your computer. From Windows Settings, you can manually update Windows 11. After updating, use these solutions to resolve the issue.
- Restart your computer and try again
- Troubleshoot or Install/Uninstall in Clean Boot State
- Check Windows Installer Service
- Stop msiserver
- Use System Restore
Let us talk about them in detail.
1] Restart your computer and try again
Restart your computer and try to install the program and see if it works.
2] Troubleshoot or Install/Uninstall in Clean Boot State
As mentioned earlier, the issue can be because of a third-party application. Therefore, we need to troubleshoot in Clean Boot and see what exactly is causing the issue. After that, you can remove the culprit.
You may also see if you can install or uninstall the program in Clean Boot State.
Read: How to uninstall programs using Registry in Windows
3] Check Windows Installer Service
Next up, we need to check the Windows Installer Service and enable it, if it is disabled, to resolve the issue.
To do that, follow the given steps.
- Open Services from the Start Menu.
- Look for Windows Installer service.
- Right-click on it and click Start.
- If the ‘Start‘ is greyed out, click Restart.
Now, check if the issue persists.
Read: Access is Denied error while installing software on Windows
3] Stop msiserver
Some applications use a dedicated service for uninstallation. Therefore, you can temporarily stop the Windows Installer Service before uninstalling it. You can open Task Manager, go to the Services tab, right-click on msiserver, and click Stop, then check if the issue persists.
Read: You do not have sufficient access to uninstall a program.
4] Use System Restore
If you have created a System Restore then it is the right time to use it. To use System Restore follow the given steps.
- Click the Start button and search “Restore Point”.
- Click System Restore.
- Click Next, select a System Restore Point and click Next.
Finally, follow the on-screen instructions and see if the issue is fixed.
How to uninstall programs on Windows 11 that cannot be uninstalled?
If you have some programs that cannot be uninstalled using Windows Settings, you can use a third-party software uninstaller program. There are so many app cleaner tools available in the market that remove the program from your computer and delete all the leftovers as well. For example, you can use CCleaner, Revo Uninstaller, etc., to get the job done.
Related reads:
Leave a Reply