While viewing the internet connection properties, some users received the “Error saving wireless profile” message. The same error message can also occur while setting up a new or deleting the existing network profile on Windows 11/10. If you see this error message, this guide will show you how to deal with this problem.

The complete error message is:
Error saving wireless profile – Windows has encountered an error saving the wireless profile. Specific error: The system cannot find the file specified.
What is a WiFi profile name?
A wireless network profile or WiFi profile contains information, like SSID, password, etc. Your computer uses this information to connect to the internet. SSID (Service Set IDentifier) is the name of a network. When you open WiFi on your computer or smartphone, the list of networks that you see is SSIDs.
How do I add a profile to my WiFi?
Windows 11/10 allows users to create new WiFi network profiles. You can do this by using the Settings app or the Control Panel. While setting up a new network profile, you have to enter the network name, security type, and security key. As explained earlier, some users receive the “Error saving wireless profile” message while creating a new network profile. If the same thing happens to you, you can use the solutions provided in this post.
Fix Error saving wireless profile message on Windows 11/10
If while creating a new network profile or deleting the existing one, or viewing the properties of your network connection, you see the “Error saving wireless profile” error message, use the fixes written below.
- Install the latest Windows Update
- Repair corrupted system files
- Run antimalware and antivirus scans
- Troubleshoot in a Clean Boot state
- Uninstall and reinstall your network driver
- Reset your WiFi network
Below, we have explained all these fixes in detail.
1] Install the latest Windows Update

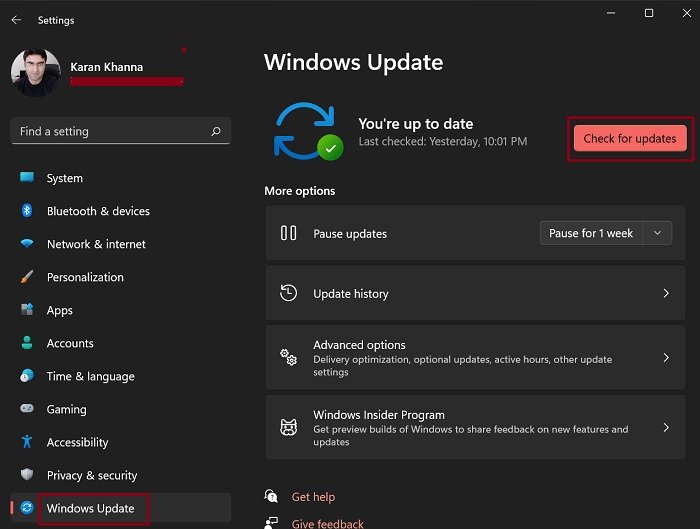
You may experience issues like this on your Windows computer if you have an outdated version of Windows 11/10. Hence, make sure that you have the latest version of Windows 11/10. Open Windows 11/10 Settings and go to the Windows Update page to check for updates manually. If an update is available, install it.
2] Repair corrupted system files

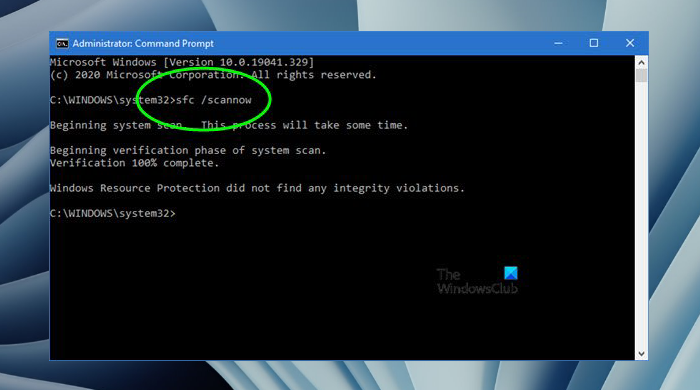
Another possible cause of this error is the corrupted system files. Windows 11/10 operating system has built-in tools to repair corrupted system files. You can use the System File Checker and DISM tools to repair your system files. After the process is completed, check if the issue persists.
3] Run antimalware and antivirus scans
If everything sounds fine like you have the latest version of Windows 11/10, your system files are not corrupted or you have repaired your system files, but the error message still appears in internet connection properties, your system might have been infected. You should run an antimalware scan and antivirus scan.
Windows Defender is a good antivirus developed by Microsoft. If you want, you can also use free antivirus software or free standalone on-demand antivirus software to scan your system.
4] Troubleshoot in a Clean Boot state
The error might have been triggered due to a conflicting third-party startup app or third-party Service. To check whether or not this is the case with you, troubleshoot in a Clean Boot state. Start your computer in Clean Boot and see if Windows displays the same error message while creating a new WiFi profile, deleting the existing WiFi profile, or viewing the internet connection properties.
If the issue does not occur in the Clean Boot state, your next step is to find the conflicting third-party startup app or Service. To do so, enable all the disabled startup apps and restart your computer. Now, see if the problem persists. If yes, start disabling the apps one by one and restart your computer every time you disable one startup app. This will help you identify the problematic startup app. Follow the same procedure to identify the conflicting third-party Service. Once you find the problematic Service, disable it permanently by using the Services app.
Some affected users found the SafetyNutManager process causing the problem.
5] Uninstall and reinstall your network driver
You can also try reinstalling your network driver and see if it helps. The steps are as follows:
- Open the Device Manager.
- Expand the Network adapters branch.
- Right-click on your network driver and select Uninstall device.
- Restart your computer.
On the restart, Windows will look for missing drivers and install them.
6] Reset your WiFi network
We also suggest you reset your WiFi network. This action will reset the networking components to default and reinstall the network adapters. A network reset on Windows 11/10 is useful if you are experiencing issues with your internet connection.
I hope this helps.