Some PC users have reported that after successfully installing BlueStacks on their Windows 11 or Windows 10 computer, when they try to launch the Android emulator, they receive the Failed to load channels error prompt. This post offers solutions to help affected PC users resolve the issue effectively.
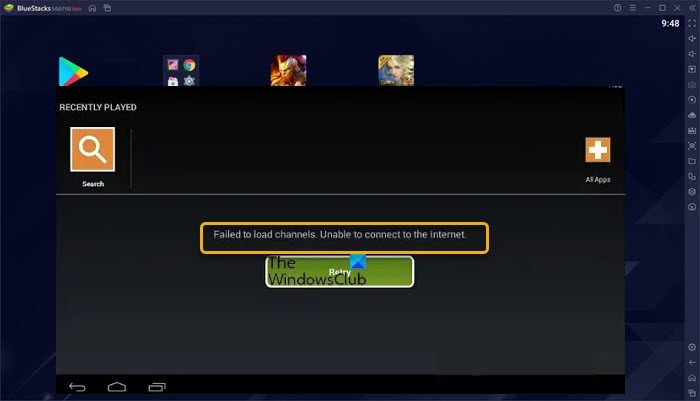
Failed to load channels. Unable to connect to the Internet.
Some affected PC users reported although they received this error message, they were still able to browse or establish a connection to the internet through the BlueStacks browser. Also, the error message in some cases appears whenever they try to launch an application within BlueStacks. The following are known causes of this issue.
- Geo-restrictions.
- The firewall is blocking BlueStacks from accessing the network.
- The current version of BlueStacks is outdated.
Read: Your device isn’t compatible with this version BlueStacks error
Fix Failed to load channels error in BlueStacks
If you get the Failed to load channels error message when you launch BlueStacks on your Windows 11/10 computer, then our recommended solutions we have presented below in no particular order should help you resolve the issue on your system.
- Initial checklist
- Allow BlueStacks through your Firewall
- Connect to a VPN
- Reinstall BlueStacks on your PC
- Install and use another Android emulator
Let’s see these mentioned suggestions in detail.
Read: BlueStacks cannot start when Hyper-V is enabled
1] Initial checklist
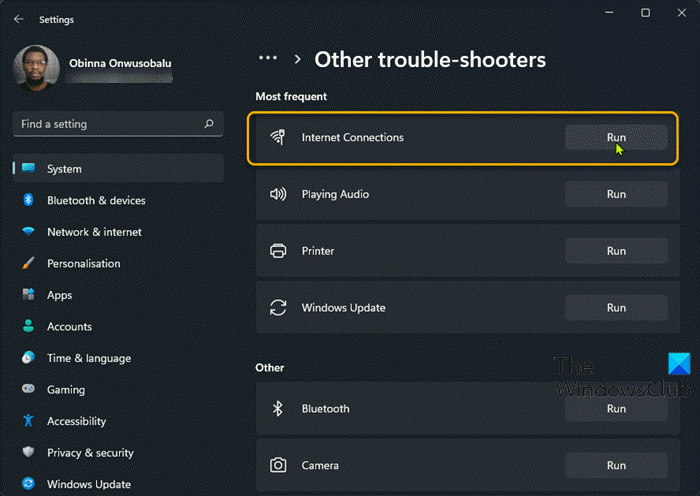
Before you proceed, as the Failed to load channels error in BlueStacks on your Windows 11/10 PC appears to be an internet connectivity issue, we suggest that you make sure there are no network and internet problems at your end on your system. In addition, flush the DNS and try changing your DNS settings and see if these actions solve your problem.
2] Allow BlueStacks through your Firewall
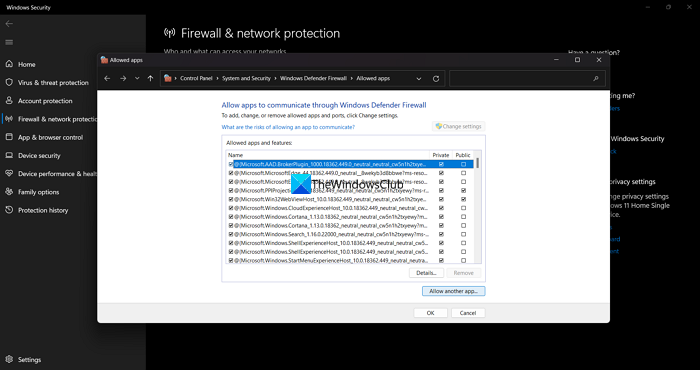
This solution requires you to make sure that BlueStacks is not allowed access through your firewall. If you’re using the Windows Defender firewall, then you can follow the instructions in this guide for this task. If you’re running third-party security software with an integrated firewall or a dedicated firewall, then you need to refer to the user/product manual for the steps on how to do the same.
Alternatively, you can disable or uninstall the firewall, which doesn’t seem ideal considering the PC security implications of being exposed to potential attacks on the open internet.
Read: Run Android Apps and Games on Windows PC with BlueStacks
3] Connect to a VPN
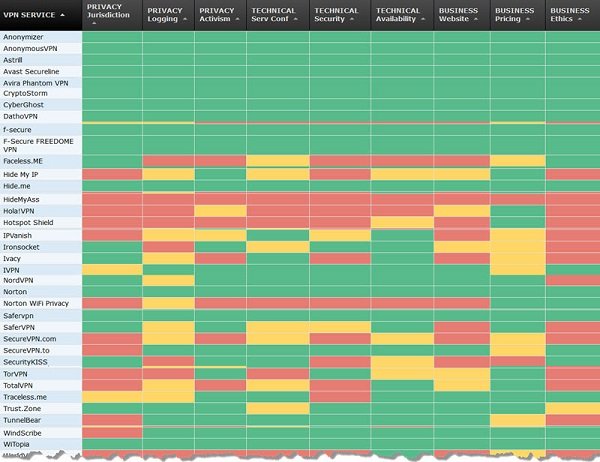
Based on numerous user reports, it seems this error occurs when something within Bluestacks is unable to communicate through the internet you are using. However, some affected users on PC revealed that connecting to a VPN allowed the app to think it’s using another network since you are using the VPN within BlueStacks itself. Once you install the VPN, wait a few minutes and then see if the problem is resolved. Otherwise, continue with the next suggested fix.
4] Reinstall BlueStacks on your PC
This is a straightforward fix since the issue might be due to complications with the already installed BlueStacks on your Windows 11/10. Also, reportedly, this error occurs with builds that were released before BlueStacks 4.0. So, in any case, you can uninstall BlueStacks and then reinstall the latest build/version of the Android emulator on your PC and see if that helps.
Read: BlueStacks Failed to install on PC
5] Install and use another Android emulator
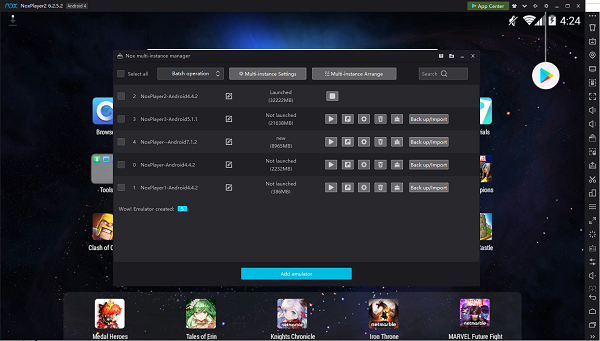
If you have exhausted all the suggestions we have provided above but the issue is unresolved, you may consider switching to another Android emulator for the Windows 11/10 operating system.
Hopefully, any of these fixes help you!
Also read: BlueStacks is stuck on Starting the Engine screen
How do I fix network problems in BlueStacks 5?
To resolve Internet issues while using BlueStacks 5 on your Windows 11/10 PC, the following suggestions can help.
- Restart your router
- Reset your Internet settings
- Disable proxies and VPN connections
- Clear your DNS cache
- Use a different DNS server
How do I authenticate my Google account on BlueStacks?
Launch BlueStacks after installation, and click on the Play Store icon from your BlueStacks home screen. Google Play will prompt you to sign in. Click on the Sign in button to proceed. In the case you see a message stating that authentication is required even though you are signed into Google Play Store on BlueStacks 5, you can resolve the issue by performing the following actions:
- Clear data and cache for Google Play Services and Google Play Store.
- Remove your Google account from BlueStacks 5 and add it again.