Nowadays it’s quite common to work with a LAN (Local Area Network) formed by two or more Windows 11/10 computers. Local networks have always been convenient to share some of the important files with other authenticated users. Providing access to digital media like computer folders or programs over a small local area network is quite simple. All you need to do is enable the file-sharing option on Windows OS. While it’s quite useful to share your files with other Windows users on the local network, sometimes it throws an error message: Your folder cannot be shared. You may want to use Advanced Sharing to resolve the issue or there might be a problem with password protection. The following solutions may help you to fix the error.
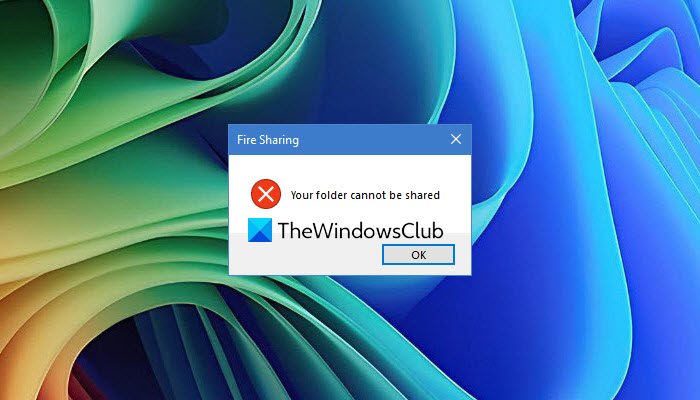
Fix Your folder cannot be shared error in Windows
Network Sharing has been a quintessential part of Windows since its release. The feature is especially useful in organizations where all the Windows machines are connected to the same network. The speed at which file transfers take place is also unprecedented.
1] Disable antivirus software
Disable your antivirus software temporarily and see if it helps. If it does, you may have to add Exceptions for the Shared folder.
2] Give Full Control to All users
Select the folder you wish to share over the local network. Right-click on the folder and click Properties from the menu bar.
Go to Sharing tab and click on “Advanced Sharing “ option.
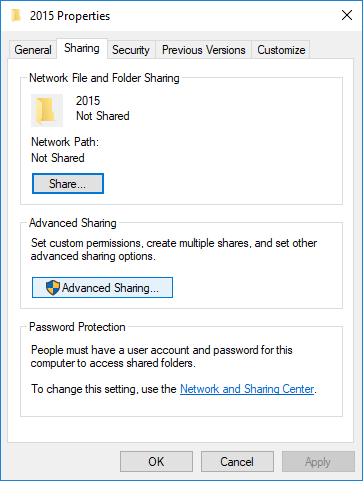
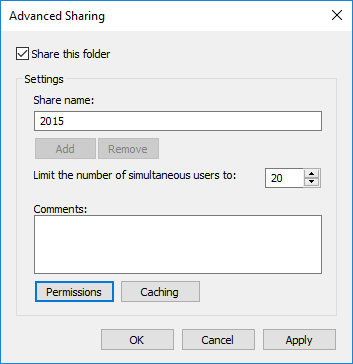
Tick the box with “Share this folder”.
Next, select Permissions and select the Allow box for “Full Control“ to set Full Control permission for everyone that lets you share the folder with everyone.
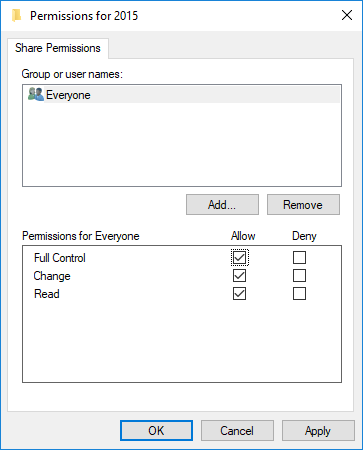
Remember that by doing this, your files will be accessible to anyone on your local network even if they don’t have the password. If you are using password protection, continue by following these steps.
Click on Add and then select Advanced Option and click on Find now.
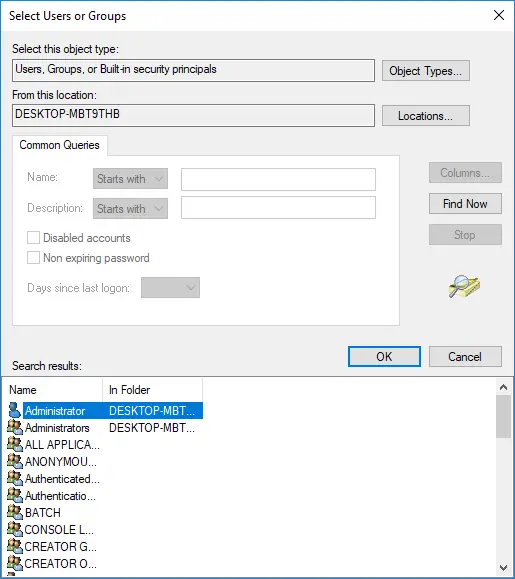
Choose Authenticated users, Click OK and then click Full Control. Click OK and exit.
3] Disable Password Protected Sharing
While this solution is relatively easy, note that it may incur certain risks as you will be switching off the password protection. Though disabling password protection is convenient, you should be aware that your system may be vulnerable to security threats.
Go to Control Panel and click on Network and Sharing Center.
Click on Change advanced sharing settings.
Click the ‘down arrow’ under All Networks to expand the settings.
Under the Password protected sharing section, select Turn off Password protected sharing and save the changes.

These solutions should work well to resolve the issue. If you still face trouble sharing the file among Windows users, then there might be a problem with the Security Properties. You may want to set up the Security Properties again. Also, if you refrain from disabling password-protected sharing, you can create a password for each current user in User settings.
Let us know if this works for you.
Read: File Sharing is not working in Windows.
What is the possible cause if Shared folder could not be accessed?
The shared folder in Windows 11 could be inaccessible due to a misconfigured network, incorrect drive settings, misspelled folder names, or inappropriate user account permissions. Fixing these issues usually resolves the problem, allowing access to the folder.
How to fix cannot access shared folder error in Windows?
To fix the Cannot access shared folder error in Windows, first ensure Network discovery and File sharing are enabled. Go to Control Panel > Network and Sharing Center > Change advanced sharing settings. Turn on network discovery and file and printer sharing options, then save changes.
Helpful but needs to be linked to setting up a shared folder, sense homegroup is no more..