If Hyper-V Audio is not working in Windows 11 then this post may be able to help you resolve the issue. Hyper-V is Microsoft’s virtualization solution for Windows. It allows users to run various operating systems as virtual machines on Windows. But recently, users have been complaining about Hyper-V audio not working in Windows 11. Fortunately, following these methods can help you fix it.
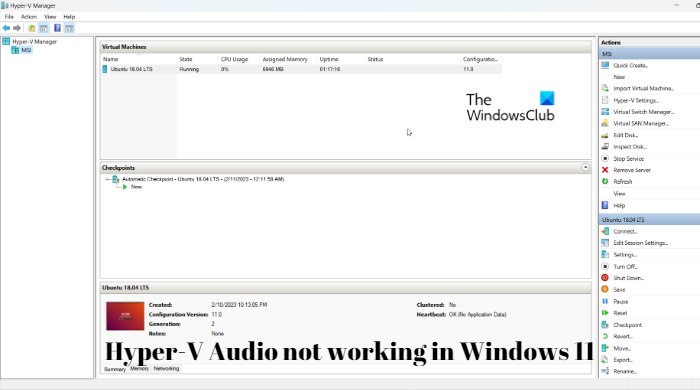
How do I enable Hyper-V in Windows 11 single language?
Hyper-V is an optional feature included by default in the Windows operating system. However, you’ll need to enable it first on your system. Here’s how:
Open a new Notepad file.
Copy and paste the following script and run it.
pushd "%~dp0"
dir /b %SystemRoot%\servicing\Packages\*Hyper-V*.mum >hyper-v.txt
for /f %%i in ('findstr /i . hyper-v.txt 2^>nul') do dism /online /norestart /add-package:"%SystemRoot%\servicing\Packages\%%i"
del hyper-v.txt
Dism /online /enable-feature /featurename:Microsoft-Hyper-V -All /LimitAccess /ALL
pause
Now click on File > Save as, type hyperv.bat in the name field and click on Save.
Navigate to the location where the file was saved, right-click on it and select Run as administrator.
The Command Prompt will now open and start installing Hyper-V on your device. Once the procedure completes, it’ll ask you to restart the system, type Y to proceed. After your device restarts, Hyper-V will be enabled on your device.
Fix Hyper-V Audio not working in Windows 11
If Hyper-V Audio is not working in Windows 11 then try restarting your virtual machine and device and see if it helps. You can also try using a different audio output device and see. Still, if the issue persists, try these tested methods:
- Run Playing Audio Troubleshooter
- Restart Windows Audio Service
- Configure Remote Desktop Settings
- Run Hyper-V Manager as an Admin
- Update Audio Drivers
Now let us see these in detail.
1] Run Playing Audio Troubleshooter
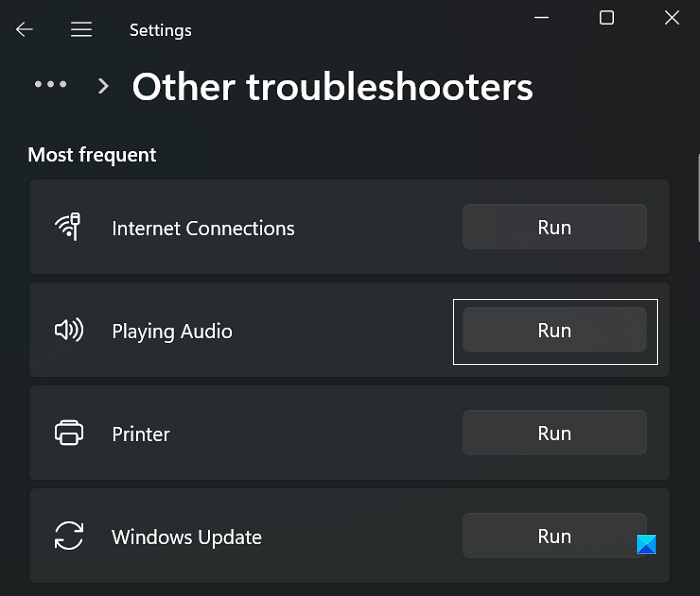
Before getting started with different methods to fix this issue, run Microsoft’s built-in Audio troubleshooter. Here’s how:
- Press Windows Key + I to open Settings.
- Scroll down and select Troubleshoot > Other Troubleshooters.
- Click on Run beside Playing Audio.
- Once the process is complete, restart your device to see if the error has been resolved.
2] Restart Windows Audio Service
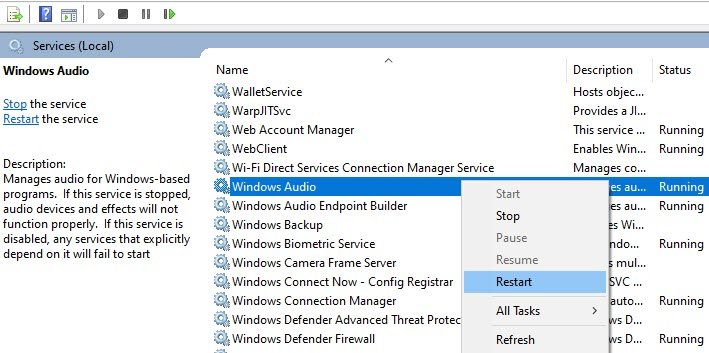
Windows Audio Service is a vital component that managers and enables sound for any application on the Windows operating system. Restarting this service can sometimes help fix audio issues. Here’s how:
- Press the Windows key, type Services and click on open.
- Search for the Windows Audio Service.
- Right-click on the service and select Restart.
3] Configure Remote Desktop Settings
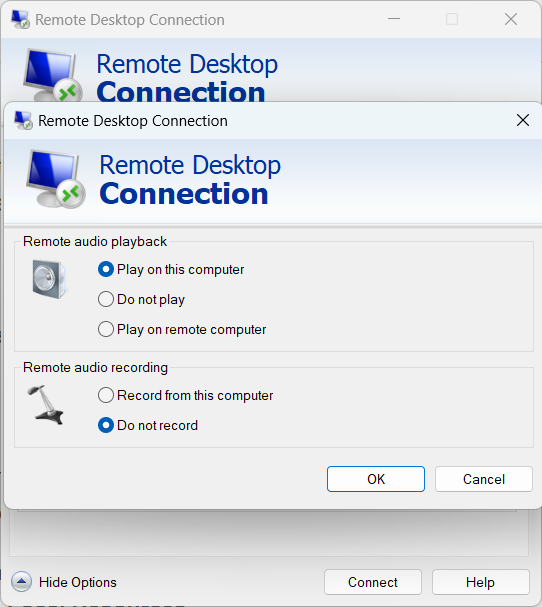
Misconfigured remote audio settings can sometimes be responsible for why audio isn’t working in Hyper-V. Modify these settings and check if the error gets fixed. Here’s how:
- Press the Windows key, search for Remote Desktop Connection, and click on Open.
- Click on Show Options and navigate to Local Resources.
- Under Remote Audio, click on Settings.
- Select Play on this computer under Remote Audio playback and click on Ok to save changes.
4] Run Hyper-V Manager as an Admin
Right-click on the Hyper-V Manager.exe shortcut file on your device and select Run as an administrator option. See if it helps.
5] Update Audio Drivers
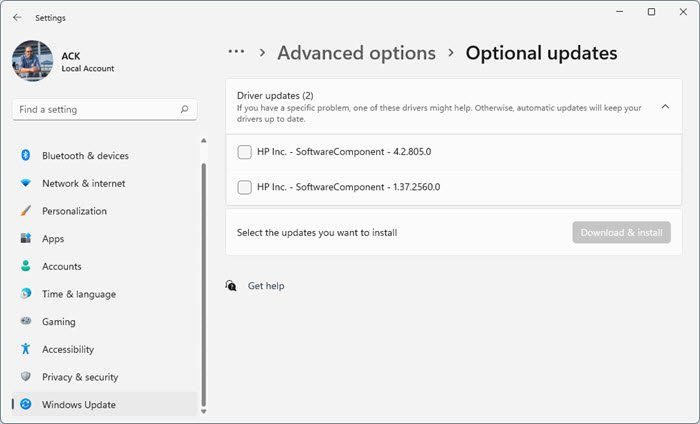
Outdated or corrupted drivers can also be responsible for why Hyper-V audio is not working. Update your Audio drivers and check if the issue gets fixed. Here’s how you can do it:
- Open Settings and navigate to Settings > Update & Security > Windows Update.
- Right under it, look for a clickable link— View optional updates.
- Under Driver Updates, a list of updates will be available, which you can choose to install if you are facing an issue manually.
Alternatively, you could download and install Audio drivers from the manufacturer’s website.
Read: Hyper-V No internet access in Windows
How do I fix Hyper-V on Windows 11?
Hyper-V requires a 64-bit Windows 11/10/8 system that has at least 4GB RAM and SLAT or Second Level Address Translation. SLAT is a feature of the CPU. It is also called RVI or Rapid Virtualization Indexing. Intel refers to it as EPT or Extended Page Tables and AMD as Nested Page Tables. So check if your computer supports Hyper-V.
Leave a Reply