Dell SupportAssist helps Dell users in many ways, like boosting their PC’s performance, predicting issues on their systems, getting required updates, protecting their computers from viruses and other threats, etc. It comes pre-installed on Dell computers. However, users can uninstall and reinstall it at any time. If you cannot install Dell SupportAssist due to the Installation failed error, the solutions provided in this article will help you.

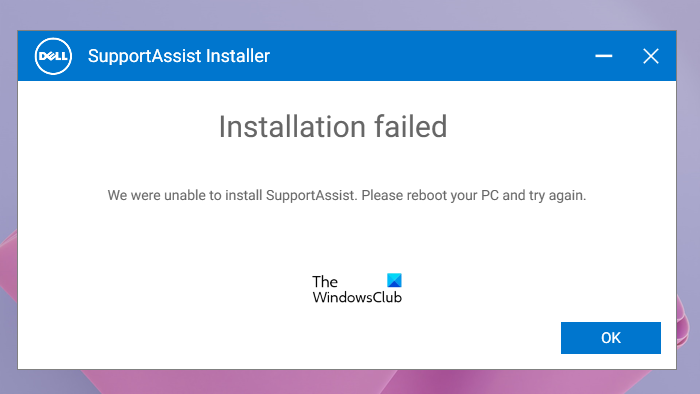
The complete error message is:
Installation failed
We were unable to complete the installation. Please reboot your PC and try again.
Fix Installation failed error on Dell SupportAssist
The “Installation failed” error while installing Dell SupportAssist can occur during a fresh installation or reinstallation of the software. The solutions provided below will help you fix the Installation failed error on Dell SupportAssist so you can install it on your system.
- Restart your computer
- Run Dell SupportAssist as an administrator
- Run Program Install and Uninstall Troubleshooter
- Install Microsoft .NET Runtime 6.0.9
- Remove all other programs related to Dell
- Perform a Clean Installation of Dell SupportAssist
- Create a new user account
Let’s see all these fixes in detail.
1] Restart your computer
According to the error message, you should reboot your computer and then try again. First, check if Dell SupportAssist is listed in the Control Panel or in Windows 11/10 Installed Apps list. This may happen due to the incomplete installation of the software. If the Control Panel shows Dell SupportAssist, uninstall it and then restart your computer. Now, run the installer file and see if the same error pops up again or not.
2] Run Dell SupportAssist as an administrator
Sometimes installation problems occur due to administrative rights. We suggest you run Dell SupportAssist as an Administrator and see if it helps. To run the Dell SupportAssist installer file as an administrator, right-click on it, and then select Run as administrator.
3] Run Program Install and Uninstall Troubleshooter

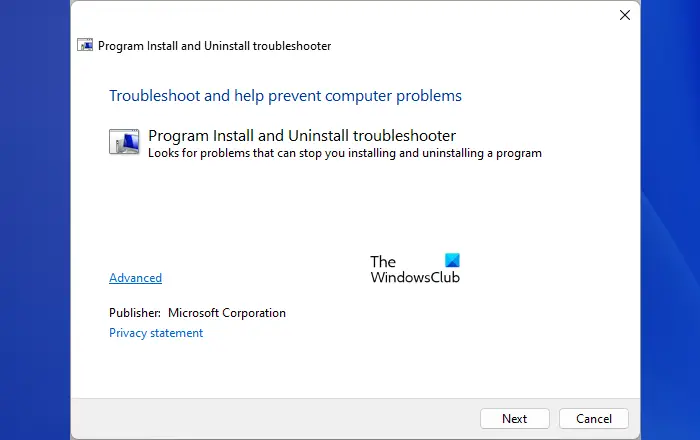
The Program Install and Uninstall Troubleshooter fix the problems that block a program from being installed or uninstalled on a Windows computer. If the problem still persists, give this troubleshooter a try and see if it helps. You can download it from microsoft.com.
4] Install Microsoft .NET Runtime 6.0.9
Dell SupportAssist requires .NET Runtime 6.0.9. If you have .NET runtime version higher than 6.0.9, uninstall it and then install it again. If this does not fix the issue, uninstall that higher version of .NET Runtime and download .NET Runtime 6.0.9 from the official website of Microsoft and install it. This should work.
5] Remove all other programs related to Dell
According to the reports, other programs from Dell were found causing this issue. Open the Control Panel and remove all the programs related to Dell. After uninstalling all the Dell-related programs (if any), delete the contents inside the Dell and Dell Inc folders. You will find all these folders inside the ProgramData folder on your C drive. For convenience, copy and paste the following paths in the Run command box.
%programdata%\Dell

%programdata%\Dell Inc
When you are done, restart your computer and run the installer file. Now, the Dell SupportAssist should be installed.
6] Perform a Clean Installation of Dell SupportAssist
If you are encountering this error while reinstalling the Dell SupportAssist, first, completely remove Dell SupportAssist from your system. When we uninstall a program, some traces are left behind in the system’s registry. These traces should be removed in order to completely remove the program from the system. If Dell SupportAssist is listed in the Control panel, uninstall it by using Rufus or another similar uninstaller software.

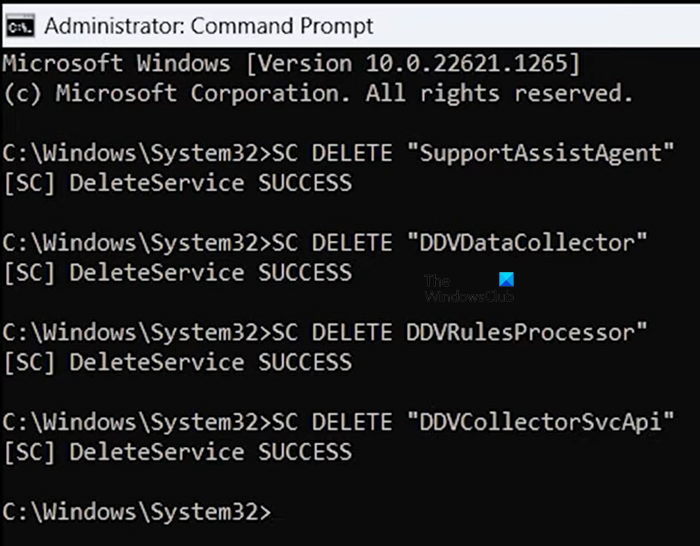
After uninstalling it, launch the elevated Command Prompt and run the following commands:
SC DELETE "SupportAssistAgent"
SC DELETE "DDVDataCollector"
SC DELETE "DDVRulesProcessor"
SC DELETE "DDVCollectorSvcApi"
Press Enter after typing each of the above commands. Now, open the ProgramData folder in your C drive and delete the following folders (if exist):
- PCDR
- Supportassist
- Dell > Dell data vault
- Dell > Supportassist
Also, empty the Temp folder. When you are done, restart your computer and then install Dell SupportAssist.
7] Create a new user account
If you are performing a fresh installation of Dell SupportAssist, we suggest you create a new user account on Windows 11/10 and then install Dell SupportAssist by logging in to that account.
Read: Dell Data Manager high CPU, Memory, Disk, Power usage.
How do I reinstall SupportAssist on my Dell?
If you want to reinstall Dell SupportAssist on your Dell computer, first, you have to completely remove it from your system. For that, uninstall it by using a third-party program like Rufus so that no traces are left behind. After that, remove Dell-related Services. Now, you can reinstall it.
Can I remove Dell SupportAssist?
Dell SupportAssist is a program for Dell computers. It is helpful for Dell users for installing updates and make their systems secure. If it is creating issues in your system, you can remove it. You can uninstall it via the Control Panel or Windows 11/10 Settings.
Read next: Dell SupportAssist keeps popping up on Windows.
Leave a Reply