Intel Killer Network Adapters are crafted for gaming laptops and desktops to deliver a gaming experience without lag and interruptions. To harness their full potential, these adapters require precision in their installation, relying on high-performance Intel Killer drivers. But recently, some users have complained about having trouble with the Intel Killer Driver. If you are facing Intel Killer Driver installation and other errors, keep reading this post to learn how to fix them.
Fix Intel Killer Driver Installation Errors
To fix installation errors with the Intel Killer Driver, try installing the driver in Clean Boot Mode. Doing so will create a streamlined environment, minimizing potential conflicts and maximizing the likelihood of a successful driver installation. Here’s how:
Start by booting your device in Clean Boot Mode.
Download and install the Intel Killer Performance Suite.
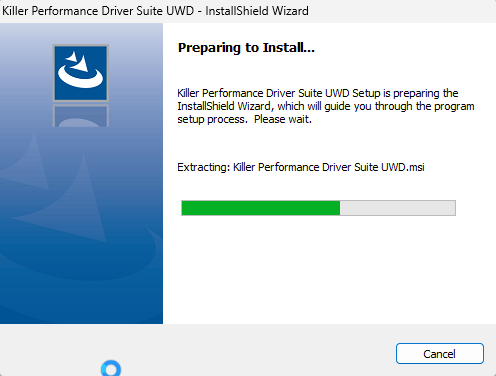
Once the application is installed, open it with administrative privileges and accept all terms and conditions.
Click Custom Setup Type, select Hardware Drivers, and click on the Plus sign.
Select your driver, click on Next, and complete the installation process.
Alternatively, you can update Intel drivers using the Intel Driver & Support Assistant.
Read: Intel Driver and Support Assistant not working
Fix other Intel Killer Driver errors
Follow these suggestions to fix other Intel Killer Driver errors:
- Run Network & Internet Troubleshooter
- Set Killer Network Service to Automatic
- Disable and Re-Enable Intel Killer Network Adapter
- Set the Network Adapter to Maximum Performance
- Perform Network Reset
- Run Network Commands
- Reset BIOS to Default
Now, let’s see these in detail.
1] Run Network and Internet Troubleshooter
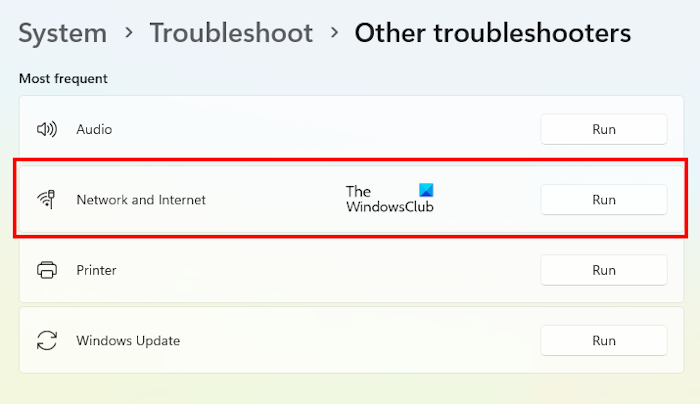
The Network and Internet Troubleshooter is a built-in diagnostic tool in Windows devices that helps users identify and resolve common network and internet-related issues. Here’s how:
- Press Windows + I to open Settings.
- Navigate to System > Troubleshoot > Other troubleshooters and click on Run beside Network and Internet.
2] Set Killer Network Service to Automatic
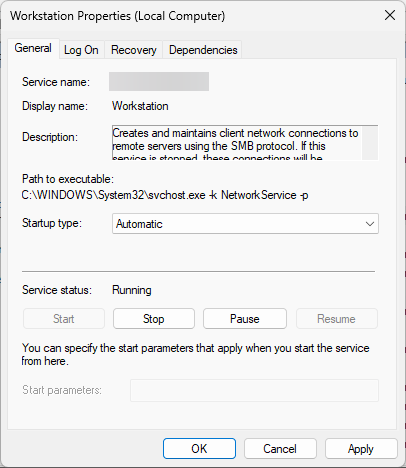
If you encounter the Service Not Running error when using Intel Killer, consider configuring the Killer Network Service to start automatically. This issue may arise if the service fails to initiate automatically during system startup or if another service hinders its activation. Follow these steps to address it:
- Click Start, type services.msc, and press Enter.
- Scroll down and double-click on the Killer Network Service.
- Set Startup Type to Automatic, restart your PC and see if the error’s fixed.
3] Disable and Re-Enable Intel Killer Network Adapter
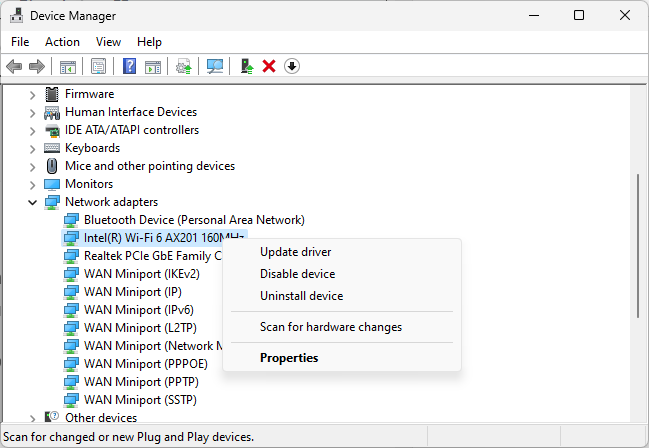
Next, disable and re-enable the Intel Killer Network Adapter. Doing so may help fix temporary bugs and errors. Here’s how:
- Click on Start, search Device Manager, and expand the Network Adapters section.
- Right-click on your adapter and click Disable device.
- Wait for a few seconds, right-click again, and select Enable device.
4] Set the Network Adapter to Maximum Performance
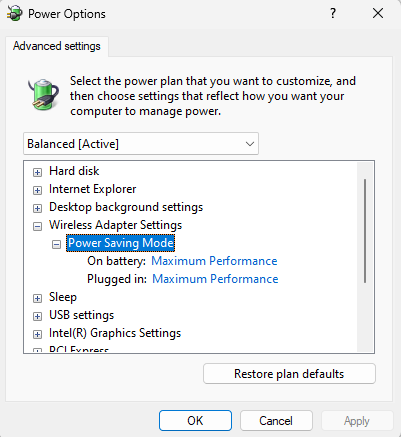
Setting the network adapter to Maximum Performance will disable power-saving features and increase processing resources. Here’s how:
- Click on Start, search Control Panel and hit Enter.
- Navigate to System and Security and select Power Options.
- Click on Change Plan Settings beside your default Power Plan and click on Change advanced power settings.
- Expand the Wireless Adapter Settings and Power Saving Mode and set it to Maximum Performance.
- Click OK to save the changes, restart your PC for the changes to occur, and see if errors with the Intel Killer Driver get fixed.
5] Perform Network Reset
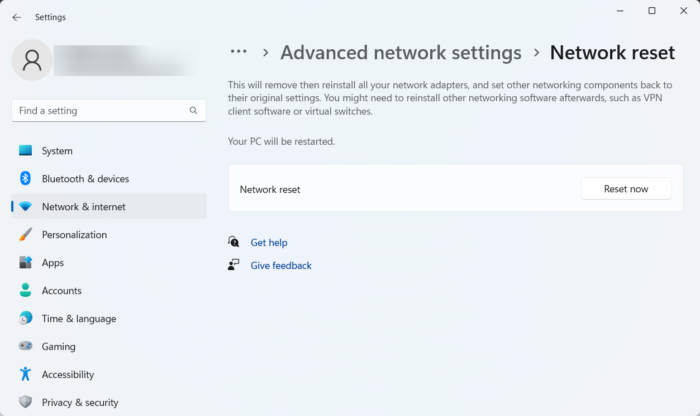
Misconfigured network settings are another reason Intel Killer and its drivers may malfunction. If that’s the case, perform a network reset and see if the errors fixed.
6] Run Network Commands
Running these network commands will reset TCP/IP stack, renew IP address, reset Winsock, and flush the DNS servers. Here’s how you can do it:
Press the Windows key, search for Command Prompt, and select Run as Administrator.
Type the following commands one by one and hit Enter.
netsh winsock reset
netsh int ip reset
ipconfig /release
ipconfig /renew
ipconfig /flushdns
Restart your device once done.
7] Update BIOS
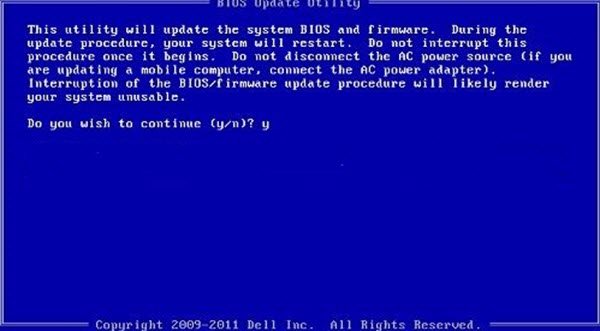
If none of the above steps could help you, update the Motherboard’s BIOS. An outdated or corrupted BIOS may be the real culprit. On updating the BIOS, errors with the Intel Killer Driver should be fixed.
Read: Fix Installation Failed error in Intel Graphics Driver
Do let us know if these help you.
Why does Killer Control Center say service not running?
The Service Not Running message in the Killer Control Center can occur if the Killer Network Service fails to start during the system boot. However, it can also occur due to software conflicts and driver issues.
What is error code 1603 on Intel Killer?
The error code 1603 indicates a fatal error during the installation of Intel Killer. To fix it, try running the installer with administrative privileges and check for antivirus or security software interference. However, it can also occur due to corrupted files.