If you get the Microphone or Camera access is denied when you open or try to use Clipchamp on your Windows 11 or Windows 10 computer, then this post provides solutions affected PC users can apply to resolve the issue easily.
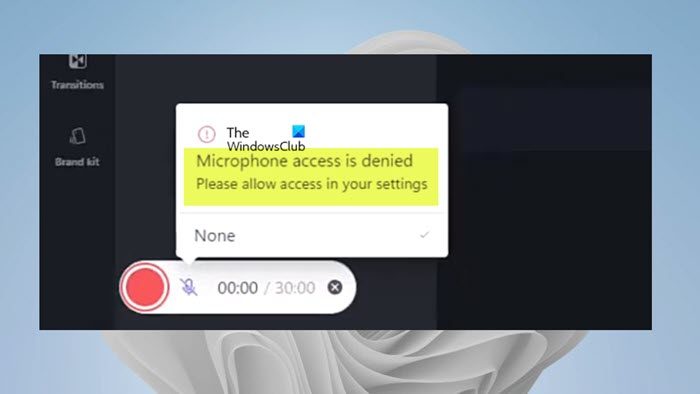
Microphone/Camera access is denied
Please allow access in your settings
Fix Microphone or Camera access is denied in Clipchamp
Clipchamp uses your Windows System settings differently, so the microphone or camera settings might not be available for the Clipchamp app. So, if when you try to open or edit with Clipchamp on your Windows 11/10 device and you get the Microphone or Camera access is denied, then the suggested fixes we have presented below in no particular order should help you resolve the issue on your system.
- Enable microphone and camera access in Windows Settings
- Enable microphone and camera access in Clipchamp settings
- Switch to another camera or microphone (if applicable)
- Close all other apps using the camera or microphone
- Disable plugins and extensions
Let’s see how these suggestions apply to the issue.
1] Enable microphone and camera access in Windows Settings
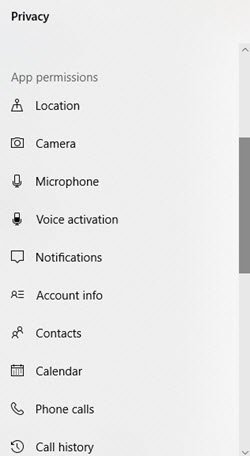
In Windows 11/10 privacy settings, under the Apps Permissions section, amongst other inbuilt apps, you can set permissions (allow or block access) for the camera or microphone apps. So, if you get the Microphone or Camera access denied in Clipchamp on your device, you need to make sure that the camera or microphone access, as the case may be, is enabled or allowed for Clipchamp.
2] Enable microphone and camera access in Clipchamp settings
Using your device’s webcam without installing any additional software, Clipchamp lets you record videos in your browser – but you need to allow Clipchamp access to your computer’s built-in camera, microphone, and any external cameras. If not, your camera/microphone won’t turn on, and you won’t be able to record.
This solution requires you to enable microphone and camera access in Clipchamp settings. Clipchamp will prompt for access to your camera and microphone by displaying a pop-up window the very first time you use the webcam recording or webcam and screen recording feature.
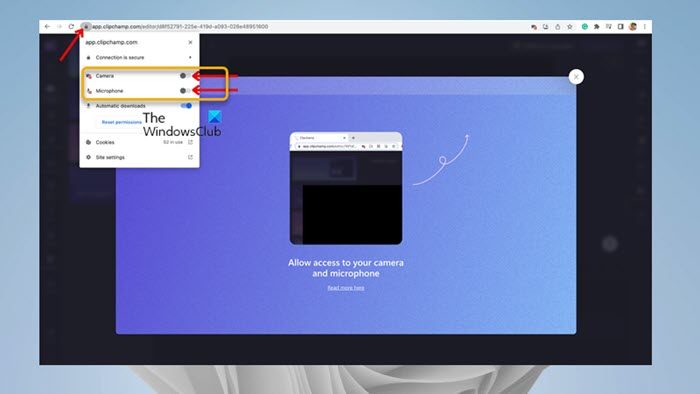
Do the following:
- Follow the on-screen video instructions to allow access, or click the Read more here link.
- Click on the lock symbol in your browser bar to open access toggles.
- Click on the access toggles for the camera and microphone, so they turn from grey to blue. Recording options will now appear on your screen.
- Make sure to reload your page once you have allowed access, so it runs smoothly without interruptions.
Clipchamp doesn’t have access to any recordings you make via the app. These recordings are stored on your computer locally unless you choose to back up your video to the cloud.
If this is not your first time using the Clipchamp recording feature, then follow the steps below to turn on the mic/camera in Clipchamp:
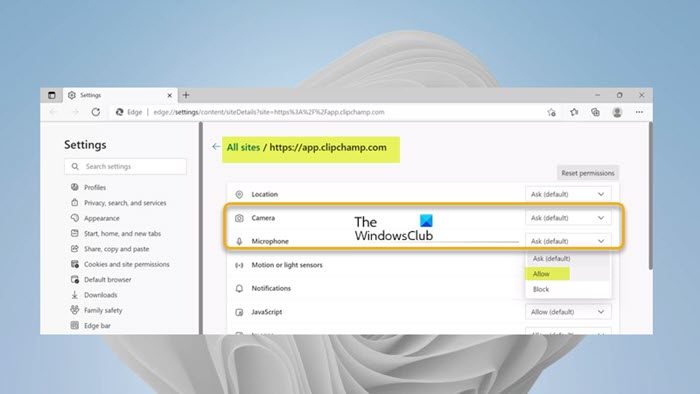
- Open the Clipchamp app on your windows 11/10 desktop.
- Next, click on the ellipsis (three horizontal dots) More option at the top right corner of the screen.
- Click on App Permissions and the app will open the browser with all system permission.
- Now, click the drop-down for Camera or Microphone as the case may be.
- Set the option to Allow.
- Next, go to the Clipchamp app, and click the Refresh button at the top.
You should now see the different audio/video recording devices on your system for you to select your preferred device.
Read: How to enable Mic and Camera on Omegle in Chrome
3] Switch to another camera or microphone (if applicable)
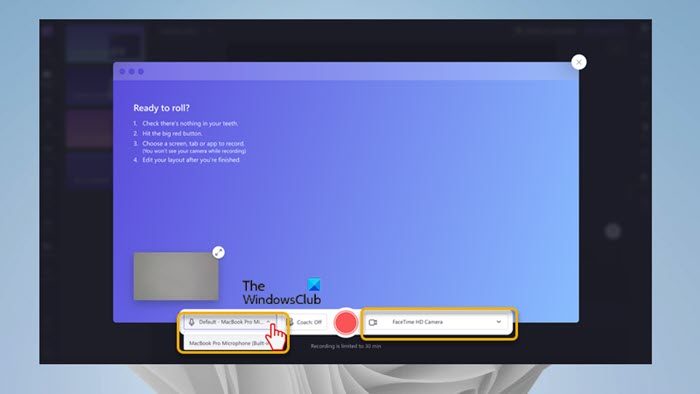
If your camera or microphone still isn’t working, you can try editing which camera/microphone your PC is using. To do this, click on the chevron to change/select a different camera or microphone from the drop-down if you have multiple input/output and recording devices on the system.
4] Close all other apps using the camera or microphone
Your camera or microphone access can be blocked if you have another app (e.g., Skype) or browser running in the background on your computer that requires your camera/mic. In this case, try closing all other apps that might be accessing these devices simultaneously, then refresh or restart your browser once all apps running in the background apps are stopped/closed.
Read: How to know which app is using Mic, Location, and Camera on Windows
5] Disable plugins and extensions
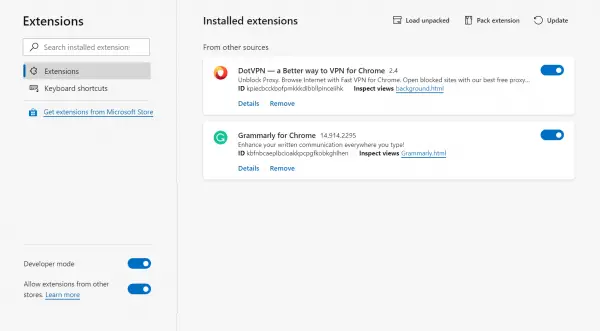
Some plugins and extensions like Flashblock can also prevent Clipchamp from accessing your webcam or microphone. If you have such a plugin installed, disable the extension and see if the issue is resolved. You may have to disable all your browser extensions: Edge | Chrome, Firefox, Opera, re-enable them one by one, and test your camera/mic to identify the extension blocking the access.
I hope this post helps you!
Read next: Clipchamp not opening or working or Projects won’t load or export
Why is my audio not playing in Clipchamp?
If audio is not playing in Clipchamp, check to make sure your output device is working and set it as default. If you tick the box on that but the issue persists, then you can log out from Clipchamp, clear the cache and restart your browser. If these steps didn’t work, you can try Clipchamp on another PC. But make sure you still have your original files including the video, audio, and image files you added to your project as you may need to relink them when you reopen the project.
How do I sync audio and video with Clipchamp?
To perform this task, you just need to upload your audio files from your computer and add them to your timeline by following the steps below. Clipchamp video editor supports MP4, MOV, WEBM, AVI, DIVX, FLV, 3GP, WMV, VOB, DCM, and MKV video files, as well as a wide variety of video codecs.
- Click on your media tab, then click on the import media button.
- Click on the + button to add your audio file to your timeline or drag and drop the background music onto the timeline.
Leave a Reply