If you are getting the error code 0x80240017, Unspecified error when trying to install Microsoft Visual C++ Redistributable Package on your Windows 11 or Windows 10 PC, then this post is intended to help you with the most suitable solutions you can apply to successfully resolve the issue.
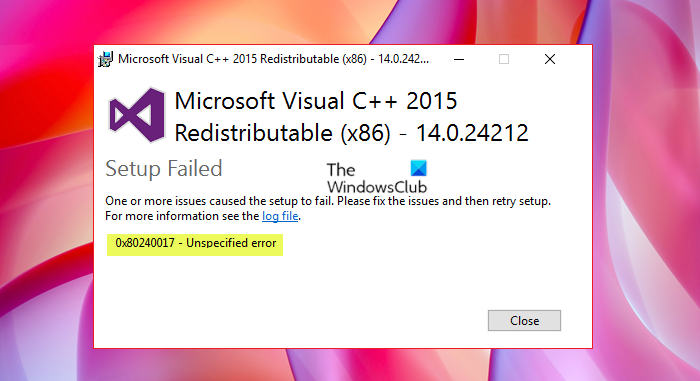
When you encounter this issue, you’ll receive the following full error message with code;
Setup Failed
One or more issues caused the setup to fail. Please fix the issues and then retry setup. For more information see the log file.
0x80240017 – Unspecified error
What is error code 0x80240017?
The 0x80240017 error code typically appears after a failed Windows update or after a failed installation of Visual C++ Redistributable Packages for Visual Studio. In some rare cases, the issue might also be produced by a 3rd-party antivirus conflict.
Microsoft Visual C++ Install Error 0x80240017
If you have encountered the Unspecified error code 0x80240017 on your Windows 11/10 device when installing Microsoft Visual C++ redistributable package, you can try our recommended solutions below in no particular order and see if that helps to resolve the issue.
- Run Program Install and Uninstall Troubleshooter
- Run DISM scan
- Install the package in Clean Boot state
- Delete Temporary Files on PC
- Re-register Windows Installer service
Let’s take a look at the description of the process involved concerning each of the listed solutions.
Before you try the solutions below, check for updates and install any available pending bits on your Windows 11/10 device and also make sure to change the Date and Time on your PC if the Windows Clock Time is wrong, then see if the error reappears when you try the Visual C++ install operation again.
1] Run Program Install and Uninstall Troubleshooter
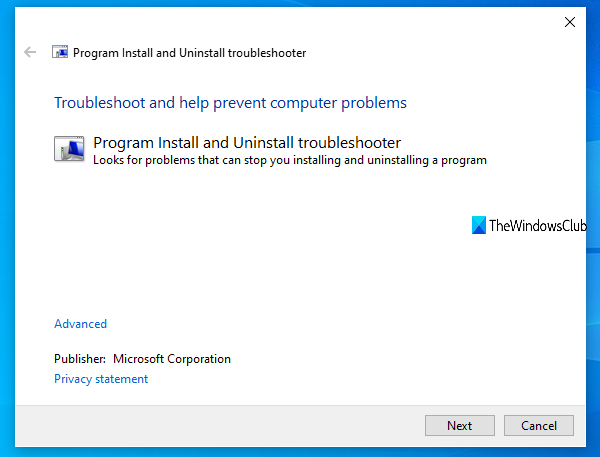
You can begin troubleshooting to fix the Unspecified error code 0x80240017 on your Windows 11/10 device when installing Microsoft Visual C++ redistributable package by running the Program Install and Uninstall Troubleshooter from Microsoft. This tool can fix corrupted registry keys and is designed to help you automatically repair issues when you’re blocked from installing or removing programs on Windows 11/10 system.
2] Run DISM scan
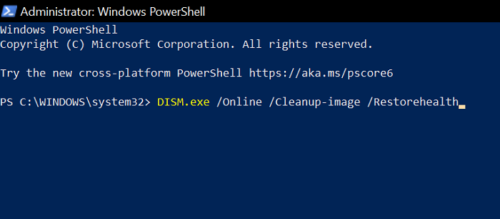
This solution requires you to run a DISM scan natively and if DISM fails with error codes 0x800f081f, 0x800f0906, or 14098, then you may need to configure your Windows 11/10 system to use an alternative repair source, via a Group Policy setting.
Alternatively, you can use a Windows installation as the repair source, or use a Windows side-by-side folder from a network share or from a removable media, such as the Windows DVD, as the source of the files to run DISM Offline.
3] Install the package in Clean Boot state
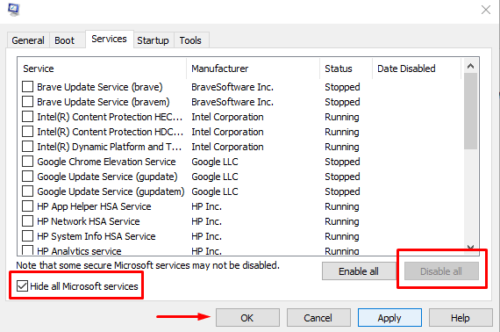
This solution requires you to Clean Boot your system to remove any conflicts that may occur during the Visual C++ package installation – and then run the package installation in that system state. Basically, the clean boot will start your Windows 11/10 computer with the minimum required drivers and programs.
You can download the latest Microsoft Visual C++ Redistributable Packages here at Microsoft Download Center. Simply search for them using the search bar. To install all you may download and use Visual C++ Runtime Installer. It is available for download here. It is a batch file installer that includes all Visual C++ Libraries.
Related: Fix Microsoft Visual C++ Runtime Library errors
4] Delete Temporary Files on PC
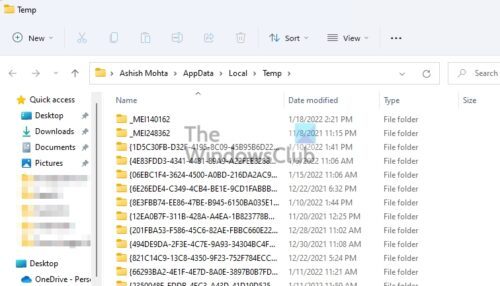
To clear the Temp folder on your computer, do the following:
- Press the Windows key + R to invoke the Run dialog.
- In the Run dialog box, type temp, and then hit Enter.
- Next, press CTRL + A to select all files and folders.
- Then press the DELETE key on the keyboard or right-click the highligted content, and then tap or click Delete on the context menu.
- If you are notified that some files or folders are in use, select Skip.
Afterwards, see if the Visual C++ installation completes without issues. Otherwise, continue with the next solution.
5] Re-register Windows Installer service
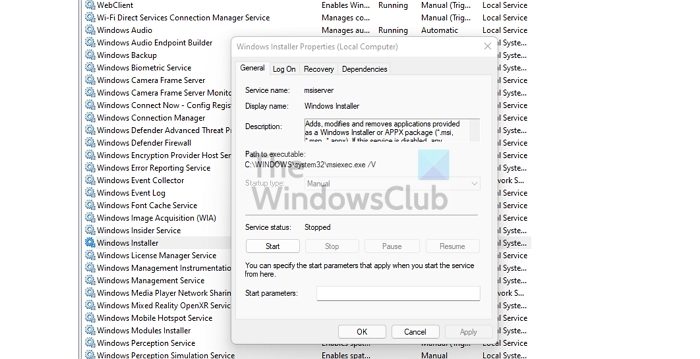
If you’re having the issue installing any software on your Windows 11/10 PC, it’s likely that the MSI service is not enabled. In this case, ensure that the Windows Installer Service is enabled. However, if the MSI service is enabled, you can unregister and re-register Windows Installer Service.
Do the following:
- Press Windows key + R to invoke the Run dialog.
- In the Run dialog box, type cmd and then press CTRL + SHIFT + ENTER to open Command Prompt in admin mode.
- In the command prompt window, type the command below and hit Enter to temporarily unregister the Windows Installer service:
msiexec /unreg
- Once the command is processed successfully and you get the success message, input the following command and hit Enter to register the Windows Installer once again:
msiexec /regserver
After the second command is processed successfully, restart your computer once again, and try the redistributable package installation again.
Any of these solutions should work for you!
Related post: Fix error 0x80070666 when installing Microsoft Visual C++.
How do I fix Microsoft Visual C++ 2017 setup failed?
A basic fix for Microsoft Visual C++ 2017 setup failed on your Windows 11/10 PC, is to uninstall all the existing Visual C++ Redistributable items in Programs and Features or via the Settings app. After that, reboot your computer and re-download the Microsoft Visual C++ Redistributable for Visual Studio 2017 to try again.
Leave a Reply