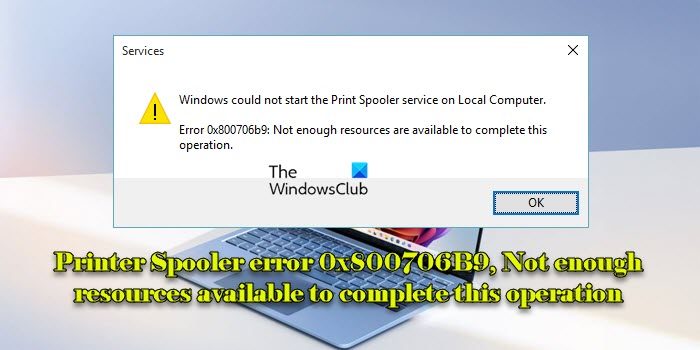
If you see Print Spooler error 0x800706B9, Not enough resources available to complete this operation on your Windows 11/10 PC, this post will help you. Print Spooler is a program in Windows that manages all print jobs in the OS. All the print jobs get queued inside the program and are processed one by one. At times the Print Spooler service gets stuck, and you may receive Error 0x800706B9. The Exact error message says—
Windows could not start the Print Spooler service on the Local Computer. Error 0x800706B9: Not enough resources available to complete this operation.
In this article, we will talk about how to fix this error and walk you through all the troubleshooting steps.
How to fix Print Spooler error 0x800706B9
To resolve Print Spooler error 0x800706B9, Not enough resources available to complete this operation on your Windows 11/10 PC, use these fixes:
- Restart Windows Print Spooler Service
- Run Printer Troubleshooter
- Update Printer Driver
- Fix the dependency information for the Spooler service
Many a time a simple restart of the computer also helps. Make sure to try that too.
1] Restart Windows Print Spooler Service
Remember how we suggest you restart your system every time something goes wrong? Well, Windows offers a spooler system that might stop functioning or sometimes malfunction for reasons unknown. It is for this reason that it makes sense to restart Windows 11/10 Print Spooler before proceeding to the next troubleshooting steps. Now let us stop and restart the Print Spooler Service.
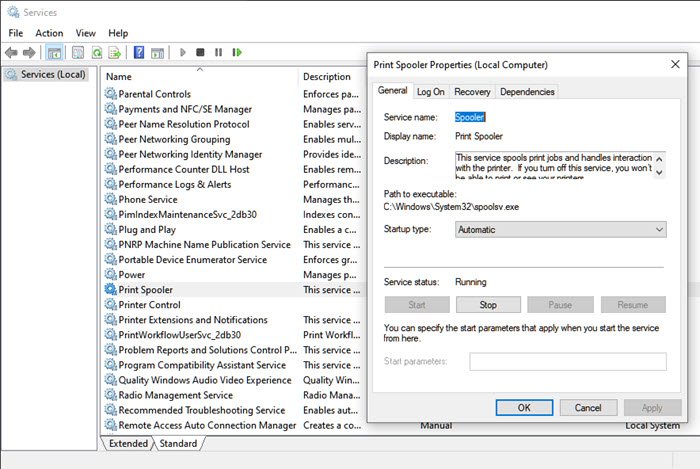
- Type ‘services.msc‘ in the Run (Win +R) and press the Enter Key.
- Locate Print Spooler service in the right panel.
- Double-click on it to open the properties and click on the Stop button.
- Having done that, open the following path in File Explorer
%windir%\System32\spool\printers
- Click on Continue when prompted.
- Delete the content in the PRINTERS folder
- Go back to the Print Spooler service, and this time choose to Start.
If the Print Spooler service was at fault by now, error 0x800706B9 should be fixed. If not, you can proceed to the next troubleshooting step.
Read: The Print Spooler Service is not running.
2] Run Printer Troubleshooter
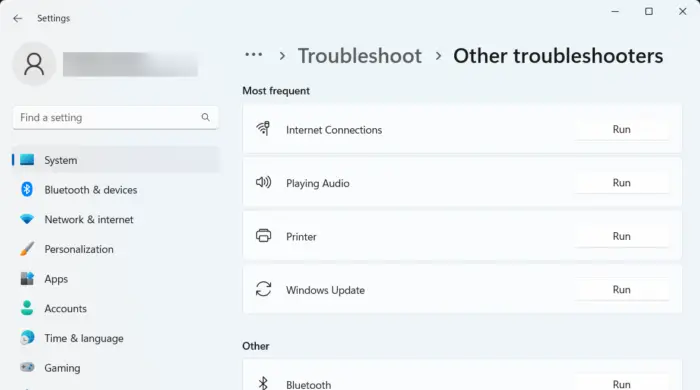
The Printer troubleshooter is a tool that is designed to fix common printer-related issues. Before running the troubleshooter, make sure that the printer is connected and switched on. Follow the steps below to troubleshoot the printer
- Open Windows 10 Settings (Win + I).
- Go to Update and Security > Troubleshoot.
- Click on the Printer option, and click on the ‘Run the Troubleshooter’ button.
In Windows 11, you will have to open Settings > System > Troubleshoot > Other troubleshooters to access the Troubleshooter.
In a nutshell, this method will fix software issues or certain problems that are getting the jobs held up.
Read: Print Spooler Service Error 1068, The dependency service or group failed to start.
3] Update Printer Driver
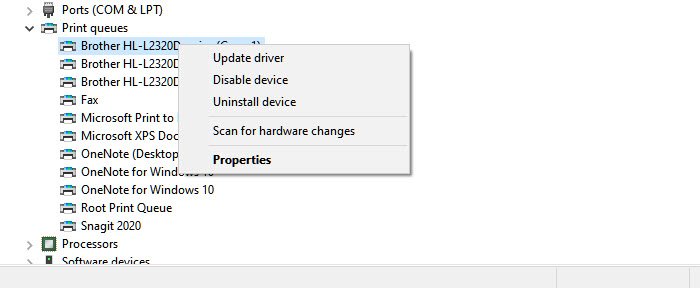
The next resort is to update the Printer Driver. Windows might have installed a generic driver, and you may want to install OEM specific driver. In case you already have one, it makes sense to find out if there is an updated driver available.
- Open Device Manager using Win + X, followed by the M Key
- In the device list, expand the Printer queue.
- Right-click on the printer which is causing the problem, and select Update Driver
- It will initiate the Windows Update process, and try to locate the new driver.
- In case you have downloaded the driver from the OEM website, you can choose to install it using the option that shows up here.
Read: How to Repair Print Spooler in Windows.
4] Fix the dependency information for the Spooler service
Open Command Prompt or PowerShell with admin privileges. Execute the following command to fix the Print Spooler dependencies:
CMD /K SC CONFIG SPOOLER DEPEND= RPCSS
The RPCSS service is the Service Control Manager for COM and DCOM servers. It performs object activations requests, object exporter resolutions, and distributed garbage collection for COM and DCOM servers. If this service is stopped or disabled, programs using COM or DCOM will not function properly.
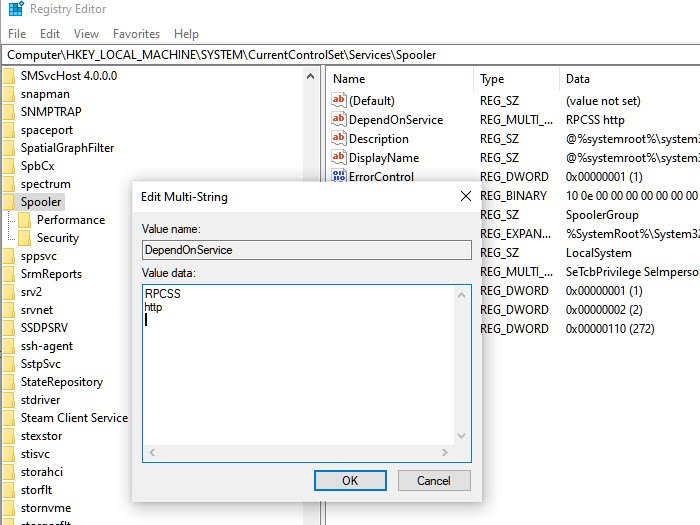
You can also achieve the same using Registry Editor
- Press Win + R and type ‘regedit‘ in the Run prompt.
- Press the Enter key to open the Registry Editor
- Navigate to the following path:
HKEY_LOCAL_MACHINE\SYSTEM\CurrentControlSet\Services\Spooler
- In the right pane, double-click the DependOnService value.
- Delete the existing data, and then type RPCSS
You may see HTTP along with it, which you can remove, and just keep RPCSS.
I hope the post was easy to follow, and that you were able to fix the Print Spooler error 0x800706B9.
How do I clear my print spooler cache?
To clear the Print Spooler cache on a Windows 11/10 PC, you need to delete the contents of the PRINTERS folder where print jobs are temporarily stored. Locate Print Spooler in Windows Services Manager (services.msc) and stop the service. Open File Explorer and navigate to C:\Windows\System32\spool\PRINTERS. Select all files in the PRINTERS folder and press delete. Click ‘Yes’ if prompted for administrator permission. Go back to the Services window and restart the Print Spooler service.
Where is the print spooler located?
Print Spooler has various components located within the operating system’s directory. Its main executable file, spoolsv.exe, resides in the C:\Windows\System32 folder, whereas configuration and system files are located in the C:\Windows\System32\spool directory. Subfolders in the spool directory include a drivers folder that contains printer driver files, a PRINTERS folder that temporarily stores the print jobs until they are processed by the printer, and a SERVERS folder that stores server-related configurations and files.
Read Next: Print Spooler Service keeps stopping automatically in Windows.
Leave a Reply