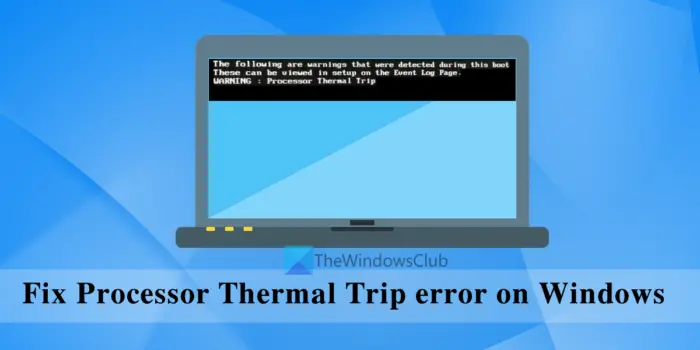
In this post, we will help you fix the processor thermal trip error on a Windows 11/10 computer. Sometimes, users face the problem that their system shuts down unexpectedly after a few minutes and when they start it again, the boot process shows a warning as a Processor Thermal Trip. The reason behind that is when the CPU or processor gets too hot and it crosses a specific temperature limit or threshold, it results in forcefully shutting down your computer, as it needs to cool down the processor. So, the users who face this issue from time to time can try some helpful options covered by us. The entire message for this error may look like this:
The following are warnings that were detected during this boot.
These can be viewed in setup on the Event Log Page.
WARNING : Processor Thermal Trip

Before you try the options covered in this post, you should also check running processes for high CPU usage. If CPU usage is too high because of some running processes which are ultimately resulting in high CPU temperature, then it can be a reason for the processor thermal trip failure error. In that case, find such processes and terminate them and see if it helps. You can open task manager and access the Processes tab to check the CPU usage by background processes, apps, etc., and take the necessary action. If this doesn’t help, check the options listed below.
Fix Processor Thermal Trip error on Windows 11/10
To fix this Processor Thermal Trip error on your Windows 11/10 computer, you can try the following options:
- Use a CPU temperature monitor tool
- Disable overclocking
- Check if the cooling system is working fine.
Let’s check these options one by one.
1] Use a CPU temperature monitor tool

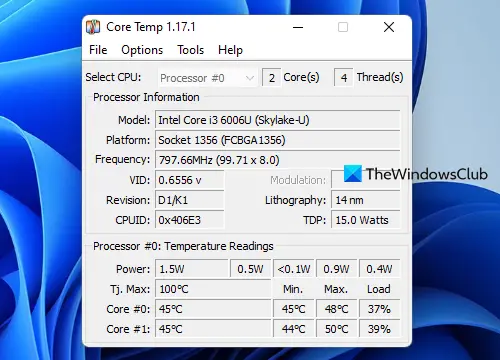
There exist some best free CPU temperature monitor tools like Core Temp that you can use on your Windows 11/10 computer to keep an eye on the processor temperature. You can know about the temperature fluctuations in real-time which can be a help for some assistance from an expert.
Some of those tools also let you monitor the temperature of each individual core of the processor and alert you when CPU temperature rises above the threshold.
If the temperature level increases immediately after launching a program or service, you will have an idea about the culprit and then take the required action. This may help in solving this processor thermal trip problem. So, using a CPU temperature checker and monitor tool can be a handy option there.
Read: How to show CPU and GPU temperature in System Tray
2] Disable overclocking
PC overclocking forces your system to run faster (than the speed specified by the manufacturer) by increasing the clock rate of the CPU, GPU, or other components. You can do this manually by accessing UEFI Firmware settings or entering the BIOS menu or using some free overclocking software for Windows 11/10. While it is helpful to boost system performance, it can also create some trouble, like this processor thermal trip error.
In this case, if you are running the CPU at a higher speed than what it is designed for, then the processor will generate additional heat. And, if the processor is not able to cool down to the threshold, it may result in shutting down the system unexpectedly and this can happen from time to time.
Therefore, you should disable CPU overclocking. For this, boot your computer into UEFI or BIOS firmware. After that, look for the overclocking option (it should be under the Advanced tab) or some similar option and turn off or disable it. This should solve your problem and you won’t face any processor thermal trip error.
3] Check if the cooling system is working fine
You should also check if the cooling system of your desktop is working fine or if there is a problem with it. If there is some issue, then your system won’t be able to throw out the excessive heat and that’s why you would be facing this processor thermal trip issue. You need to open the cabinet of your system and check for problems. Now that includes a couple of sections which are as follows:
- Check if the fans (for CPU, power supply, or GPU) are working fine or if there is dust or some other blockage in the pathway. If yes, clean the dust and the blockage (if any)
- Check if the thermal paste is still there or applied correctly on the processor. A thermal paste is a cooling agent (a silvery-gray substance) placed between the processor and the fan that passes the heat from the CPU to keep it cool. To do this, you first need to remove/unscrew the fan that is placed above the processor. Unscrew it carefully and then the thermal paste will be visible. Clean it if it is not applied properly and then apply the new thermal paste on the processor. Attach the fan again and close the cabinet.
While this option will help for sure, it is recommended that you don’t do anything by yourself if you have little or no idea at all. It is best to take your desktop/laptop to the authorized service center and let the technician do the work. He/she will check for thermal paste, heat sink, dust in ventilating fans, etc., and do the cleaning part.
Hope this is helpful.
Also read: Fix Processor Fan Error Code 2000-0511 on Windows computer
What is a Thermal Trip?
A processor thermal trip event occurs when the CPU or processor overheats and it needs to cool down. The event triggers over-temperature protection which forcefully closes or shuts down the system before any damage can take place. While it should not be a problem if it happens once or twice, if you face a processor thermal trip problem from time to time, then some solutions added in this post can be helpful to fix the issue.
How do you fix a Thermal Trip on a CPU?
If you want to fix the processor thermal trip issue on your Windows 11/10 computer, then you should disable CPU overclocking, clean the CPU fan, and power supply fan, check the thermal paste, etc. This post above covers all the fixes that may come in handy to solve this problem.
Read next: CPU Fan Speed Error Detected: Press F1 to run setup message boot.