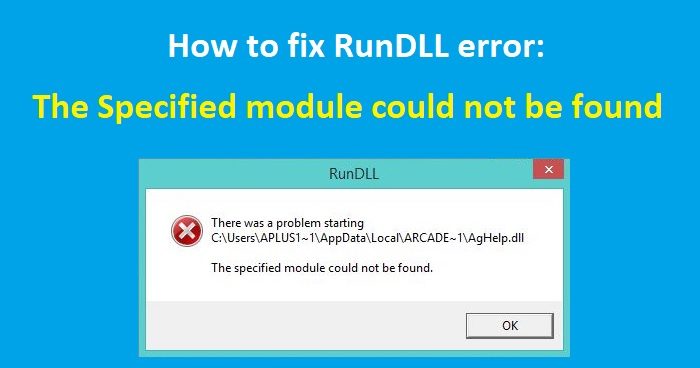
Have you ever faced RunDLL Error – There was a problem starting file, the specified module could not be found? It is a common error which can occur on your PC or with USB flash drives and it stops you from accessing all files. It occurs when you are trying to connect the USB drive to your computer or when you have just started your computer and the USB is connected to it. This error also displays the location name of the USB and shows an error message in the dialog box. Read on to find out how to fix this RunDLL error.
What is a RunDLL error?
A RunDLL file is a Windows OS file that executes or loads Dynamic Link Library or .dll modules. A RunDLL error occurs when the .dll file that was either included in the registry to run at startup or set up as a scheduled task is deleted. When this file needs to run, Windows tries to load this file. However, it cannot locate the file and hence throws the RunDLL error.
There was a problem starting file, the specified module could not be found
Here are a few solutions to resolve these RunDLL errors on Windows 11/10. These errors can occur at startup or when you connect to a USB.
- Scanning your PC and the USB drive to check for virus
- Using the Command Prompt
- Checkup Startup items
- Delete Junk and Temporary files
Let us look at these solutions in more detail.
Fix RunDLL Error
1] Scanning your PC and the the USB drive to check for virus
You need to ensure that your desktop or the USB is not infected. Scan your PC as well as the USB with the antivirus software. In case you find viruses on the flash drive, you need to remove them. Access the USB drive again post-removal of the virus.
In case you have an antivirus on the flash drive, you can automatically verify that virus from the infected USB drive does not spread to your computer. You can then run a scan on the USB to check for viruses. You can also install a portable anti-virus on the flash drive that can be used by experts to conduct an emergency scan of your computer.
2] Using the Command Prompt
The error The specified module could not be found occurs if the attributes of the USB drive are modified. To change the attributes, follow the next steps:
1] Check the USB drive name (the letter assigned to this drive). Open This PC. Now select the assigned letter to your flash drive.
2] Open the Command Prompt by typing it in the Windows search field.
3] Once it is open, type attrib -h -r -s D:*.* /s /d. Replace the D with the letter of your flash drive. It is important that you use the correct letter. If you use the wrong letter, you will have issues with your Flash drive – so be careful here.
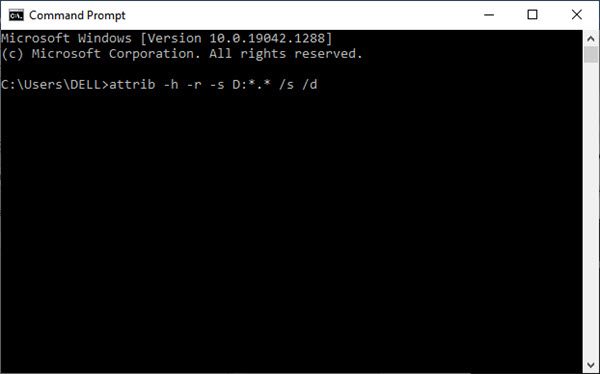
Now Run the command.
This should resolve the issue. It is advisable to take a backup of the flash drive before the command run.
To take a backup of the flash drive, follow the next steps:
1] Select This PC and locate the USB drive. Right-click and choose Copy from the pop-up menu.
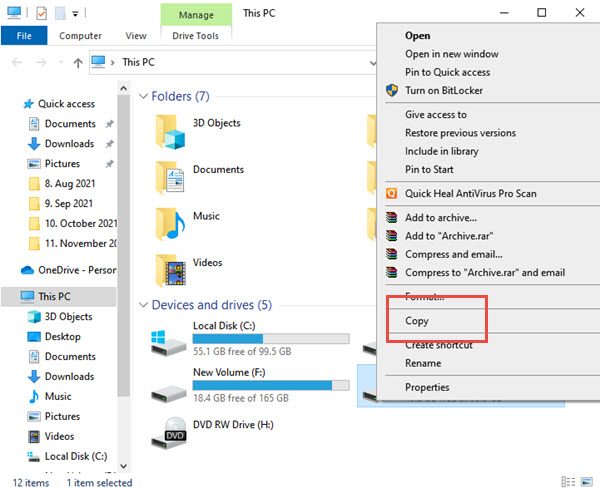
2] Now paste the content of the USB drive to the folder of your choice on the flash drive.
3] Press the Shift key on the keyboard and right-click on the folder that has the files from your USB drive. Select the Open command window here from the menu.
4] The Command Prompt will now be visible. Enter attrib -r -s -h /s /d command and press Enter to run it.
5] After executing the command, you can close the Command Prompt.
The last step in this process is to format the flash drive. Follow the next steps for the same:
Select This PC, locate the USB flash drive, right-click and choose Format from the menu.
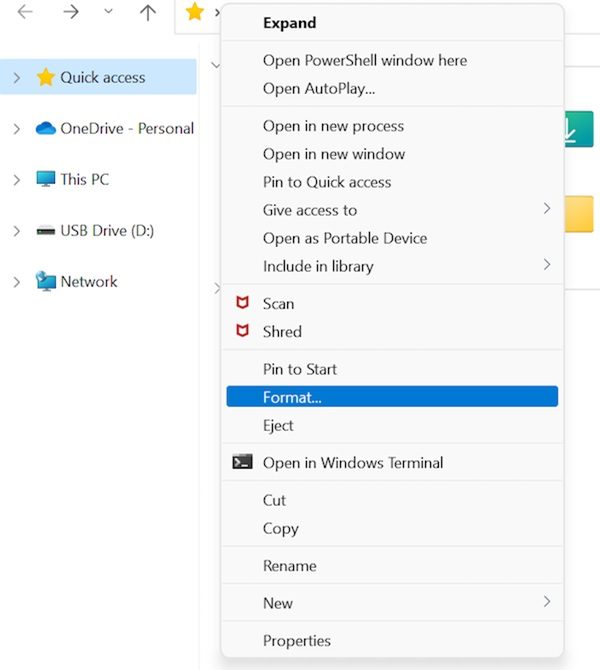
Now choose the formatting option and click the Start button.
The above error can stop you from accessing your files on the USB drive. A change of attributes to the flash drive can fix the problem. We hope the guide helps you. Do contact us in case of any queries.
3] Checkup Startup items
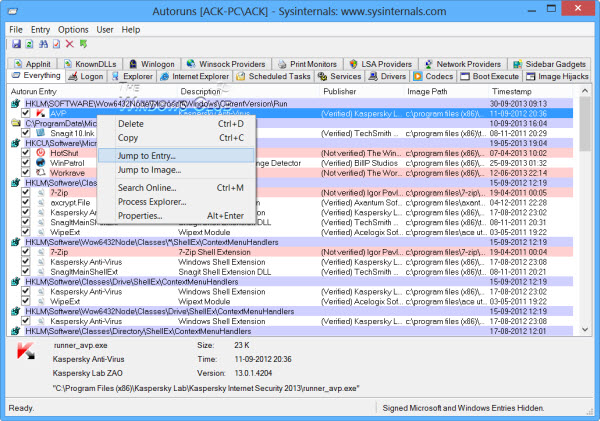
Use a free startup manager software like AutoRuns to check for dead startup entries that may be triggering this error.
4] Delete Junk and Temporary files
Use Disk Cleanup Tool or a junk file cleaner to delete Junk and Temporary Files from your PC. Using a safe Registry Cleaner like CCleaner could also help remove dead Registry entries.
Also read: How to fix RunDll error in Windows 11?
How do I fix The specified module could not be found?
To fix The specified module could not be found error, you must scan your PC with an antimalware or adware removal tool. As this problem arises when an adware or virus attacks your PC, this is the best solution you can try. Apart from that, you can remove items from the startup and delete junk or temporary files from your computer as well.
How do I fix There was a problem starting RunDLL?
In order to fix There was a problem starting RunDLL error, you can follow the tips and tricks mentioned above. It is highly recommended to scan your PC with an antimalware tool. It is also suggested to scan the external hard drive, pen drive, etc. if they are connected to your computer.
That’s all! Hope this guide helped.
Related read: What is the rundll32.exe process?
Leave a Reply