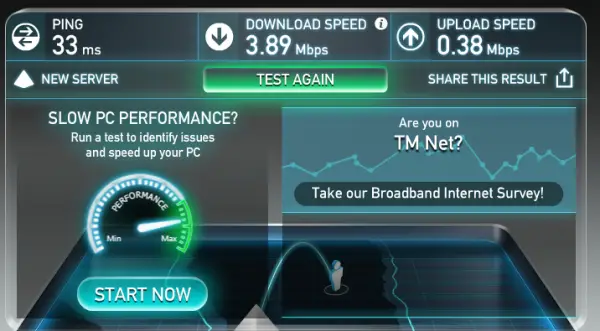
Internet speeds are increasing all over the world. However, it is quite possible that you are experiencing slow internet speed on your Windows 11/10 computer. If you face this issue, then this article will help you resolve this problem. This issue can occur due to misconfiguration in the router, some issues with the Network Adapter, or intervention by other installed software. There are various things that a user can do to fix this issue and get faster Internet speeds.

Fix Slow Internet speed on Windows 11/10 PC
You can use the following methods to resolve the slow Internet speed and make it faster. Before you proceed, we suggest you check the internet speed on another device, such as your smartphone. If the internet is slow on that device too, you need to contact your ISP.
- Power Cycle your WiFi router
- Run Network and Internet Troubleshooter
- Configure the bandwidth allocation using the Group Policy Editor
- Configure the router
- Switch to a higher WiFi band (if applicable)
- Flush DNS cache, reset TCP/IP, and reset Windows Sockets
- Reset Windows Auto-Tuning Level
- Check third-party software intervention
- Update, Rollback, or reinstall drivers
- Install another compatible version of the Network driver
- Reset your Network
- Disable VPN
Below, we have explained all these fixes in detail.
1] Power Cycle your WiFi router
This is the first thing that you should do. Power Cycle your WiFi router and see if it works. The following steps will guide you on this:

- Turn off your router.
- Unplug its adapter from the wall socket.
- Wait for a few minutes and then turn on the router. Let the router connect to the internet.
Now, check if the issue persists. You can also connect your computer to the router via an ethernet cable.
2] Run Network and Internet Troubleshooter
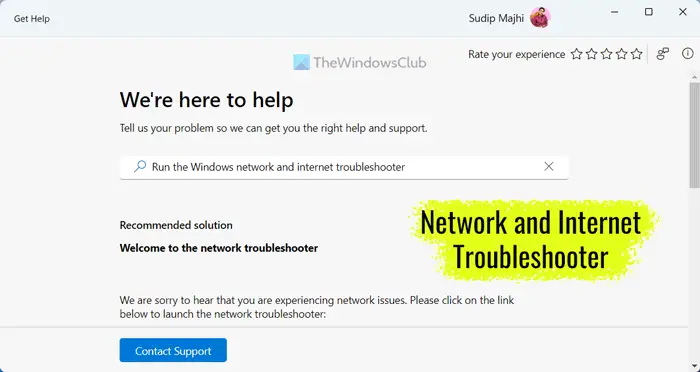
The next step is to run Network and Internet Troubleshooter. This is a built-in automated tool that will help you troubleshoot and fix the internet issues on your Windows 11/10 computer. You can launch it via Windows 11/10 Settings or the Get Help app.
3] Configure the bandwidth allocation using the Group Policy Editor
Open the Group Policy Editor and navigate to:
Computer Configuration > Administrative Templates > Network > QoS Packet Scheduler.
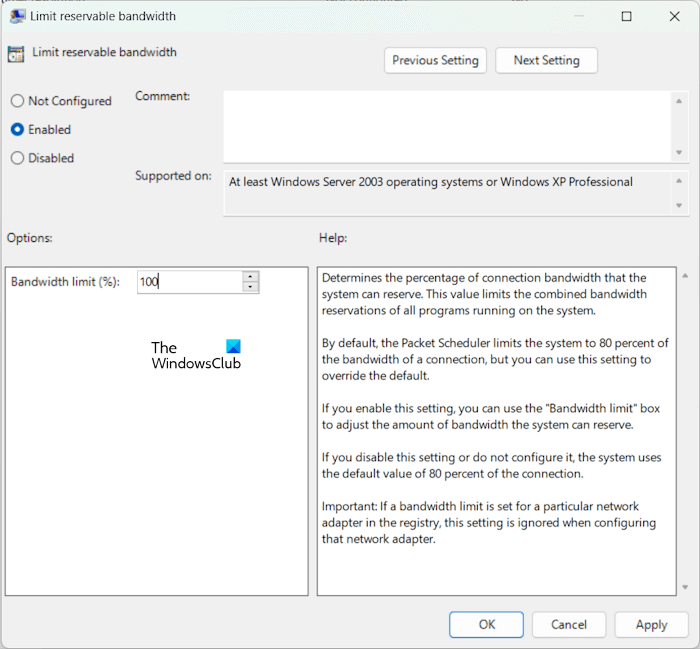
Select the policy setting for Limit reservable bandwidth.
The radio button should be set to be Enabled.
For the percentage for Bandwidth limit (%) set it to 100%.
Select Apply and then OK.
Reboot your computer, and your internet speeds should be normal.
You should know that the Group Policy Editor is available in Windows 11/10 Pro, Windows 11/10 Enterprise, and Windows 11/10 Education editions only, and not in Windows 11/10 Home. If you are using Windows 11/10 Home Edition, you need to add the Local Group Policy Editor to your computer.
4] Configure the router
There might be chances that your router itself would limit your internet speed. Speed limiters are installed in router configuration pages to regulate the Internet speed amongst connected devices.
You can try to disable any such limitations from your router’s control panel and check if that fixes your issue after you reboot your router.
Related: How to increase upload and download speed in Windows.
5] Switch to a higher WiFi band (if applicable)
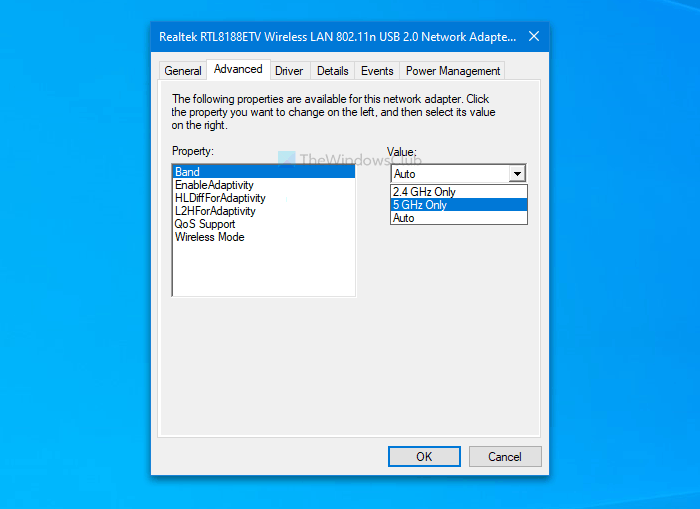
If your system supports a higher WiFi band, you can connect it to that. Switch from the 2.4 GHz WiFi band to the 5 GHz WiFi band and see if it helps.
6] Flush DNS cache, reset TCP/IP, and reset Windows Sockets
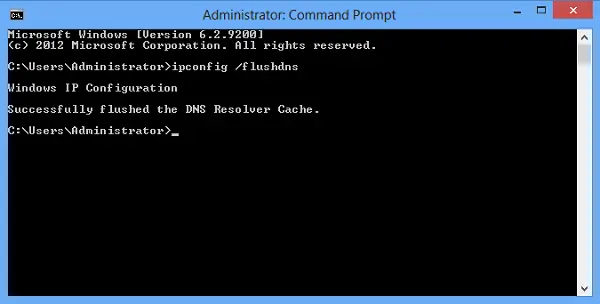
A corrupt DNS cache can also cause internet-related issues on a Windows computer. We suggest you flush the DNS cache and see if it helps.
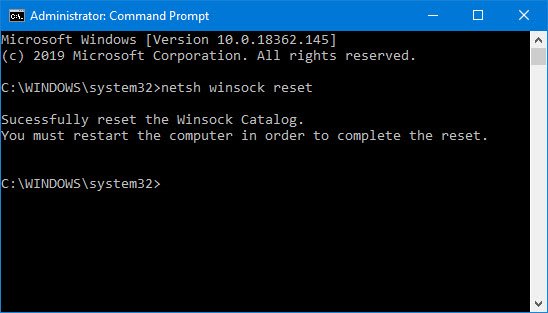
In addition to this, also, perform the following actions:
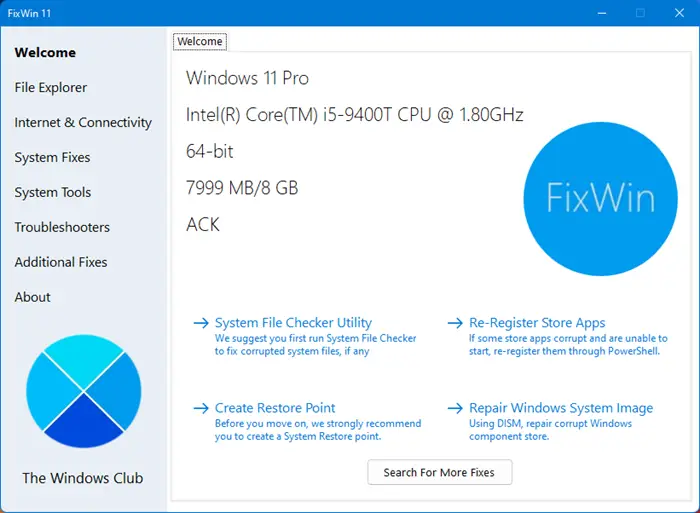
You can also create a batch file to execute all the commands for the actions mentioned above on your Windows 11/10 computer. Or, you can download our FixWin 11 to perform all these actions.
7] Reset Windows Auto-Tuning Level
Windows Auto-Tuning helps installed programs to receive TCP data over the network. But sometimes, this usage can lead to mainstream internet slowdown on your computer. However, we can interrupt this feature and get our speeds bumped up.
It is dangerous to do because it may hamper the responsiveness and usability of your applications.
Open Windows Command Prompt with Admin level rights and execute the following command:
netsh interface tcp show global
You will now see a list of TCP Global Parameters and their status.
Execute this command to disable Windows Auto-tuning level:
netsh int tcp set global autotuninglevel=disabled
Reboot your computer and see if it has helped.
If it has not helped in any way, you may enable it using this command:
netsh int tcp set global autotuninglevel=normal
Read: Should you disable Window Auto-Tuning or not?
8] Check a third-party software intervention
You can check if any software is running in the background and hogging your bandwidth.
You can check if from the Task Manager and if any of them is, you can just stop that download or force close that software using the Task Manager.
Boot in Clean Boot State and see if that improves the Internet speed.
9] Update, Rollback or reinstall your drivers
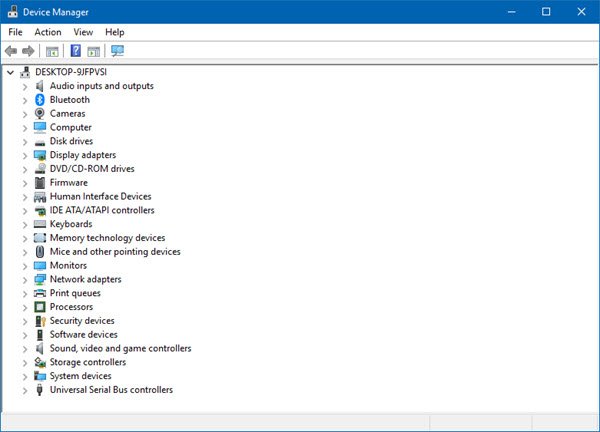
The drivers listed under the section of Network Adapters inside of the Device Manager might be a cause for this particular issue. You can try to reinstall the network drivers for your motherboard. If you recently updated these drivers, roll back these drivers, and check. If you did not, then we suggest you Update these drivers.
10] Install another compatible version of the Network driver
You can also try installing another compatible version of your Network adapter. This may help. Before you proceed, we recommend you create a System Restore Point. This will help you restore your system to the previous working state if any problem occurs after installing another version of your Network Adapter.
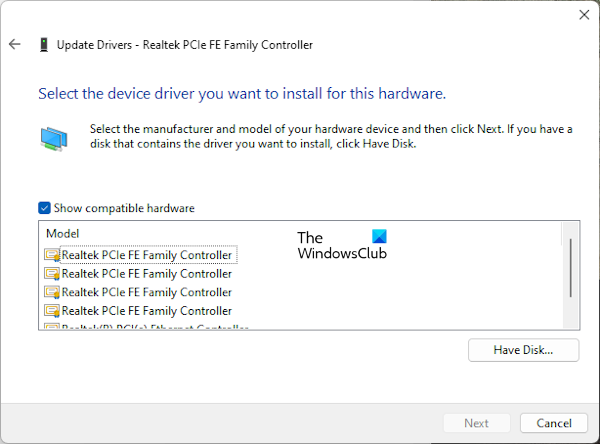
Follow the steps provided below:
- Open the Device Manager.
- Expand the Network Adapters branch.
- Right-click on your Network adapter and select Update driver.
- Now, select Browse my computer for drivers.
- Select Let me pick from a list of available drivers on my computer.
- Make sure that the Shiow compatible hardware checkbox is selected.
- Select another version of your Network driver and check if this resolves the problem.
11] Reset your Network
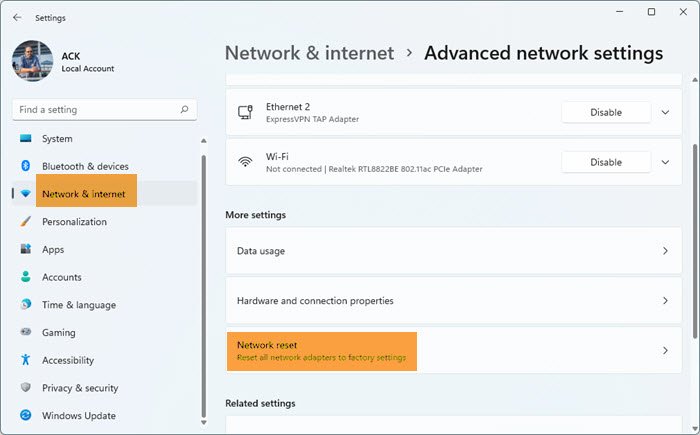
If the issue still persists, we suggest you reset your network. This action will reinstall the Network adapters and reset networking components to the default. This action will take 5 minutes. After 5 minutes, your system will restart automatically. Therefore, save all your work before resetting your network.
12] Disable VPN
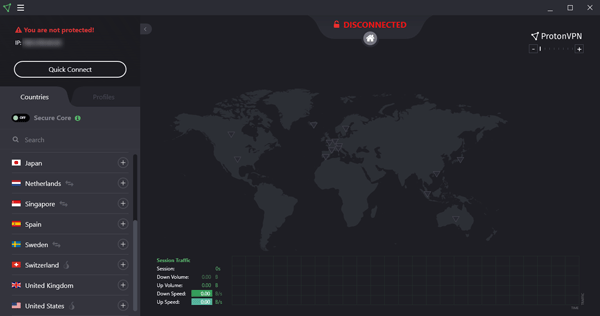
VPN makes the internet connection secure by encrypting the data. Sometimes, VPN makes internet connection slower. To check this, disconnect from the VPN and see if it improves the internet speed. If this works, you need to contact your VPN service provider support to address this issue. If you use a free VPN, you can switch to another free VPN service.
That’s it. I hope this helps.
Why is the Internet so slow on Windows 11?
There can be many reasons why the internet is so slow on your Windows 11 computer. If you experience such an issue, first, check the internet speed on other devices, like your smartphone. Outdated or corrupted network drivers can also cause this issue. Also, check if you have marked your internet connection as a metered connection. Another cause of this problem is the bandwidth-hogging background applications.
How to increase internet speed in PC?
First of all, check your internet speed. Sometimes the slow internet speed issue is associated with a particular web browser. To increase your internet speed, you can switch to the higher WiFi band or connect your system to the router with an ethernet cable. Also, close the bandwidth-hogging background applications.
Related read: Increase WiFi Speed and Signal strength and coverage area.