You may experience a slow login or sign-in on Windows 11/10 PCs due to system updates, corrupted user files, or excessive startup services. This is extremely frustrating and should be resolved. Therefore, in this post, we will see what to do if the Windows 11 login is suddenly slow.
.Why is my Windows 11 Login suddenly so slow?
Various factors, including some common causes, can cause a slow Windows sig-in or login experience. These include excessive background processes, outdated Graphics Drivers, Fast Startup, corrupted User profiles, and more. Temporary Files and WDI files can also contribute to decreased performance.
Fix Windows 11 Login suddenly slow
If you are experiencing slow login or sign-in on Windows 11/10 PC’s, check out the troubleshooting solutions mentioned below:
- Disable Startup Programs
- Delete Temporary files
- Update the Windows Operating system
- Turn off Fast Startup
- Remove WDI Directory Files
- Create a new User profile.
Let’s look up these solutions in detail.
1] Disable Startup Programs
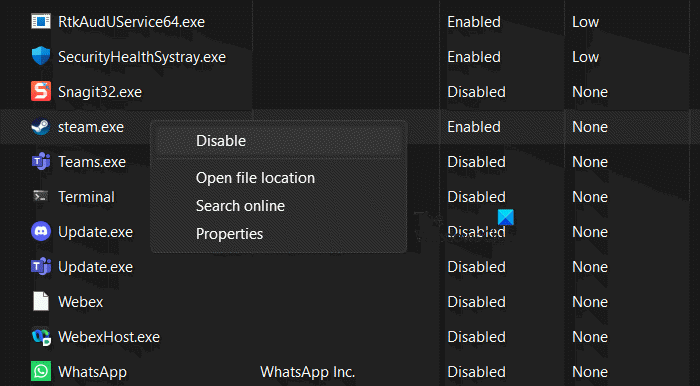
Many programs set to launch at a startup consume a huge sum of system resources such as CPU and memory, leading to delays and higher login times. In delayed logins, limiting the number of apps is highly recommended, as this will automatically free up the resources. To do so, click Ctrl+ Shift + Esc keys to open Task Manager, and then click on the Startup Tab. Now, click on the apps and tasks that seem to take up many resources, and select the Disable button.
2] Delete Temporary files
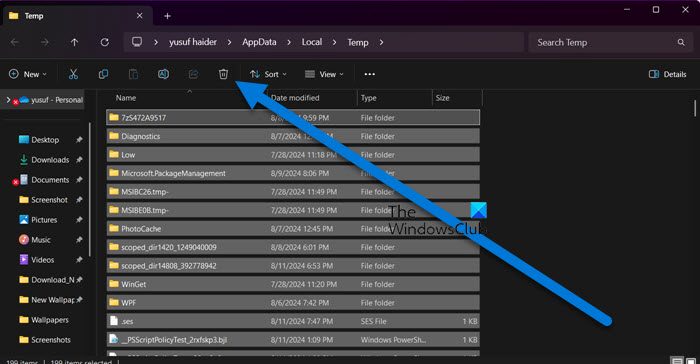
Temporary Files are Window files that store memories after operation. Their functions include assisting devices in performing the same tasks faster. However, these files tend to get corrupted from time to time and hog the storage, causing the computer to slow down. In this solution, we are going to delete temporary files, and to do so, follow the steps mentioned below:
- Click Win + R to open the Run Dialog Box.
- Type %temp%, and hit the Enter Button to open the Temp Folder from C drive.
- Now, click Ctrl+ A to select all the Temp files and hit the Delete button.
- Lastly, select the Continue button, and wait for the process to be done.
Once done, reboot the PC, and check whether the log-in speed is back to its previous speed or not.
It would be a good idea to run Disk Cleanup Tool or CCleaner to clear all residual junk files.
Related: Please wait for the User Profile Service takes too long in Windows
3] Update the Windows Operating System
Outdated Operating Systems can be quite a hassle if they haven’t been updated recently. If this is the case, we recommend users check for Windows Updates, install them, and then try logging in again.
Read: Windows 11 stuck at log in screen after upgrade
4] Turn off Fast Startup
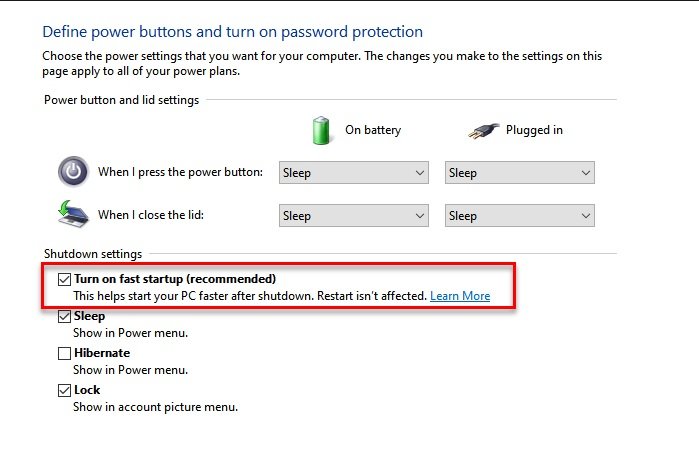
This Fast Startup mode is a hybrid of the traditional cold boot and resuming from hibernate options. However, it can sometimes cause problems with drivers, updates, or system configurations. These issues can lead to a longer boot time and a slow login experience. Disabling Fast Startup performs a complete shutdown, allowing the system to reset and initialize hardware and drivers properly upon the next boot.
Follow the steps mentioned below to turn off Fast Startup.
- Navigate to the Control Panel, click on the Hardware and Sound tab, and then go to the Power Options.
- Click on the Choose What the Power Button does > Change settings that are currently unavailable, and then untick the box of Turn on Fast Startup.
- Lastly, click on the Save Changes button, and restart the PC to see the changes.
Finally, check if the issue is resolved.
Read: User Profile Service failed the logon, User profile cannot be loaded
5] Remove WDI Directory Files
WDI directory files are files that Windows uses to store diagnostic data related to the operating system’s performance and reliability. However, if they are corrupted or accumulated excessively, they can slow down the PC. We will remove WDI Directory files, and here’s how to do the same.
- Click Win + E to open Home, and then navigate to the C drive or the drive where the Windows 11 OS is installed.
- Navigate to the C:\Windows\System32\WDI and click on Continue when prompted.
- Click Ctrl + A to select all the files, and then hit the Delete button.
Now, reboot the PC and check the booting time.
6] Create a new User profile
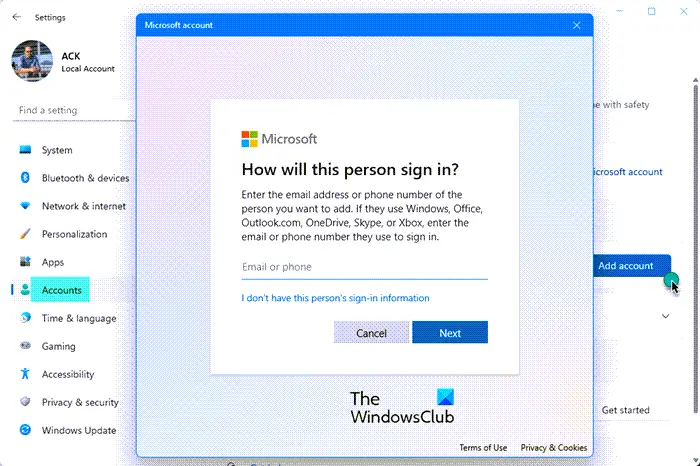
If nothing helps, save your personal data elsewhere, delete your User Profile and create a new User account. Remember to restore your backed up data once this is done.
Read: Make Windows 11 boot faster using Windows Boot Performance Diagnostics
Hopefully, you can resolve the issue using the solutions mentioned in this post.
How to do a Windows Repair?
To perform a Windows repair, go to Windows Search and select Change Advanced Startup Options. Now, reboot the PC and click on the Troubleshoot option, followed by clicking Advanced options and then clicking the Startup Repair option. This will initiate the repairing process. Wait for some time, and then, you are all done. You may also use Windows Update to repair your Windows OS installation,